How does Kernel VHD/VHDX Viewer Work?
Kernel for VHD/VHDX Viewer is a freeware that facilitates free preview for VHD/VHDX files, either healthy or corrupted. With its simple and user-friendly GUI, this tool makes preview of VHD/VHDX data a quite easy task even for non-technical users.
Let us go through the steps required to view your VHD files:
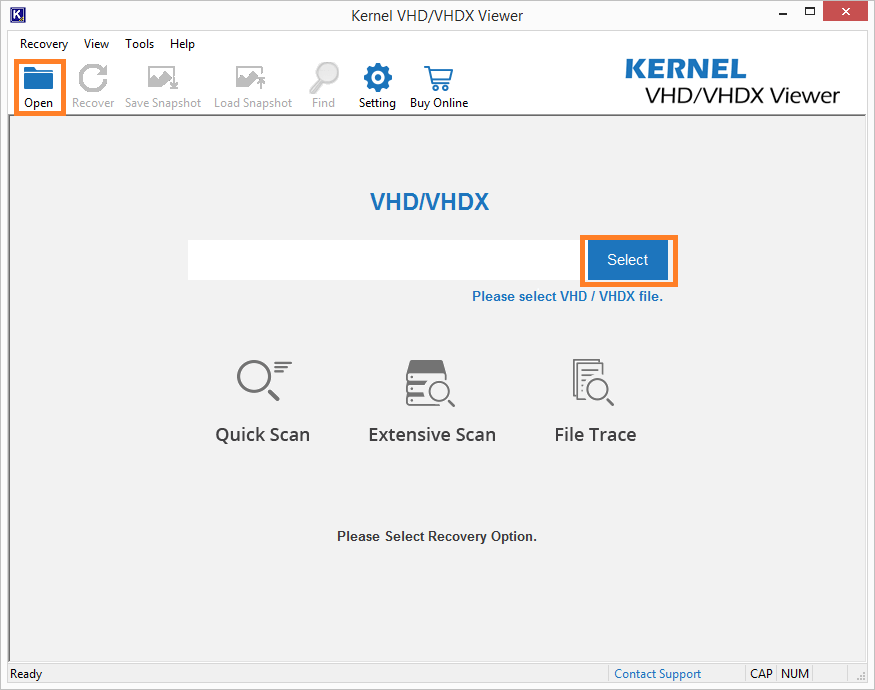
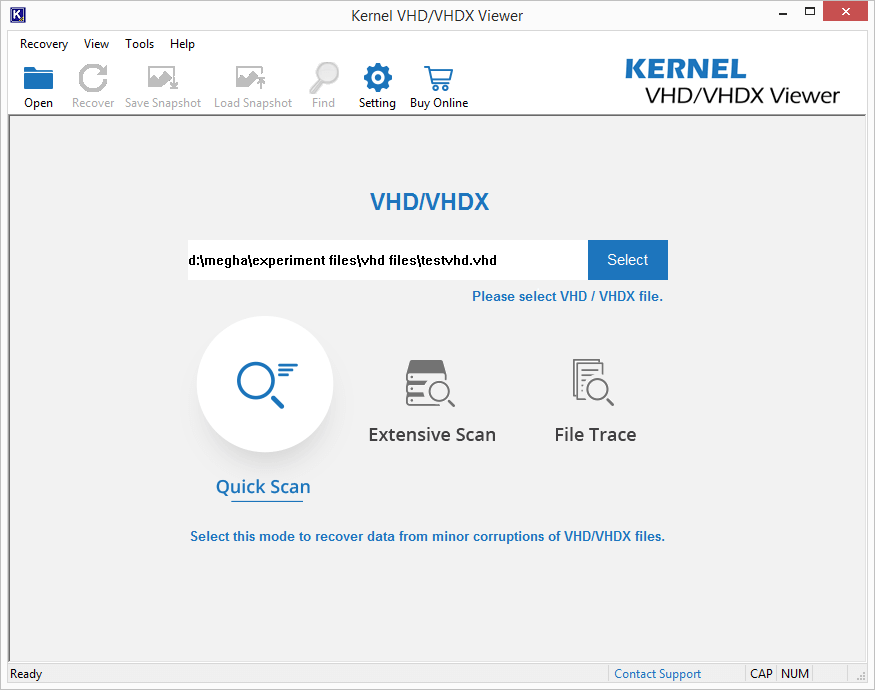
Step 1: When you open Kernel VHD/VHDX Viewer, the welcome screen of the tool appears. Click Open or Select to select the VHD or VHDX file.
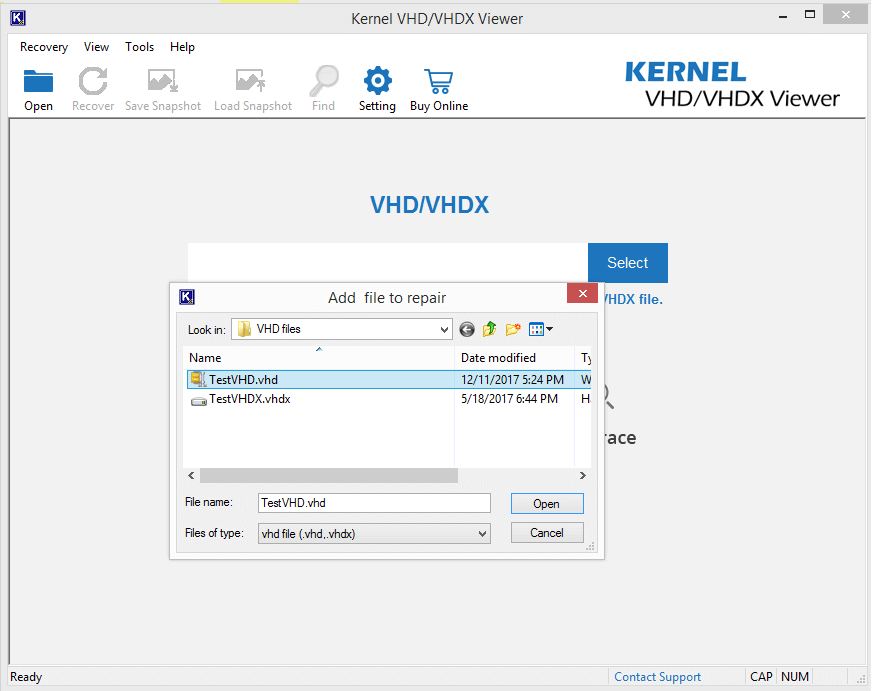
Step 2: Select the required VHD or VHDX file from your system drive.
Step 3: Once the file is selected, choose your scanning mode according to the intensity of corruption in VHD or VHDX file.
- Quick Scan mode: Recommended for scanning VHD files with minor corruption issues.
- Extensive Scan mode: Recommended for scanning VHD files if the Quick Scan mode fails.
- File Trace mode: Recommended for scanning VHD files with severe corruption issues. Recommended for scanning VHD files if both the Quick Scan and Extensive Scan fails.
All these modes work similarly. They differ in only scanning efficiency and the level of corruption they can fix. Here, we are choosing the Quick Scan mode.
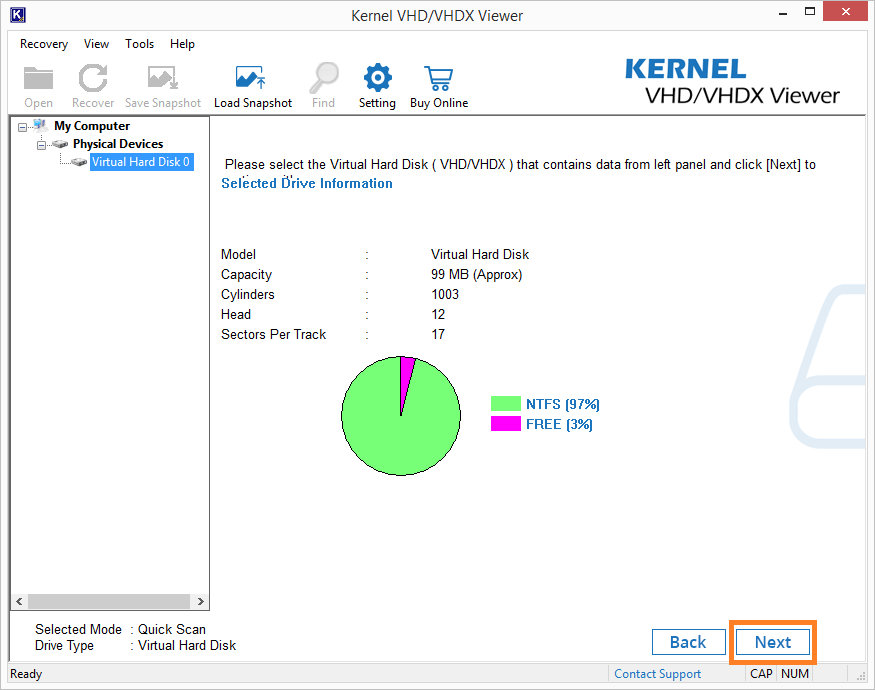
Step 4: The detailed information of the selected VHD file? Model, Capacity, Cylinders, Head, Sectors Per Track? is displayed. Click Next to continue.
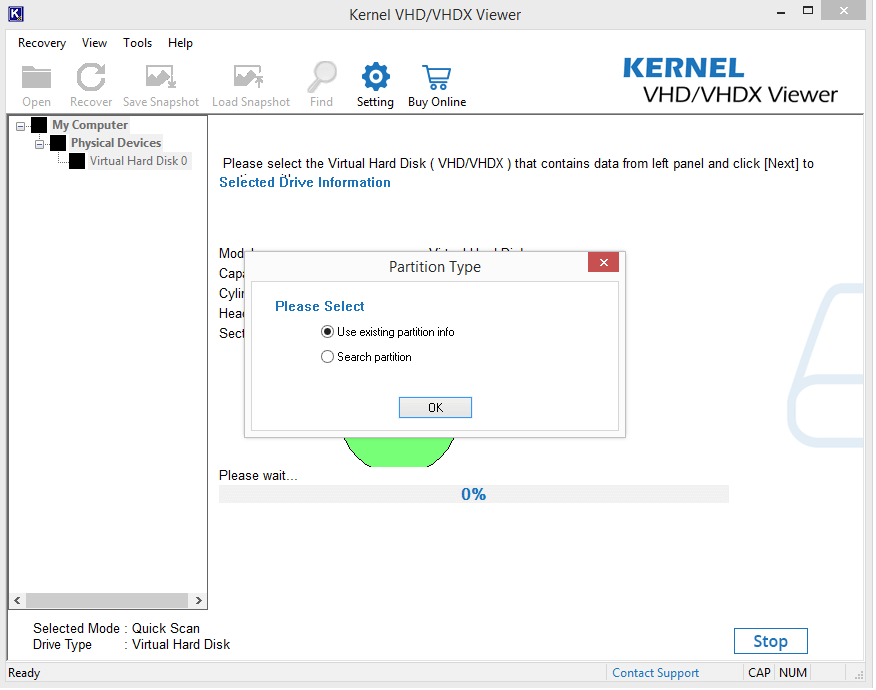
Step 5: Now, choose one of the two options - Use existing partition info or Search partition. Select the first option to select one from the existing partitions. Select the second option to search for partitions in your drive. Then, click OK.
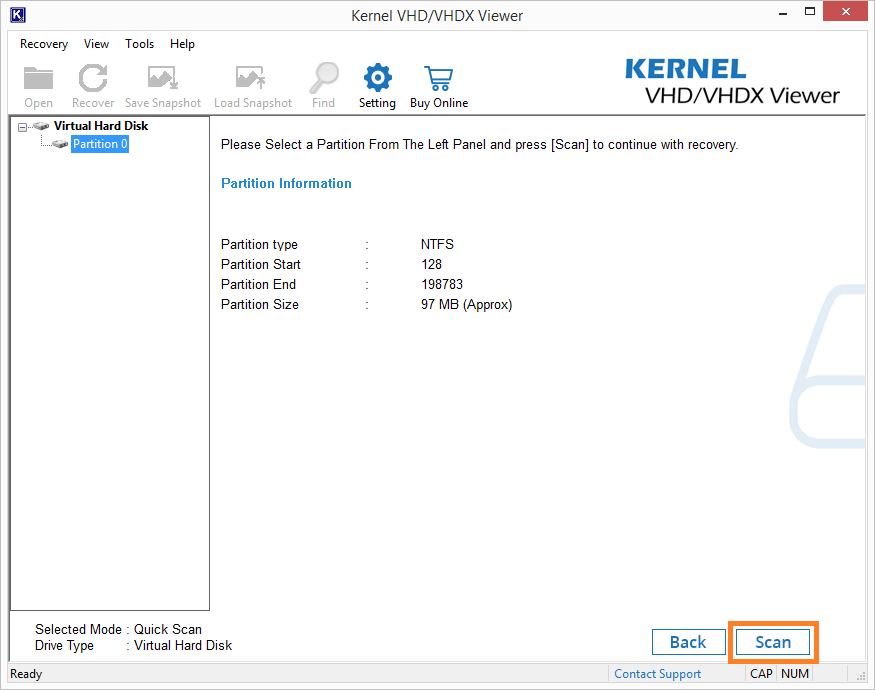
Step 6: Partitions will be fetched from the drive with complete information. Select the required one and click Scan.
Step 7: The software displays a dialogue box asking to scan with the Extensive Scan mode if all the data Is not recovered with the Quick Scan mode. Click OK.
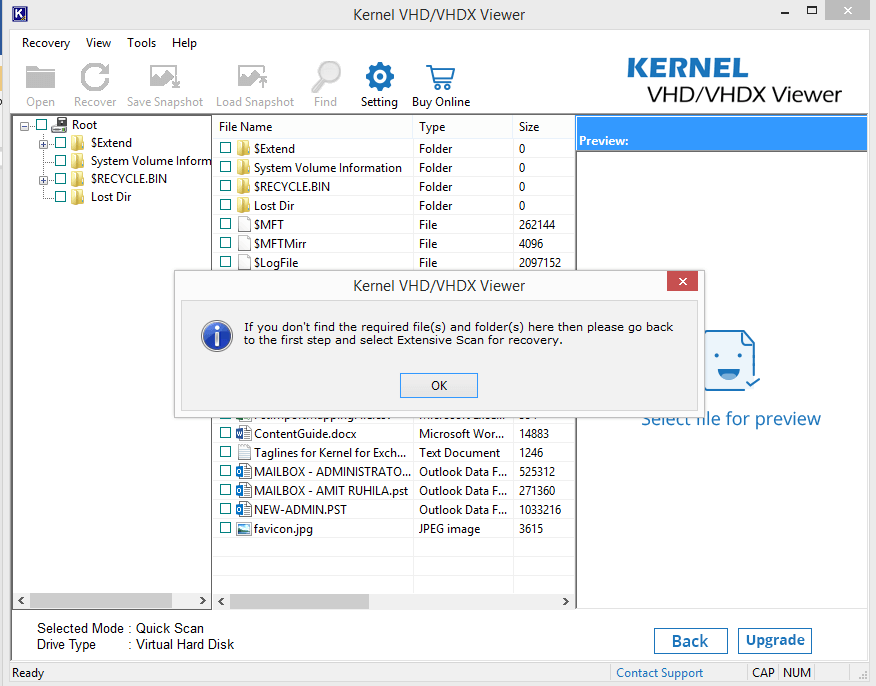
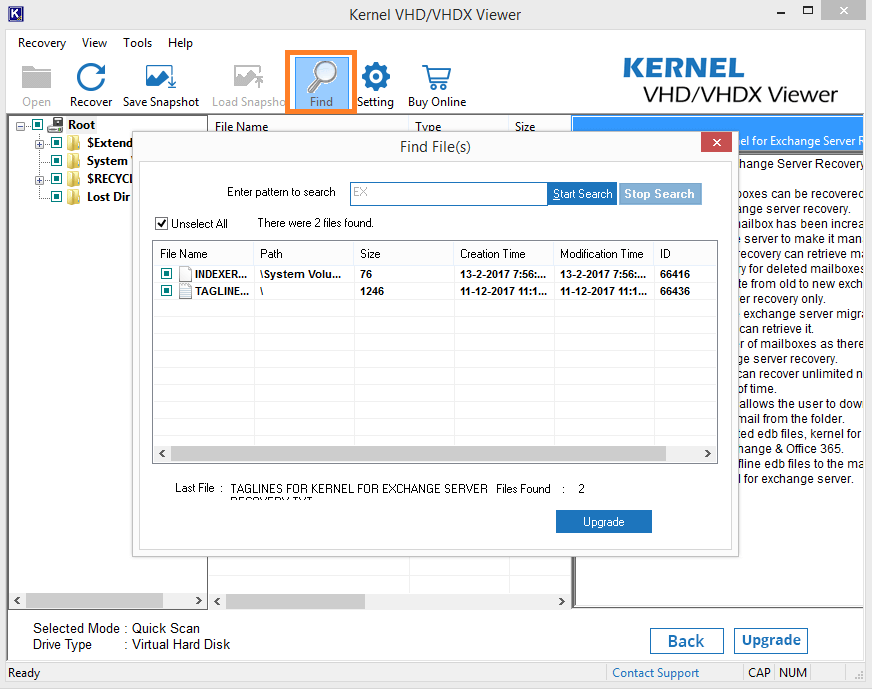
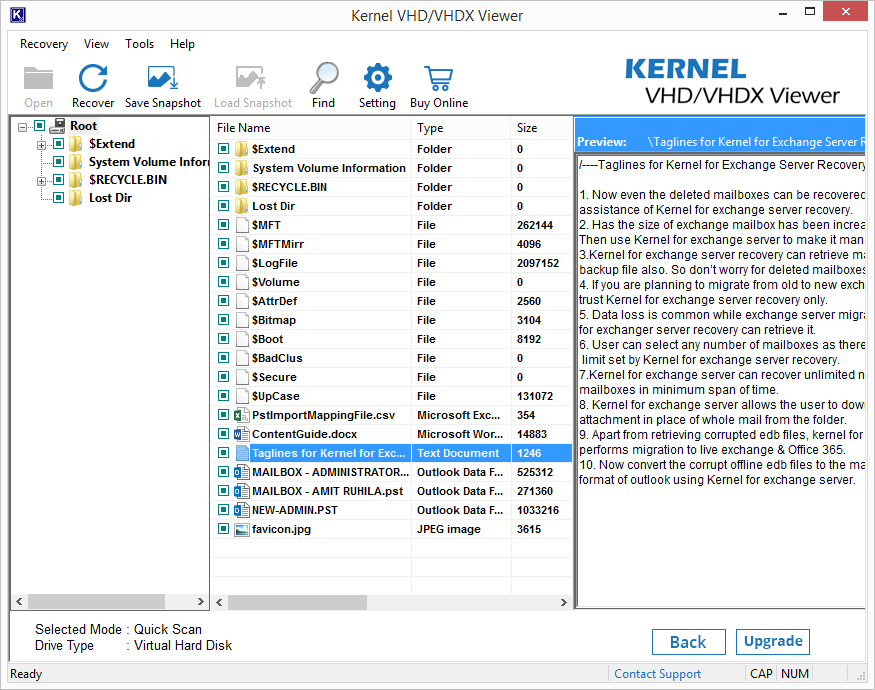
Step 8: Now, all the data from VHD file get enlisted with root folders on the left side and preview on the right side. You can select the desired folder and the file and view its content on the right side.
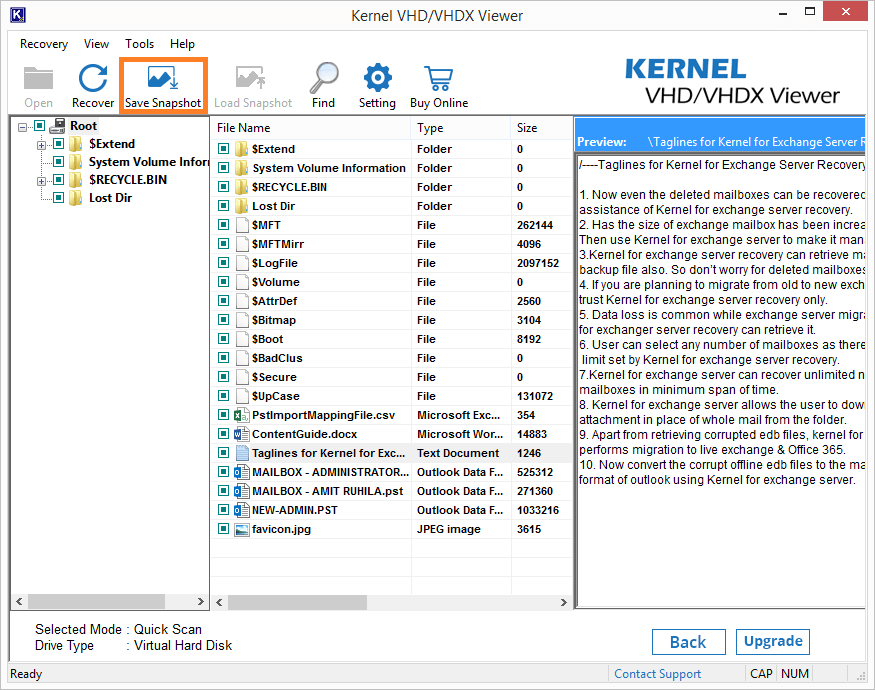
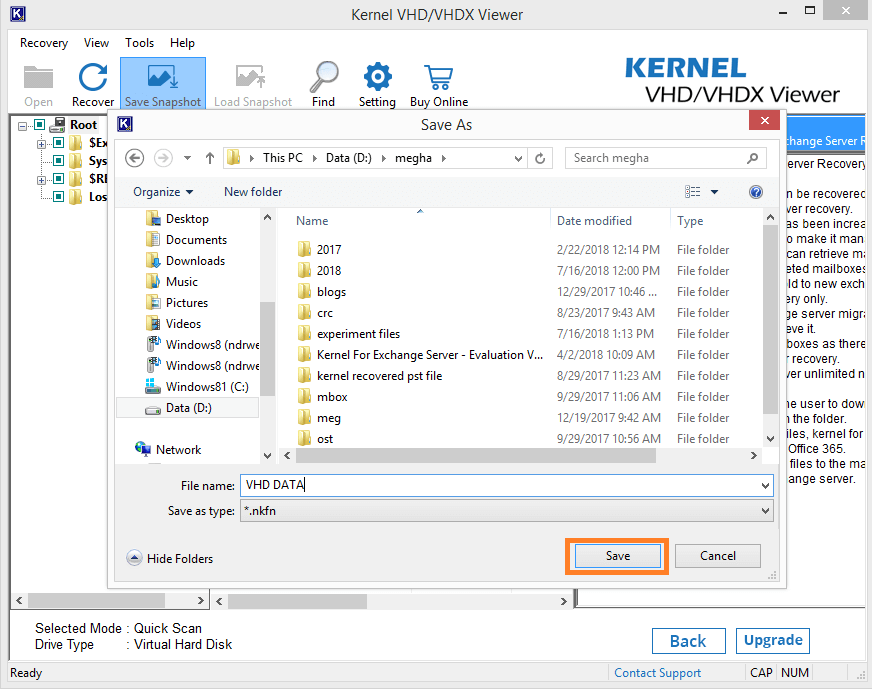
Step 9: To find specific file types, click the Find option, enter the text pattern to search, and click Start Search. The required VHD/VHDX files will be displayed by the software.
