- Create Azure AD app for Modern Authentication
- Office 365/Exchange Server login process in Kernel tool
- Amazon WorkMail login process in Kernel tool
- Do you have more than 100 mailboxes for migration? (Required for On-Premise Exchange)
Create Azure AD app for Modern Authentication
To connect Office 365/Exchange Online account of your organization using the Modern Authentication, you need to create an Azure Active Directory application, as described in the below section.
Step 1: Create and Register a new app in Azure AD
To register a new Azure AD application, do the following:
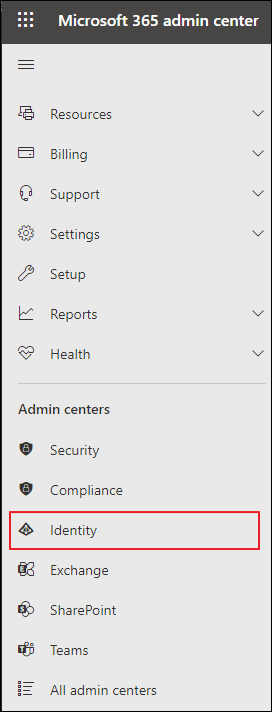
Step 1.1: Using the Administrator credentials, log in to the Microsoft 365 Admin Center and select the admin option. Select Identity from the list of accessible admin centers.
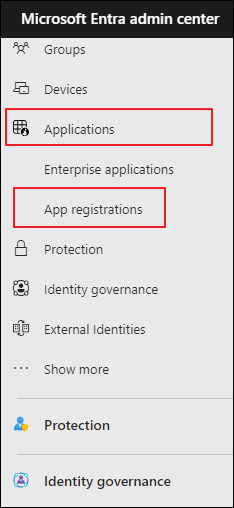
Step 1.2: Select App registrations from the expanded list of applications.
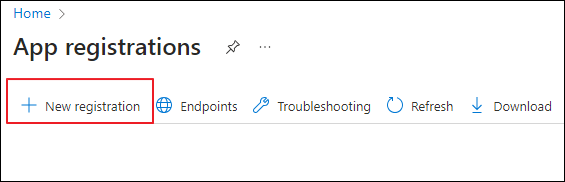
Step 1.3: Click on "New registration" on the App registrations page.
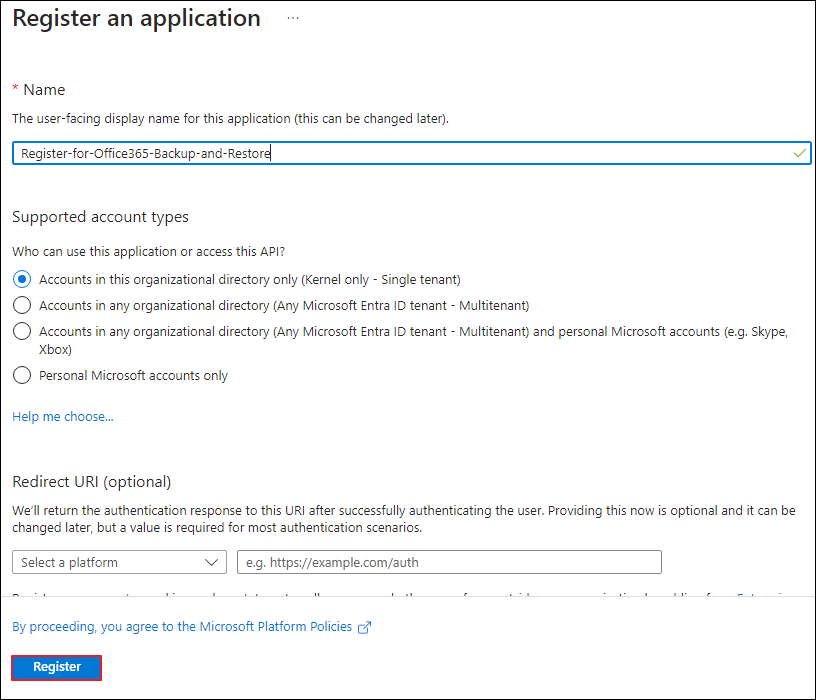
Step 1.4: Provide any name to the app registration entry. For supported account types, you need to choose the option based on your account. Then click the Register option.
Step 2: Grant Required API Permissions
Next, you need to grant your new application the required API permissions.
Azure AD applications can be assigned Delegated or Application permissions:
- Delegated permissions require a signed-in user present who consents to the permissions every time an API call is sent.
- Application permissions are consented by an administrator once granted.
For the newly created app, you should use Application permissions.
Do the following:
Add permissions
Step 2.1: In API Permissions, click Add a permission. At the top of the Request API permissions pane, click the ‘APIs my organization uses’ tab and search Office 365 Exchange Online.
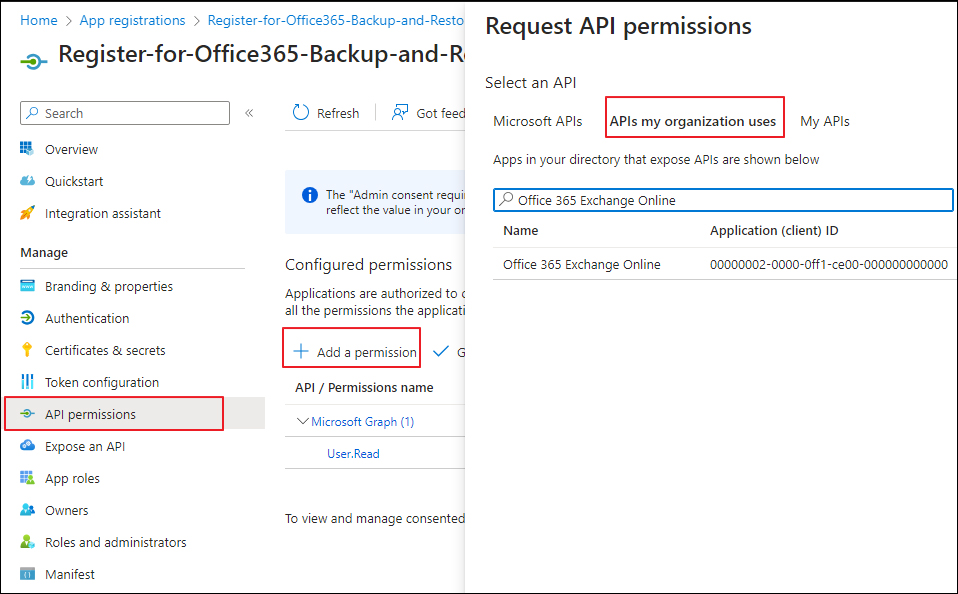
Step 2.2: Click on the Office 365 Exchange Online entry in the list of apps found.
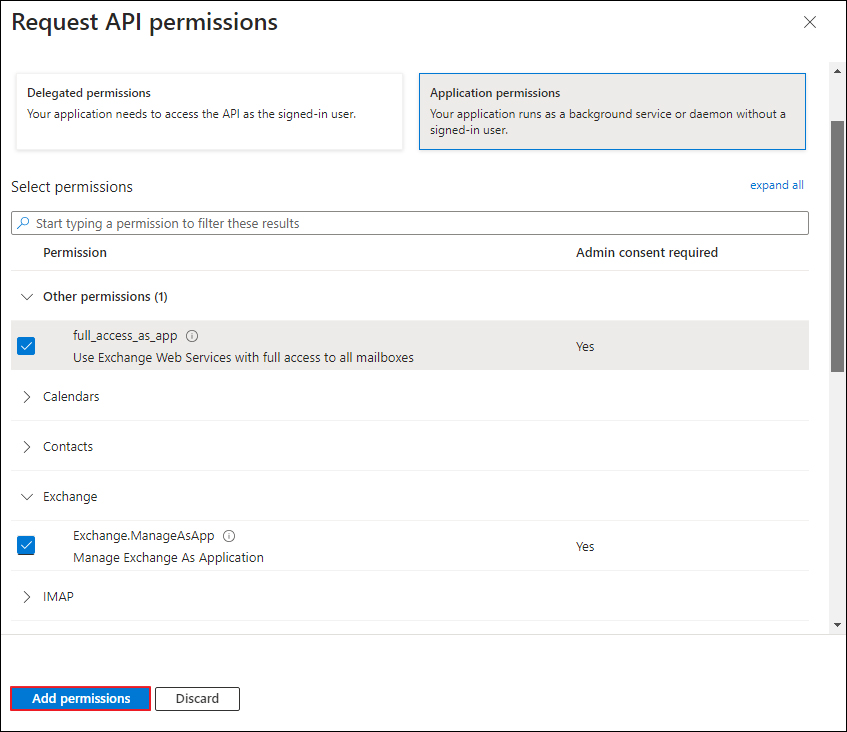
Step 2.3: Proceed with adding the permissions for this app: select Application permissions and then select full_access_as_app. And Exchange.ManageAsApp. Click Add permissions.
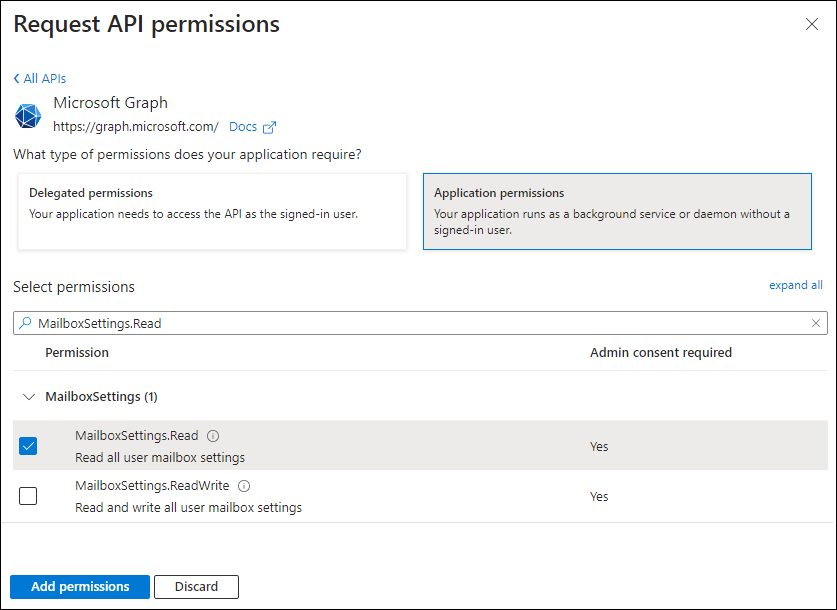
Step 2.4: Now, type MailboxSettings.Read and select the permission, then click Add permissions.
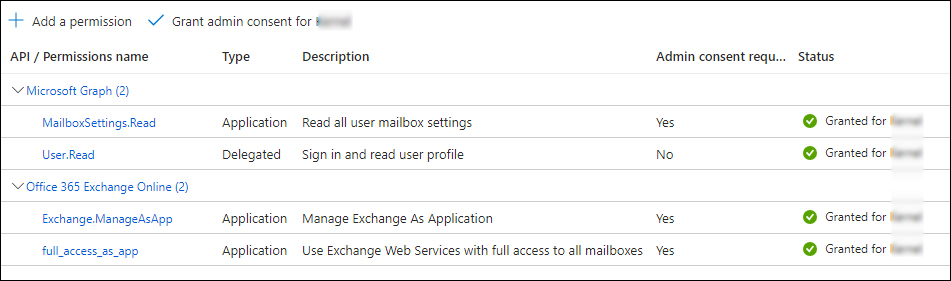
You require following permissions from two different categories in the Application permissions.
| Permission name | Type |
| MICROSOFT GRAPH | |
| MailboxSettings.Read | Application |
| User.Read | Delegated |
| Office 365 Exchange Online | |
| Exchange.ManageAsApp | Application |
| full_access_as_app | Application |
Once you have provided all the permissions to the application, then its status will be termed as ‘Granted.’
Do the following:
Step 2-A: Go to the new app settings > API permissions and click Grant admin consent for <tenant name>.
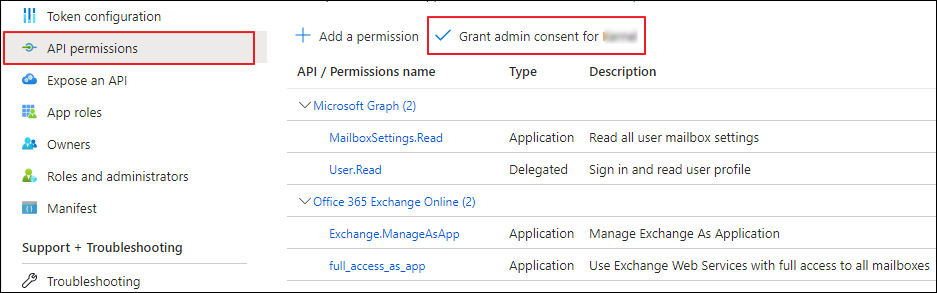
Step 2-B: When prompted to confirm granting, click Yes.

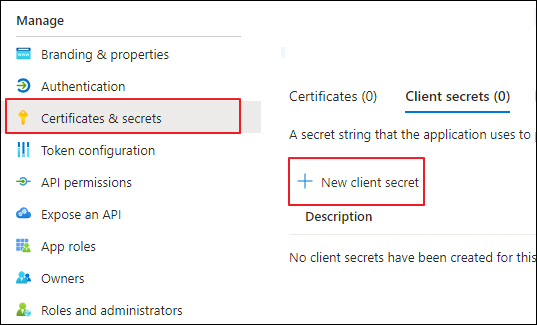
Step 3: Configure Client secrets
Having configured the app, you can create a Client secret.
Step 3.1: In the app settings, click Certificates & secrets and click New Client Secret.
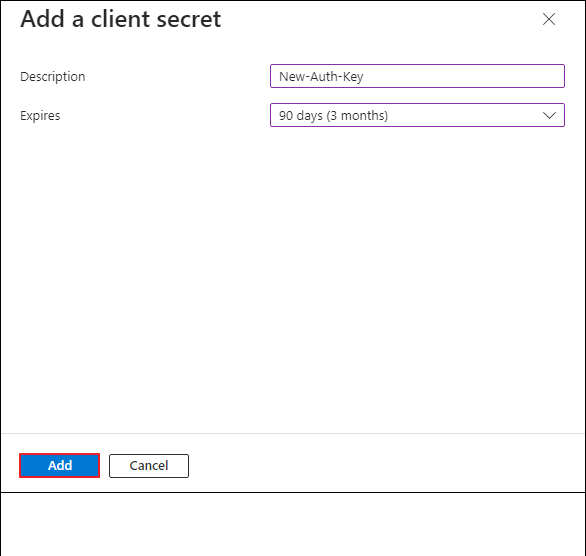
Step 3.2: Enter the Description and select the expire period and click on add button.
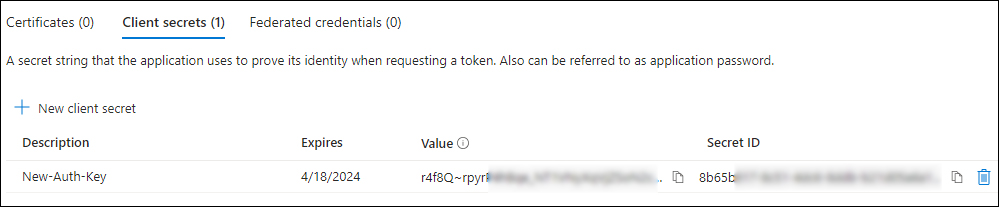
Step 3.3: Copy the Client Secret value to a safe location.
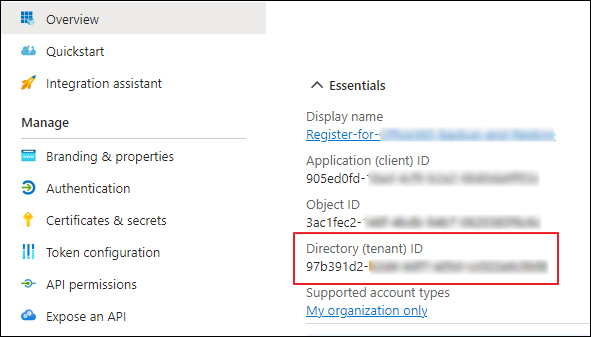
Step 4: Obtain Tenant ID
Step 4.1: Select Azure Active Directory > Overview section for the required Exchange Online organization. Locate the Tenant ID and copy it to a safe location.
Step 5: Assign Administrator Role
To access multiple mailboxes, the Office 365 account needs the Global Administrator role.
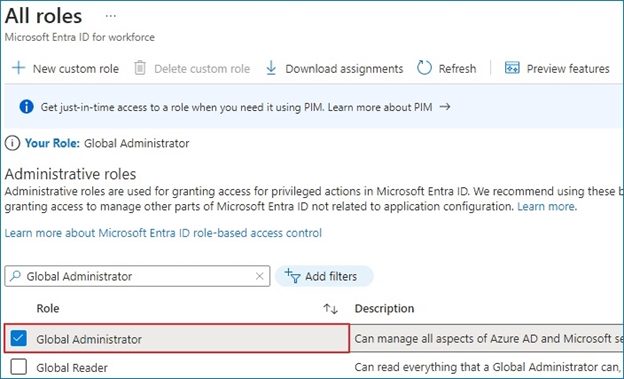
Step 5.1: Type "roles and administrators" in the top search field, and then click the Microsoft Entra ID roles and administrators link that appears.

Step 5.2: Double-click on Global Administrator or Global Reader in the search results after typing Global Administrator or Global Reader into the text field.
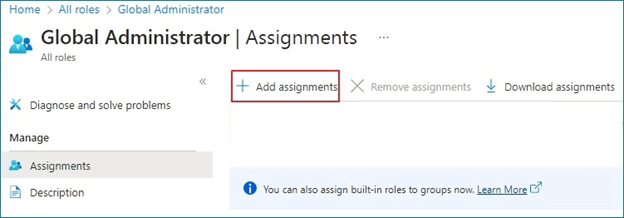
Step 5.3: Click Add assignments.
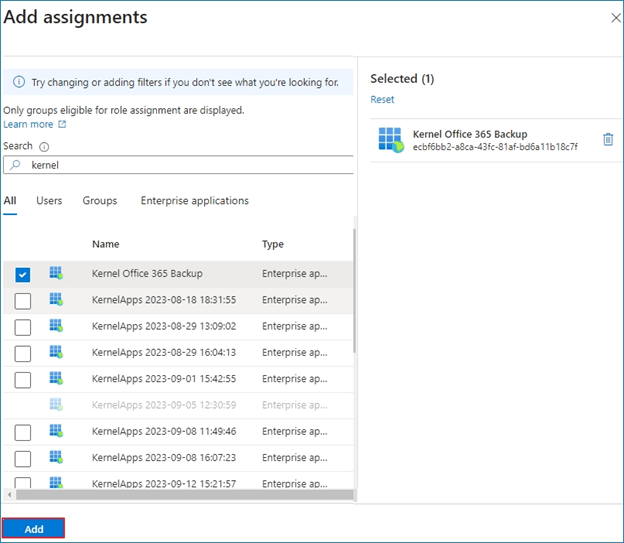
Step 5.4: When the name of the registered app appears, type its name, and choose it from the list. The app will then receive the Global Administrator role after you click the Add button.
Filling details in Office 365/Exchange Login page of the Kernel tool
In Office 365/Exchange Login page of the Kernel tool, you have three options:
Step 1: Log in using Office 365 credentials
| Login type | Server name | User Email/Login Id | |
| For Single/Archive Mailbox | For Multiple Mailbox | ||
| Office 365 |
|
Enter the credentials of the mailbox to be migrated |
|
Step 2: Log in using Exchange Server (on-premises) credentials.

| Login type | Server name | User Email/Login Id | |
| For Single/Archive Mailbox | For Multiple Mailbox | ||
| Exchange (onpremises) |
Note: In most cases, the full computer name will not ping. So first try with the computer name only (to understand the difference, see: Image A) |
|
Note: If required, you can grant full access rights to an Exchange Server mailbox |

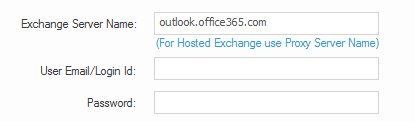
Step 3: Log in OK using Exchange Server (hosted) credentials

| Login type | Server name | User Email/Login Id | |
| For Single/Archive Mailbox | For Multiple Mailbox | ||
| Exchange (hosted) |
|
|
Note: If required, you can grant full access rights to an Exchange Server mailbox |
Filling details on the Amazon WorkMail Login page of the Kernel tool

| Login type | Origin Domain Name | User Email/Login Id | |
| For Single/Archive Mailbox | For Multiple Mailbox | ||
| Amazon WorkMail | Select Origin Doman Name according to the location of your WorkMail mailbox. Note: If you don’t know the location, contact your system administrator. |
|
Note: If required, you can grant full access rights to an Amazon WorkMail mailbox |
Do you have more than 100 mailboxes for migration? (Required for On-Premise Exchange)
If you have more than 100 mailboxes for migration, please export the mailbox list (for Office 365/Exchange Server/Amazon WorkMail) in a CSV file and then import it into the Kernel software. For this, please follow the steps described in the right section of the Login page (in Kernel tool).