SharePoint migration is not only about migration of data from one SharePoint site to another. Migration of permissions, metadata, versions, etc. is also needed.
Permissions in SharePoint help to manage access to the content. You can control who can edit, view, or have complete control on the lists, libraries, and other content in your sites. The SharePoint administrator can adjust and assign permissions on the site and content levels. If a user permission is incorrectly mapped between source and destination, it leads to restricted or unauthorized access to sensitive documents. SharePoint permissions require to be efficiently migrated such that users have access to their content after moving to the destination.
This detailed guide explains SharePoint permissions, the need to migrate, and how to migrate SharePoint permissions from one site to another. Let’s get started!
Why do you need to migrate SharePoint permissions?
As you create a new SharePoint site, there are certain default permissions that get applied by the platform to allow site access. These permissions are either inherited from root or parent site and you can modify them if needed. Let’s see the SharePoint permissions list to get better knowledge for access control:
Default permissions:
These are the permissions assigned as soon as a site is created. The default permission levels include Read, Designer, Edit, Full Control, View Only, and Contribute SharePoint permissions.
User permissions
The user permissions in SharePoint are divided into 3 classes: list permissions, site permissions, and personal permissions.
- List permissions: include Manage Lists, Override List Behaviors, Add Items, Delete Items, Create Alerts, and View Items.
- Site permissions: include permissions to Create Subsites, Manage Sites, Add and Customize Pages, Manage Alerts, Open, and View Pages.
- Personal permissions: include Manage Personal Views, Add/Remove Personal Web Parts, and Update Personal Web Parts.
Reasons to migrate SharePoint permissions
Major reasons to migrate SharePoint permissions between tenants include the following:
Continued access: Sometimes, files and folders in the source environment are allowed restricted or controlled access. To make those accessible in the destination environment after migration, it is important to migrate the permissions as well.
Data security: By migrating or replicating SharePoint permissions, you can prevent unauthorized access to the sensitive data of your business. You can control the sharing permissions in SharePoint for other users on the content you share.
How to migrate SharePoint permissions?
Due to unavailability of manual methods to migrate or copy SharePoint permissions from one user to another, we recommend a professional SharePoint migration tool. Kernel Migration for SharePoint is a prominent SharePoint permissions management tool that supports migration of all the content with its attributes, including permissions, metadata, etc. You can use it to transfer data between multiple SharePoint versions. Some of the efficient features of the tool include:
- Migrate data from SharePoint 2013 to 2019/ 2016, and previous versions.
- Perform tenant to tenant SharePoint Online migration.
- Supports easy user and permission mapping.
- Migrate from multiple sources, including File Server, Google Drive, and Dropbox to SharePoint.
- Take SharePoint data backup easily to store data locally.
The step-by-step process to migrate permissions between SharePoint sites is given below:
Step 1: Download and install Kernel Migration for SharePoint tool on your system.
Step 2: Launch SharePoint migration and the home screen of the tool will appear showing multiple options.
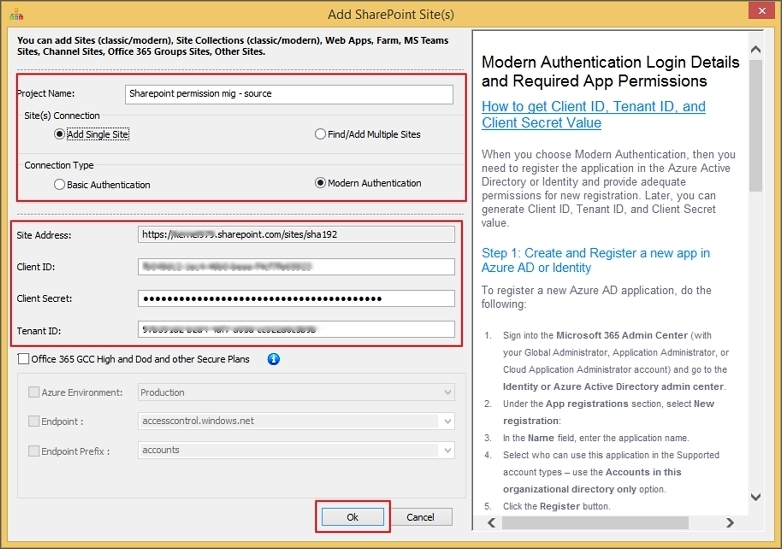
Step 3: Right-click SharePoint (On-premises/Online) and select Add New SharePoint Site from the source pane.

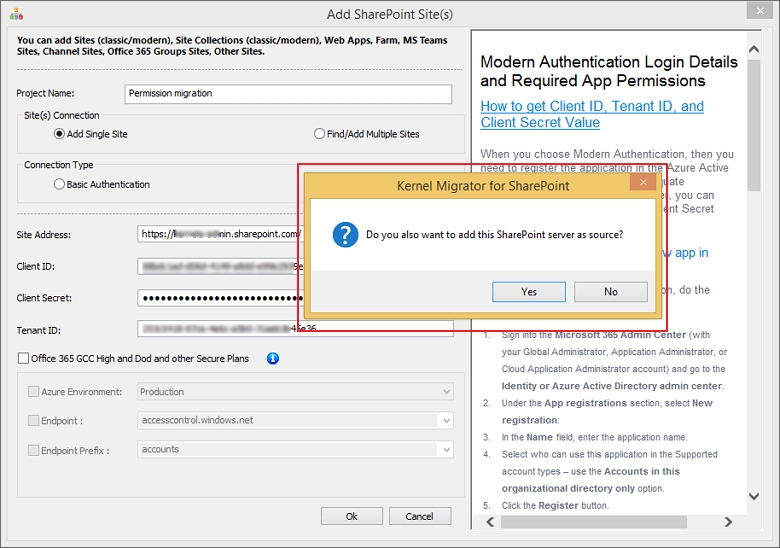
Step 4: Provide a new Project Name, select Site(s) Connection and Connection Type (Basic Authentication or Modern Authentication). Enter the credentials to add the SharePoint site and then click OK.
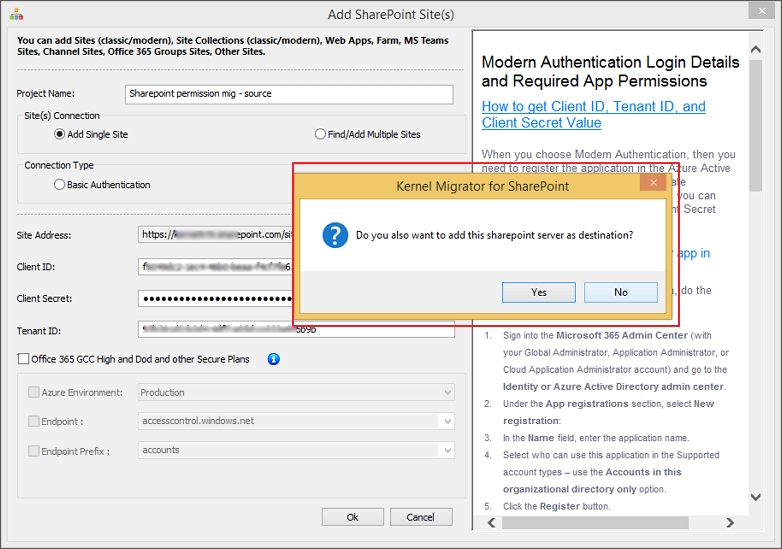
Note: The tool will show a pop-up saying, “Do you also want to add this SharePoint server as destination?” Select Yes or No and proceed.
Step 5: The SharePoint site is now added to the source. Similarly, go to the destination pane, right-click on SharePoint (On-premises/Online) and follow the prompt to add the destination site.
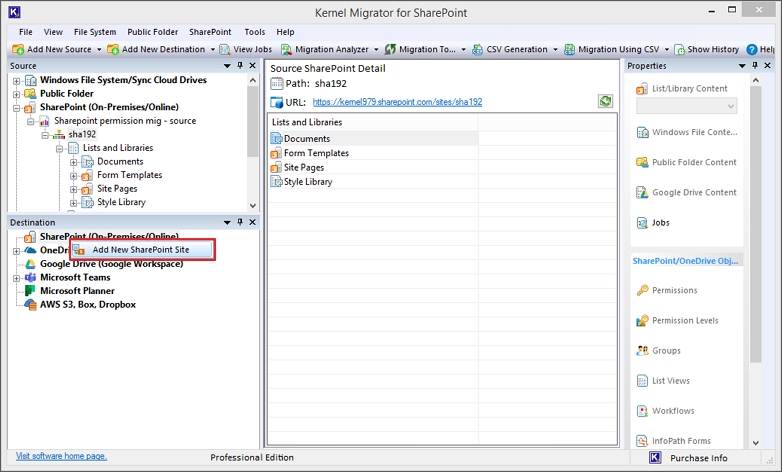
Note: There is again a pop-up with message, “Do you also want to add this SharePoint server as source?”
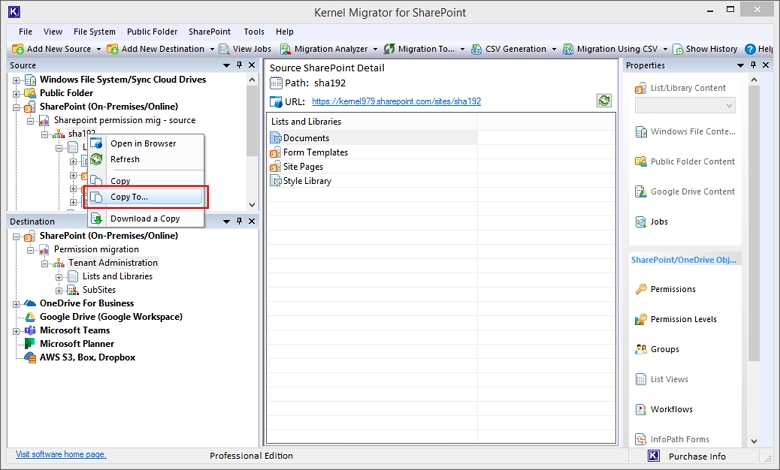
Step 6: Once SharePoint site is connected to the destination, go to the Source pane, expand the Project Name and right-click on the Tenant Administration and select Copy To.
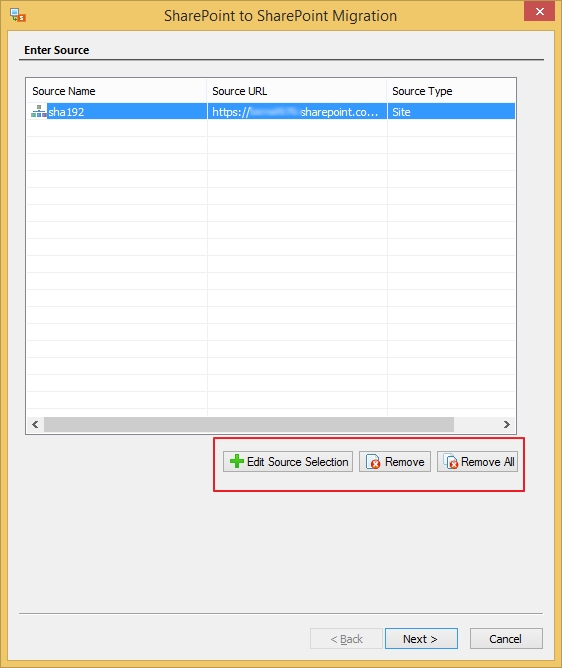
Step 7: Select the source and tap on Edit Source Selection to select the desired source type. You can remove the selected source using the Remove button or remove all the added sources with the Remove All button.
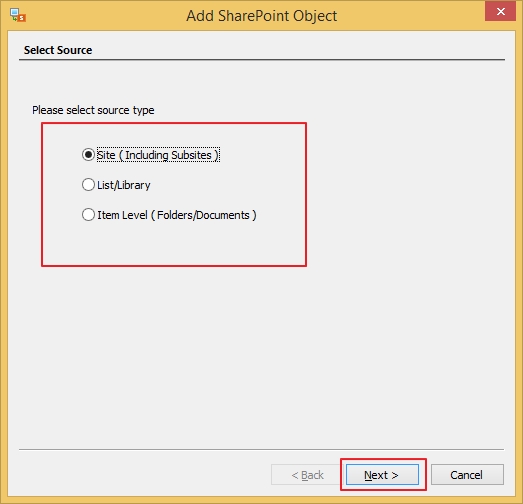
Step 8: You can change the source type from available options (Site, List/Library, Item Level) and then click Next.
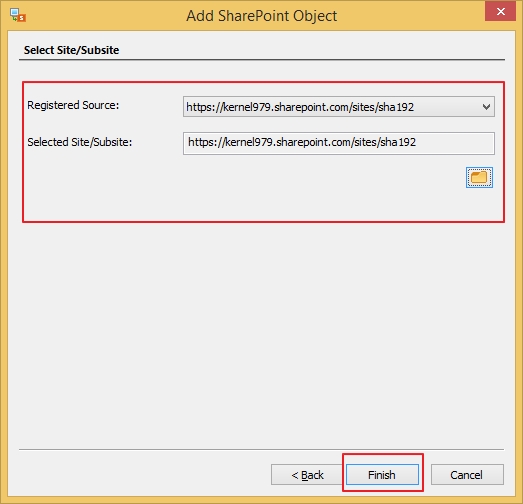
Note: Select Site/Subsite by clicking on the icon below Selected Site/Subsite box and then click Finish.
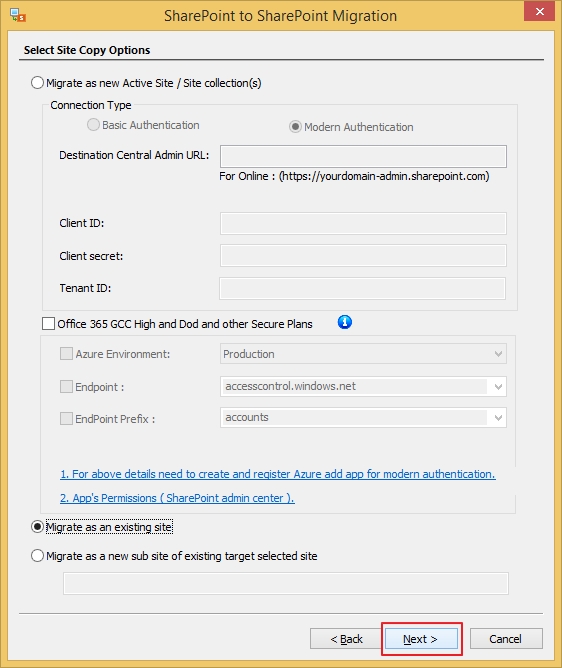
Step 9: Choose “Select Site Copy Options” screen from the given options and click Next. The options given include:
- Migrate as new Active Site/ Site Collection(s)
- Migrate as an existing site
- Migrate as a new sub site of existing target selected site
Step 10: Select the destination where you want to take the source data. Click on the Site URL drop down to choose destination site, then Browse to define Site/Subsite URL.
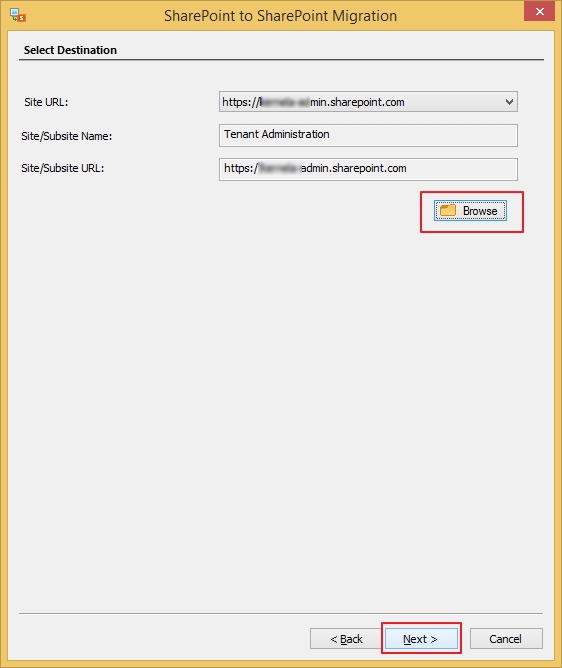
Step 11: It will fill the empty boxes on the Select Destination page. Click Next.
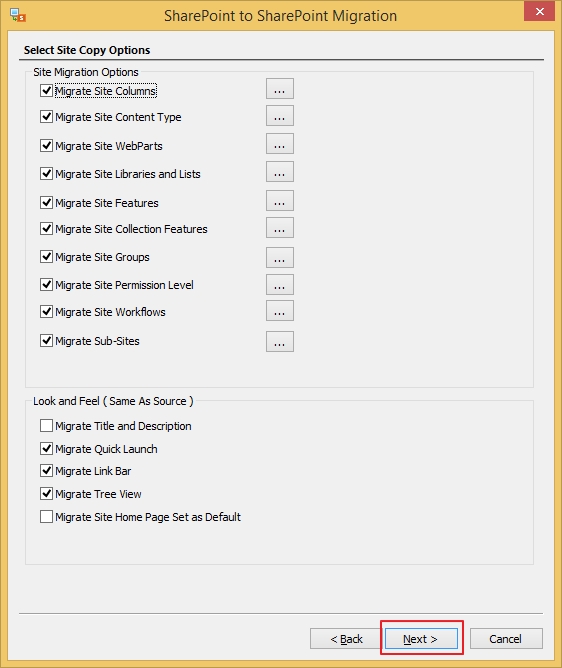
Step 12: Select the given Site Copy Options as mentioned and click Next.
Step 13: From the next page, select List / Library Copy options.
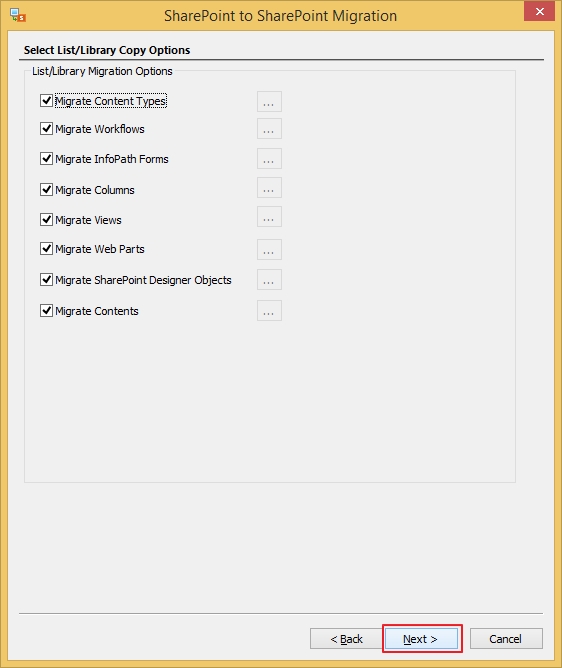
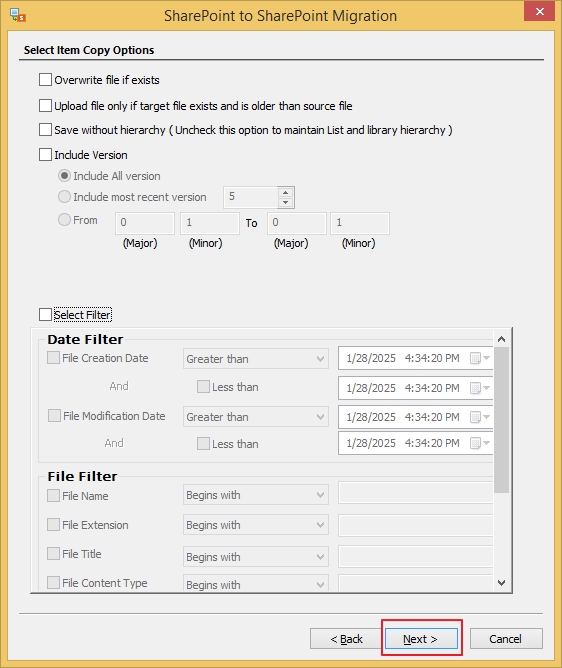
Step 14: Choose the options and apply the necessary filters from the given Date, File, and User filter to migrate selective data.
Step 15: Mark the checkbox Migrate Permissions: (Site, Site permission levels, List & Library, Folders and Items).
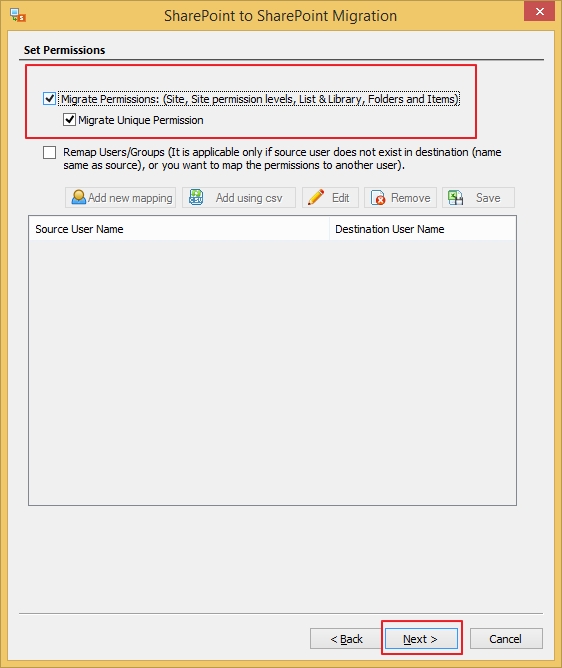
Note: You can select Remap Users if a user is not available in the destination or want to map the permissions to another user.
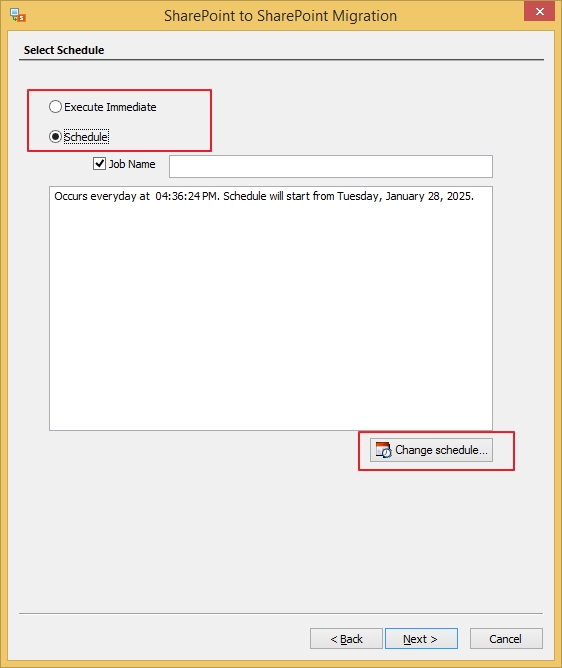
Step 16: Select to execute the process immediately or schedule it for later.
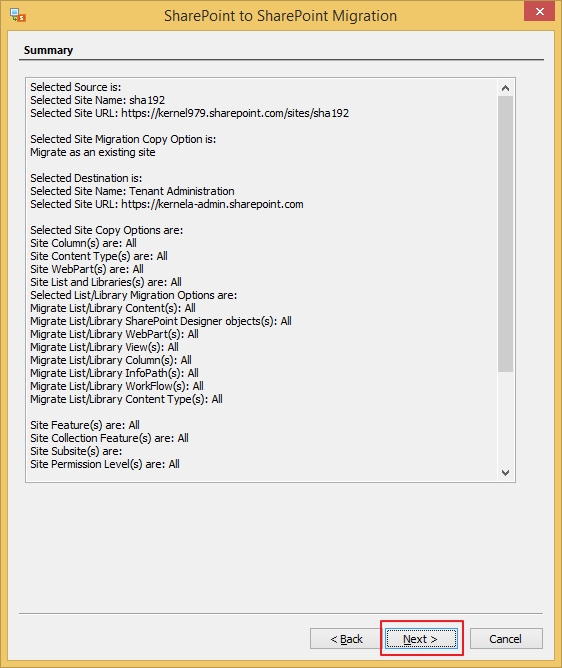
Step 17: Verify the migration summary mentioning all the details.
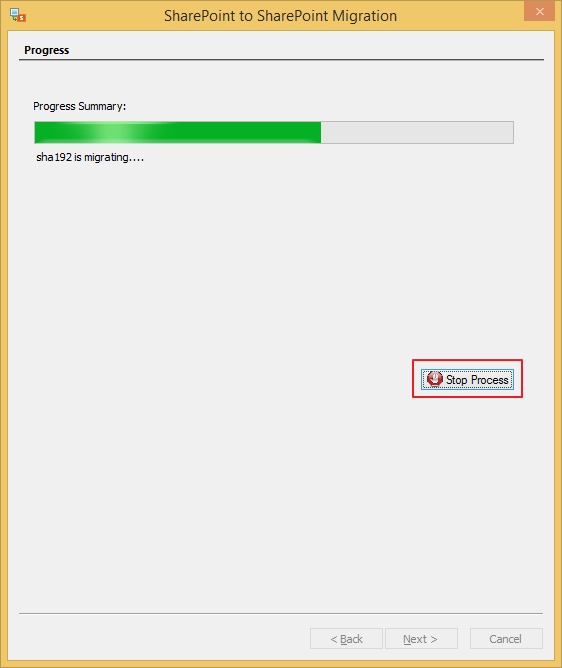
Step 18: The process has begun now. Track the progress summary and you can abort the process before completion using the Stop Process button.
Step 19: Once completed, the tool shows the completion summary.

You can download the migration report from the Show History option on the ribbon above the source pane and save it as a CSV file.
Conclusion
SharePoint migration is not an easy process because of the complexity involved. You need to take proper precautions, manage SharePoint permissions, handle complex metadata, and do post-migration monitoring.
All this helps to make the data accessible in the destination SharePoint environment. Using a professional SharePoint permissions management tool like Kernel Migration for SharePoint assures careful migration of data with its properties.
Frequently Asked Questions
Q1. How do I copy SharePoint permissions from one user to another?
To copy or migrate SharePoint permissions, check the Migrate Permissions option from the screen after selecting the filters. This will migrate all the permissions in the same order as available at the source to avoid any loopholes.
Note: You can also check the second option of Remap Users/Groups to map users that are not in the destination.
Finally, you can see that the source and the destination are selected to migrate the permissions directly.
Q2. What are the SharePoint site permissions you may need?
Some of the SharePoint site permissions list include:
- Create Subsites: Create subsites, meeting workspace site, communication site, and team site using the available templates or customize one.
- Manage Web Site: Perform all the administrative tasks on the site.
- View Pages: View pages within a SharePoint site.