Office 365 shared mailboxes are created so that more than one user can access it. Basically, a shared mailbox allows multiple users to share the responsibility of reading and responding to emails, from a common email address. Shared mailbox makes it easy to convey important information to many people at once to maximize work efficiency. However, only the admin has access to create a shared mailbox and add users in it.
There can be some situations when the need to migrate mailboxes between Office 365 tenants arises, let's have a look at them.
Reasons to Migrate Shared Mailboxes between Office 365 Tenants?
There are numerous factors due to which users want to migrate mailboxes between Office 365 tenants. Here are some of the most prominent reasons explained below:
- Mergers/Consolidation: It is a situation where two business firms are merging with shared interests, and for that reason, they need to migrate mailboxes or merge Office 365 tenants into one.
- Regulatory Compliance: Changes in rules and regulations come on a regular basis; to keep things according to the new regulations, organizations need to migrate shared mailboxes between Office 365 tenants.
- Rebranding: When an organization registers itself with a new domain or name, then there is a need to transfer mailbox data between Office 365 tenants.
Methods to Migrate Shared Mailboxes between Office 365 Tenants
It is necessary to note that Microsoft doesn’t offer any special assistance or technique to migrate shared mailboxes between Office 365 tenants. However, if you’re willing to export shared mailboxes to PST and then import PST to Office 365 mailboxes, then there are manual approaches to do that. Also, migrating shared mailboxes in Office 365 is almost similar to migrating primary mailboxes; all you need to do is select the shared mailboxes, and then migrate them. The ideal option to migrate shared mailboxes between Office 365 tenants is a third-party tool and Kernel Office 365 Migration is the best utility to do that.
This Realiable office 365 migration software simplifies the migration process between Office 365 tenants. It comes with a user-friendly interface, which makes it easy-to-understand software for users. It is specially designed for the Office 365 tenant to tenant migration and provides a seamless experience for every user. Using this tool, you can also migrate Exchange mailboxes to Office 365. It is integrated with advanced features that make the overall migration process more effective.
Let’s know this software better with its working process.
- Download and install the tool on your system.
- Click Add Source for adding the Office 365 from which you want to migrate shared mailboxes.
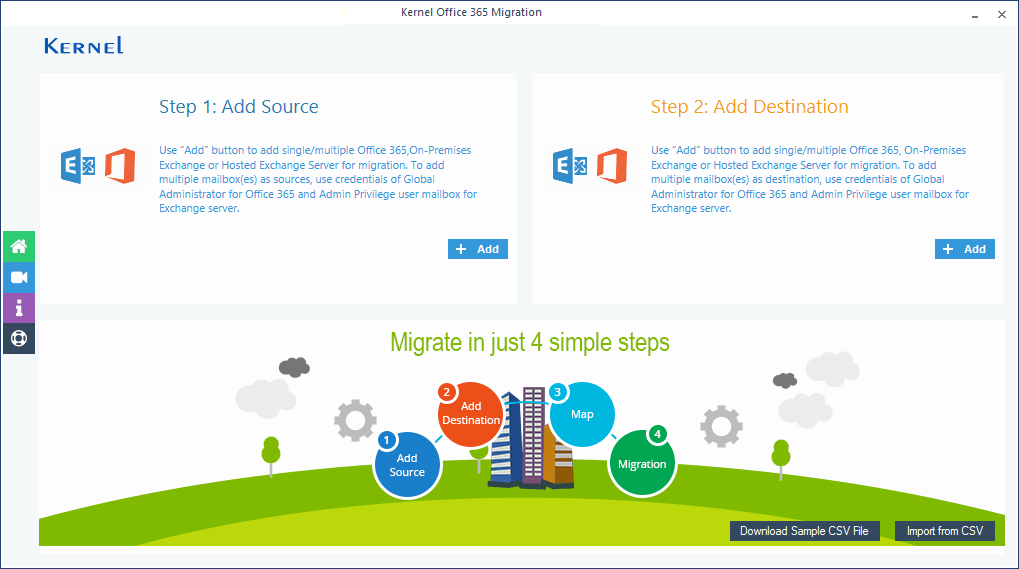
- The Office 365/Exchange login window will appear on the screen, provide credentials for Office 365 account, select List all mailboxes using above credentials, and then hit the Get User mailboxes button. It will display all the Office 365 mailboxes, select the required Shared mailboxes, and then click Add.
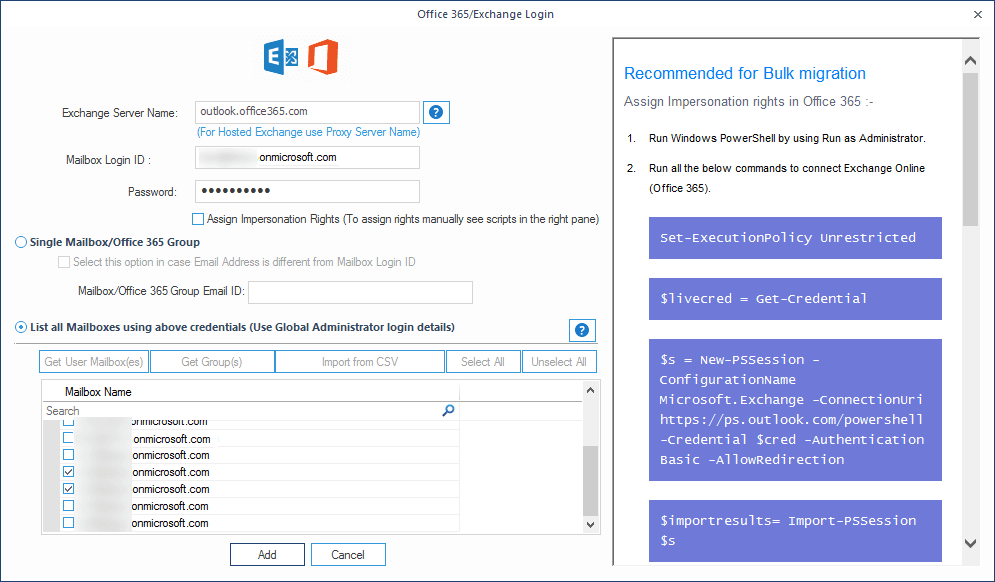
- The mailboxes will be added to the source section, now click Add in the Add Destination section.
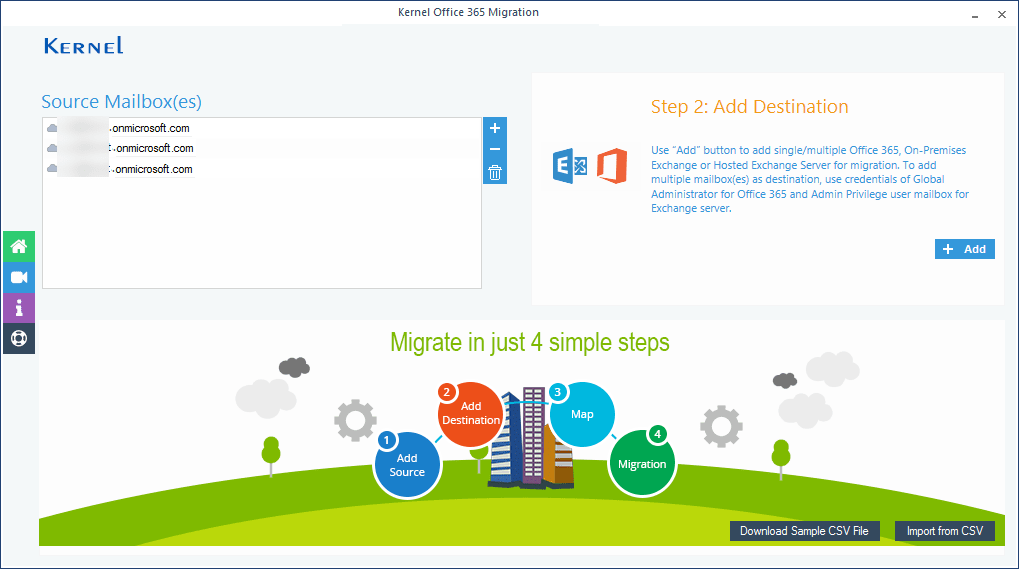
- Enter the credentials for destination Office 365 account. Then select the second option “List all mailboxes using the above credentials” and click the Get User Mailboxes. It will display all the Office 365 mailboxes, select the specific mailboxes to which you want to migrate Shared mailboxes, and then click Add.
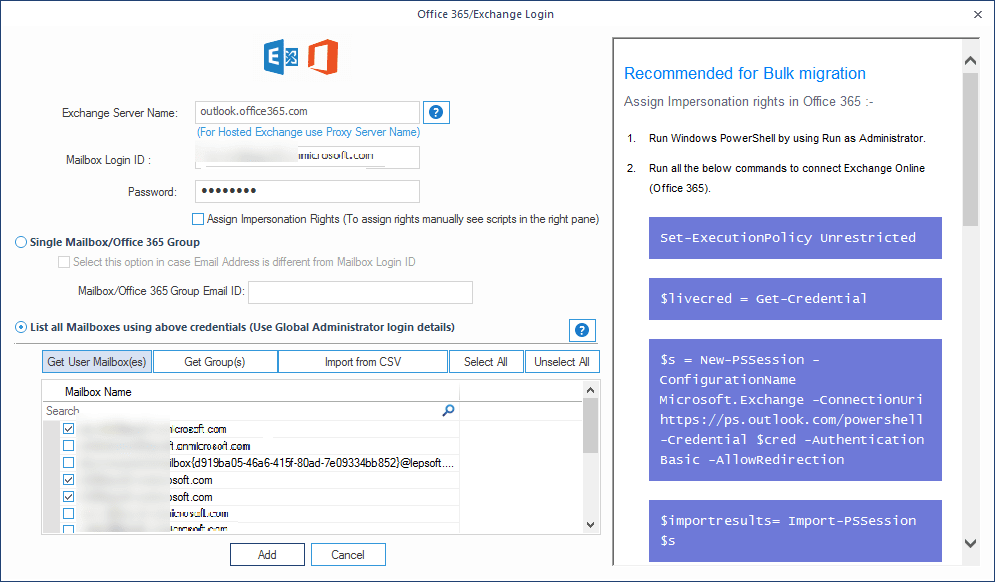
- Once both the source and destination mailboxes are added, map mailboxes with each other, and then click Set Filter and Migrate.
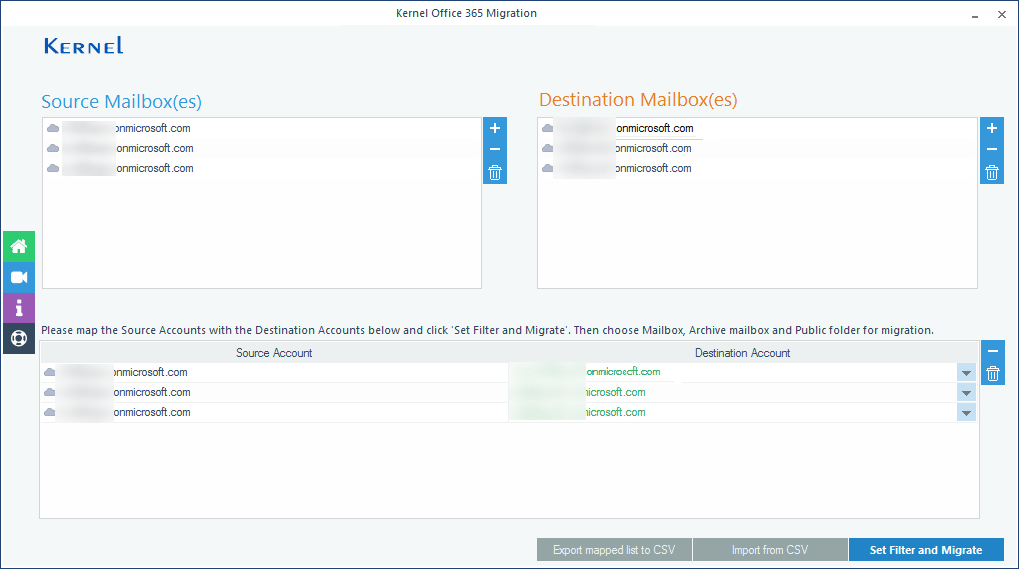
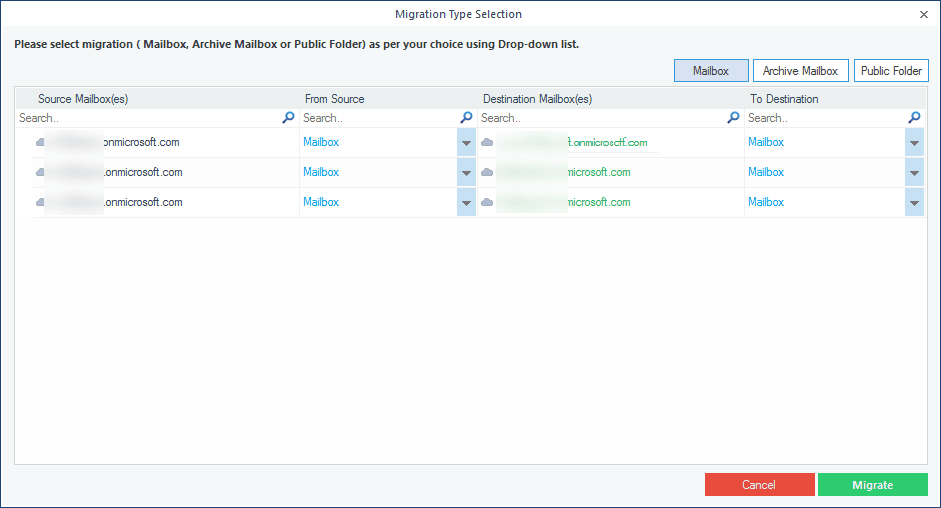
- In the next step, select the mailbox type to which you want to migrate shared mailboxes and click Migrate.
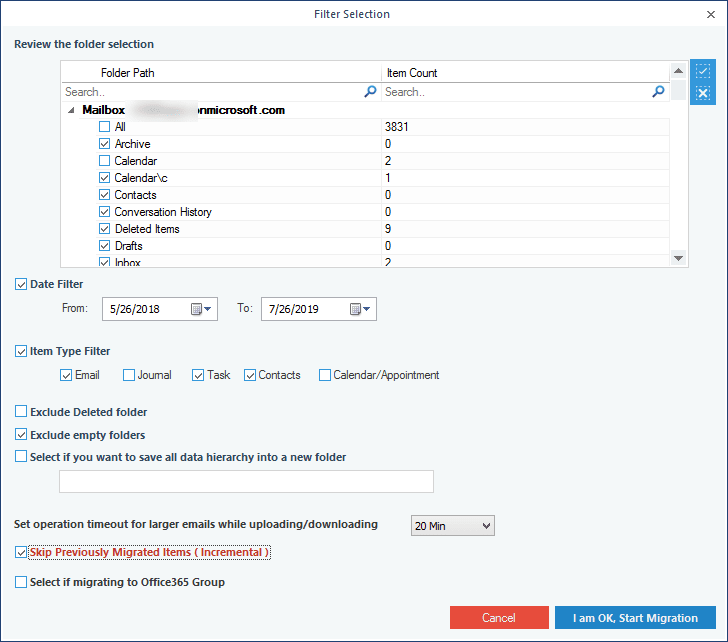
- The filter section window will appear on the screen, apply the specific filters to the mailboxes as per your requirements, and click I am OK Start Migration.
- The software will start migrating shared mailboxes to Office 365 mailboxes. Once the migration is done, a notification will appear on your screen confirming the same, click OK to finish the process.
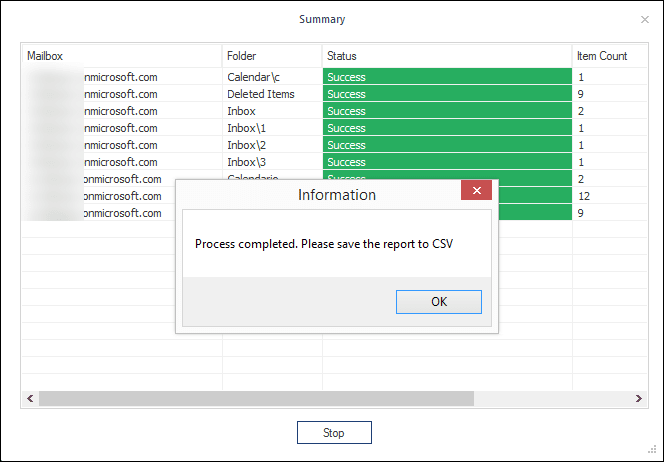
Note: If you want to save this report to CSV format, then click Save report to CSV. And that’s how you migrate shared mailboxes between Office 365 tenants with this powerful migration tool.
Conclusion
Migrating shared mailboxes between Office 365 tenants or if you want bulk mailbox migration to Office 365, then it is a complicated task. Also, there is no manual approach to migrate shared mailboxes. Therefore, we talked about robust software which will provide you with options to migrate mailbox between tenants Office 365 seamlessly. Moreover, you can transfer data from numerous cloud service providers into Office 365.


What a smooth migration process after using the software. The speed is really good for large mailboxes. Even when their size in many gigabytes.