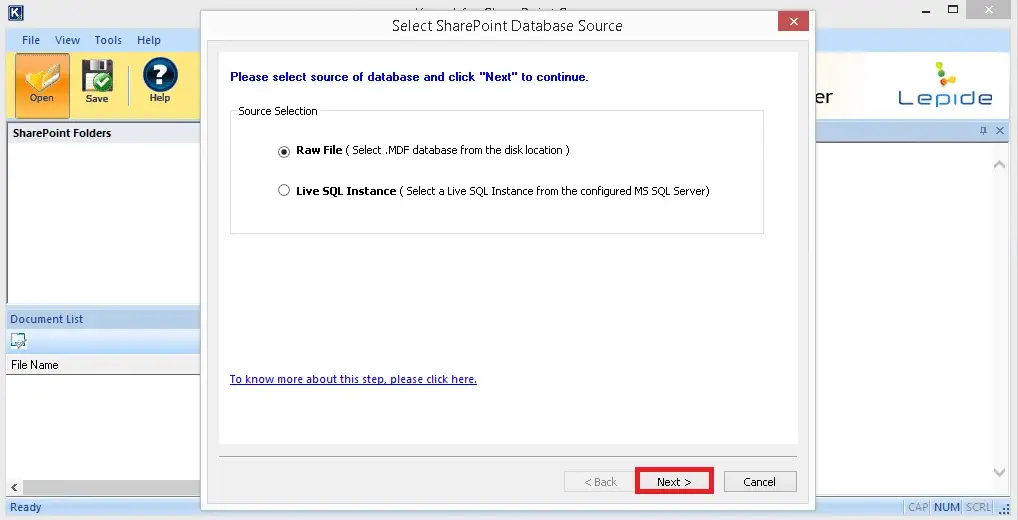
Step 1: In the home screen of the Kernel for SharePoint Server Recovery tool, select Raw File option, then proceed to Next.
Step 2: Utilize Browse feature to add the SharePoint Server database file in the software.
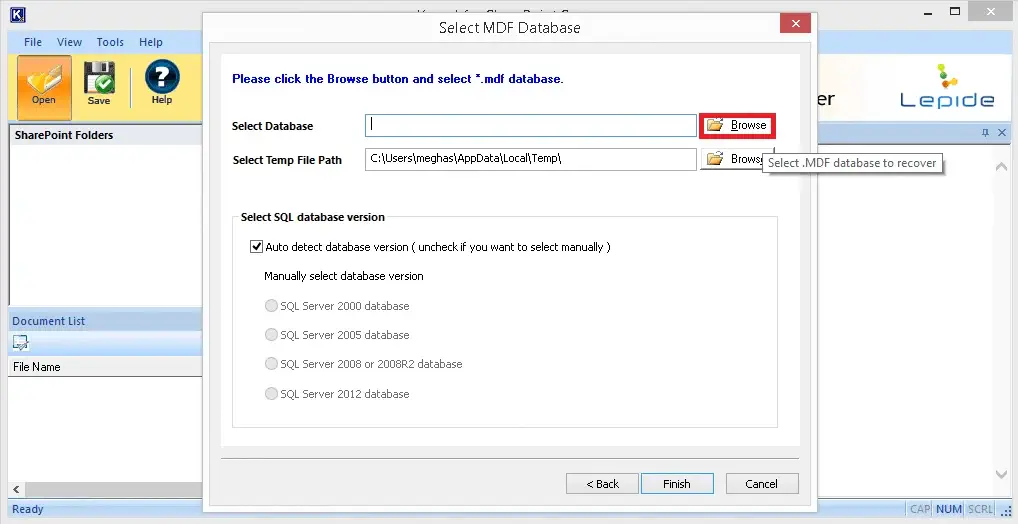
Step 3: After the selection of SharePoint Server database file from the source folder is done, click on Open.

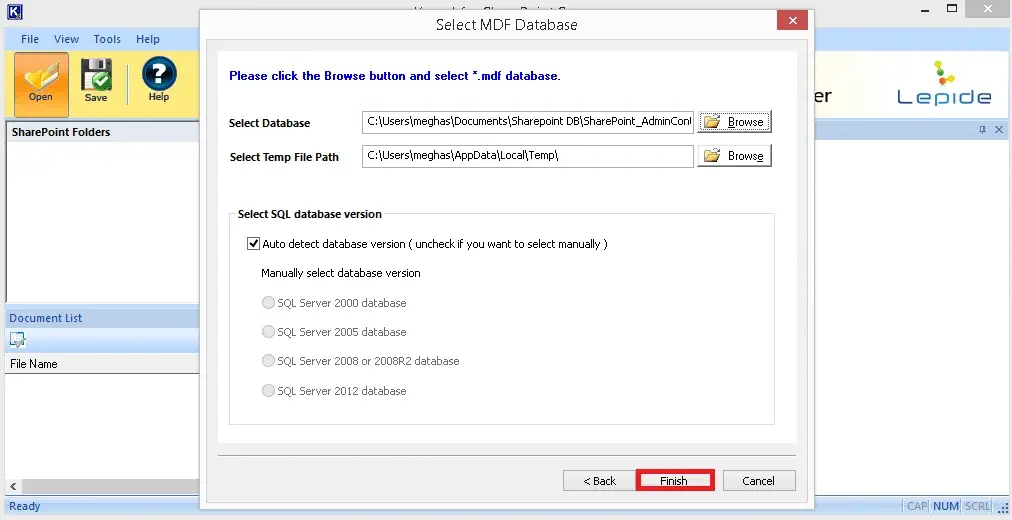
Step 4: Once the SharePoint database file is added, tap on Finish option.
Step 5: Preview content from the recovered SharePoint database file.
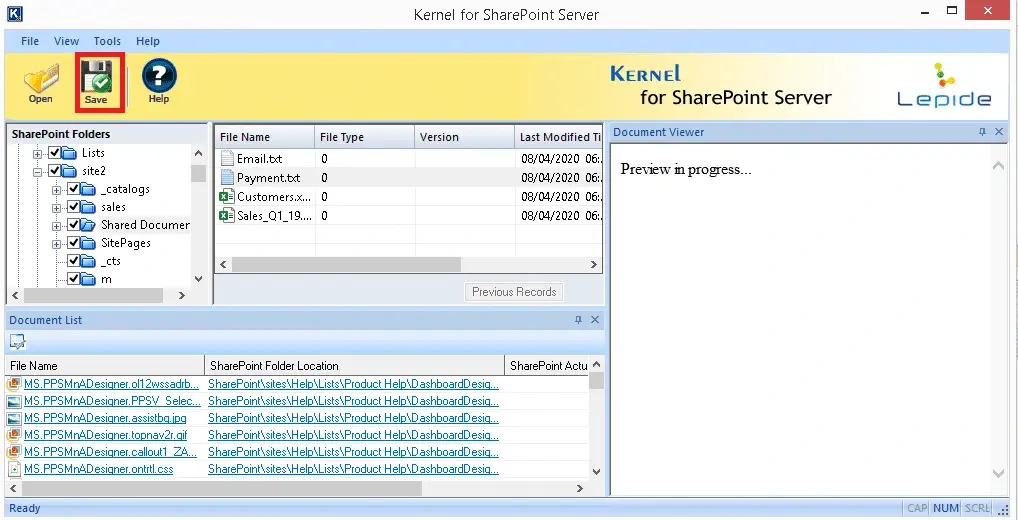
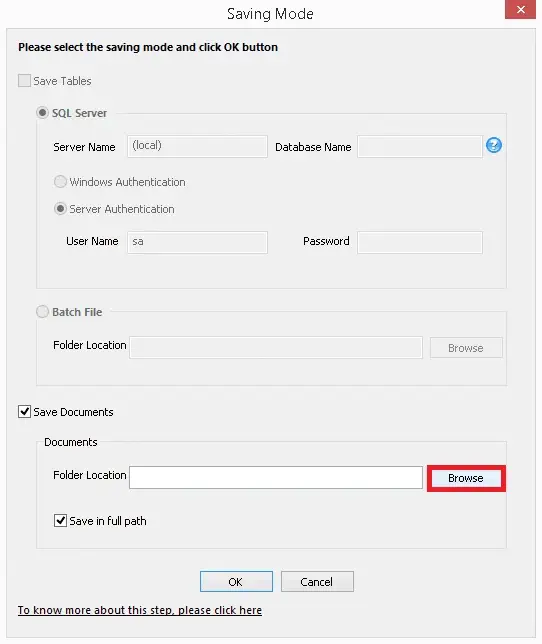
Step 6: Choosing the Saving mode after SharePoint database recovery and Browse to select your desired location for saving file the recovered file.
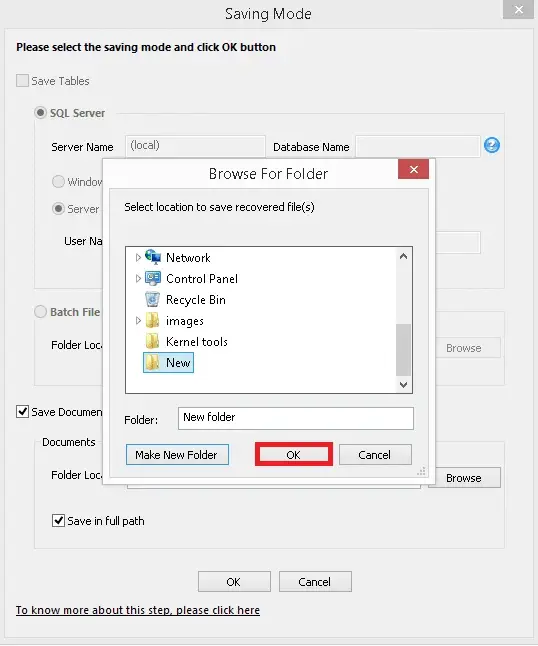
Step 7: Select the folder in which you wish to save the recovered file, then proceed to OK.
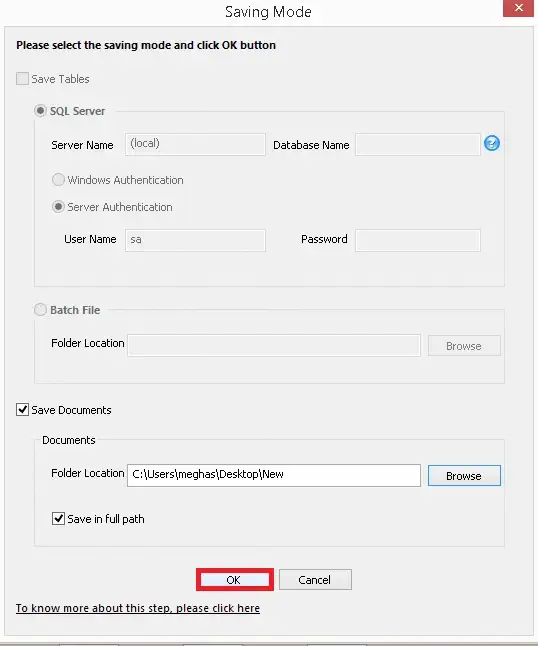
Step 8: Initiate the SharePoint database recovery process by clicking on OK button.
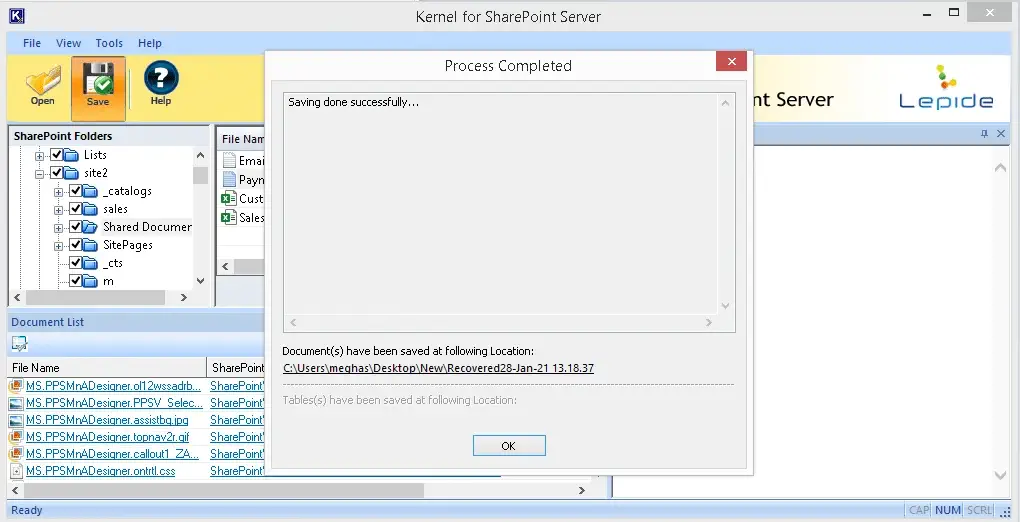
Step 9: The SharePoint database recovery is completed successfully.