Salesforce Backup Process
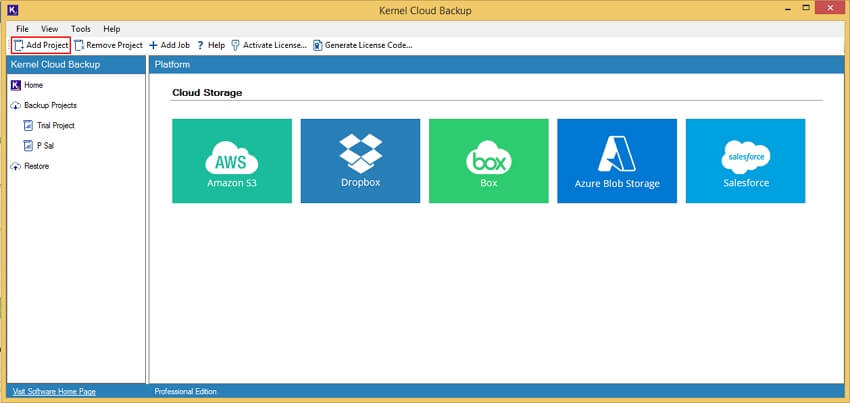
Step 1: Launch Kernel Salesforce Backup and Restore tool and go to Add Project.
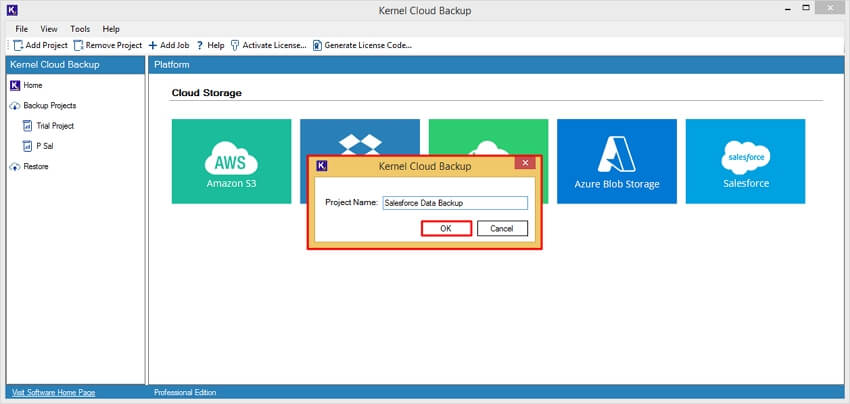
Step 2: Provide a Project Name and click OK to create a new project.
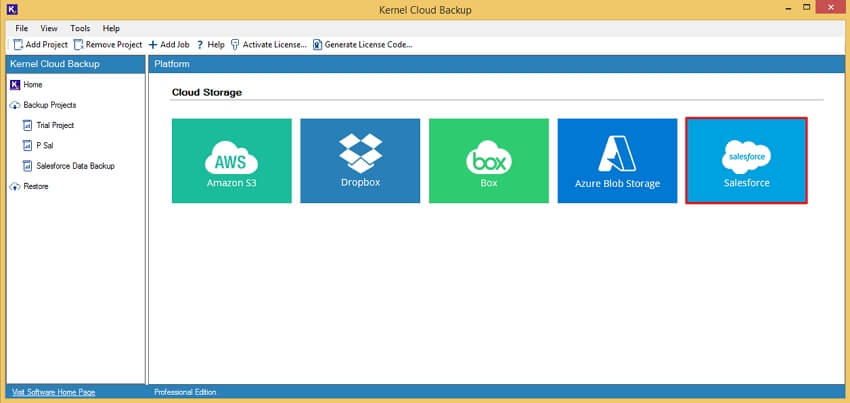
Step 3: Double-click on the Salesforce option.
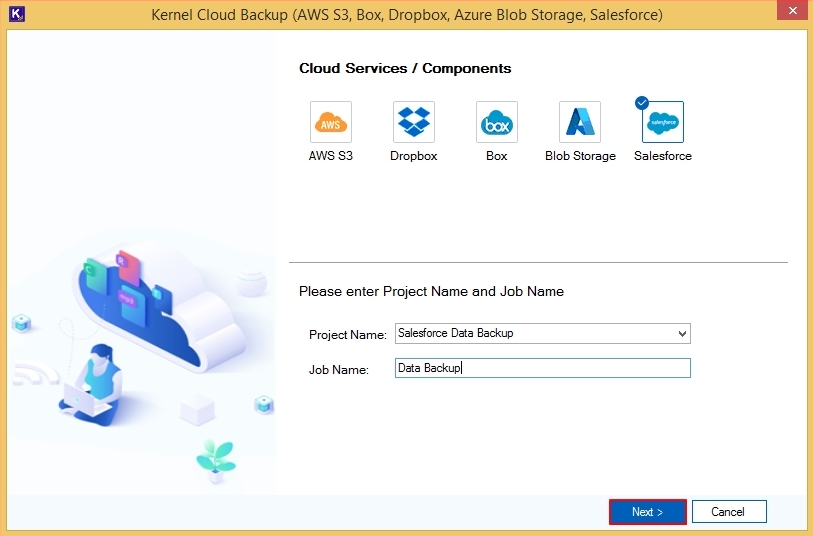
Step 4: In the Job Name option, enter preferred job name and create a Salesforce backup job.
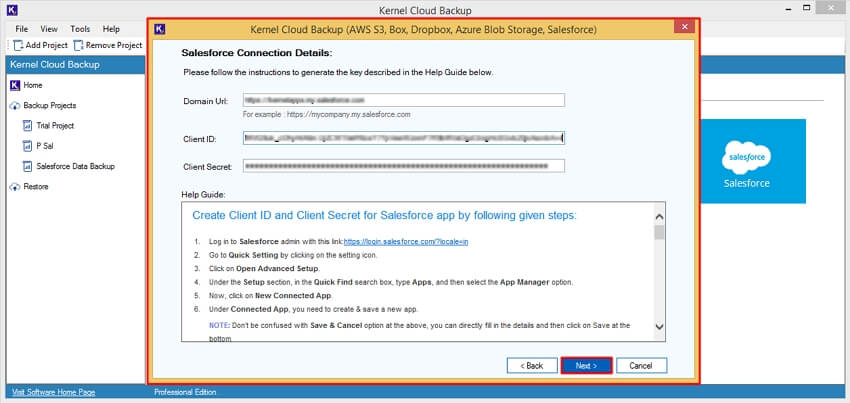
Step 5: In the Salesforce Connection Details wizard, enter Salesforce details, such as Domain URL, Client ID, and Client Secret. Click Next to initiate the backup process.
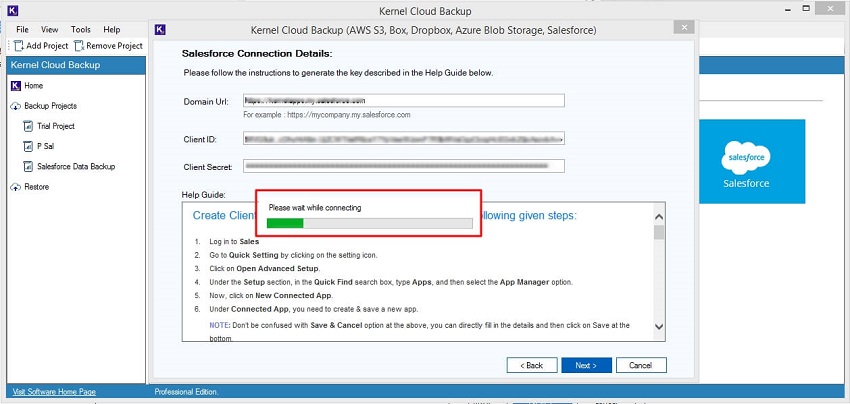
Step 6: The software will start mapping the Salesforce account with the software and show “Please wait while connecting” message.
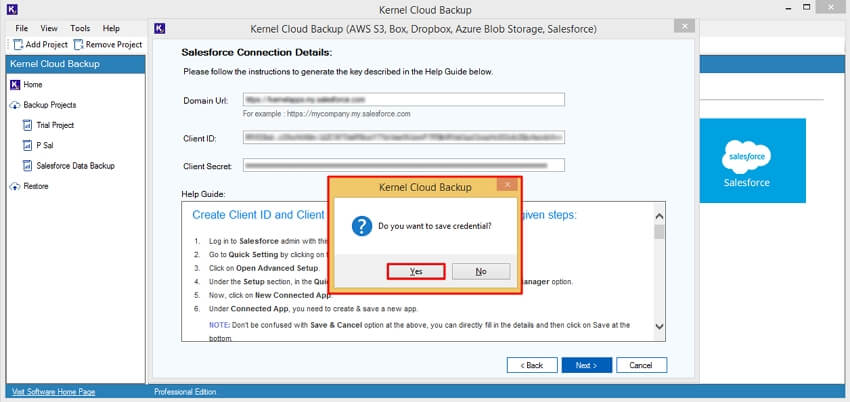
Step 7: In the following wizard, click Yes to save credentials in the software.
Step 8: The software will open Destination wizard; click on Browse option.
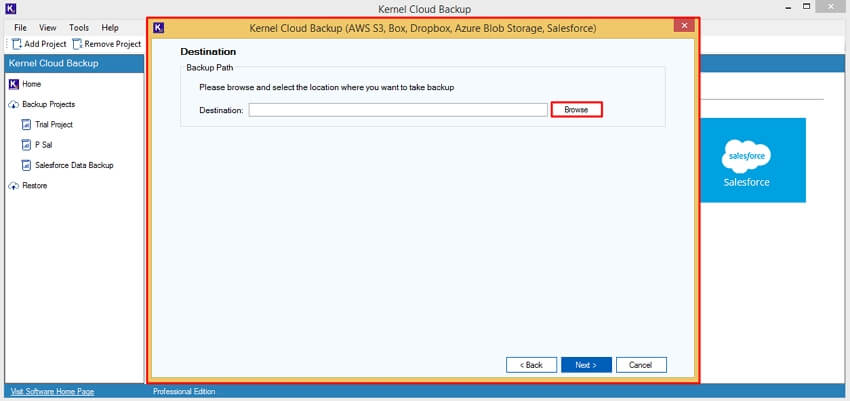
Step 9: In the Browse For Folder wizard, select drive and click Make New Folder to create a new folder in that specific drive. After that, click on OK to save the backed-up data.
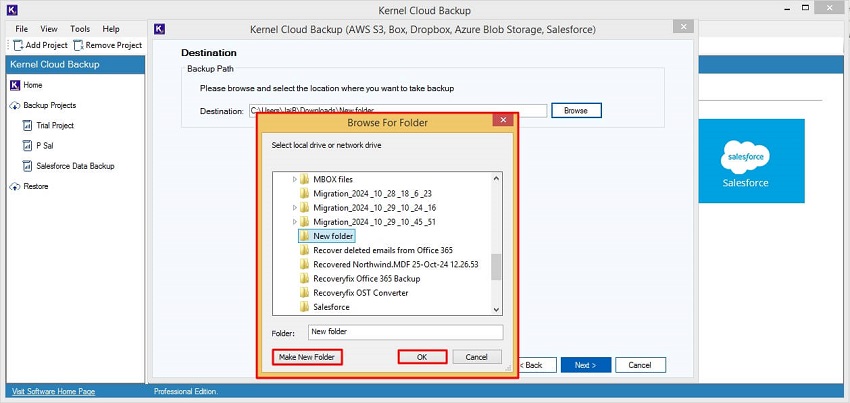
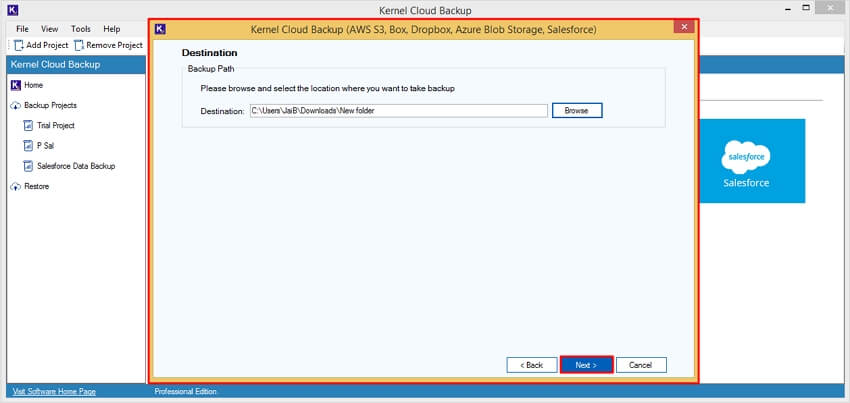
Step 10: Once the destination folder is selected, click Next to begin the backup process.
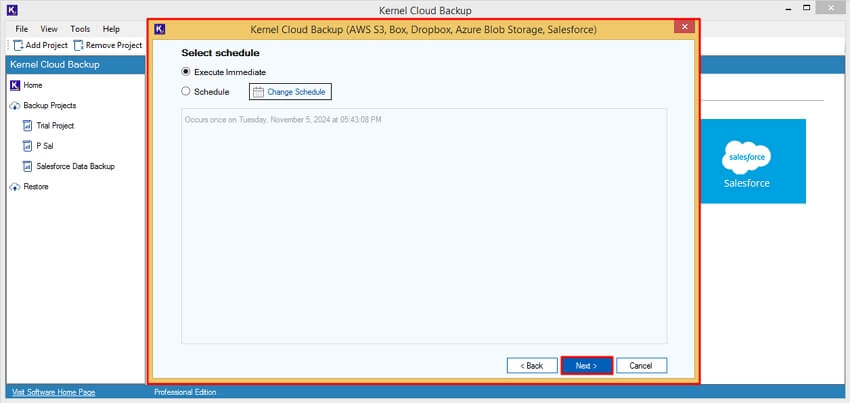
Step 11: In the Select schedule wizard, select from:.
- Execute Immediate: to start the backup process instantly.
- Schedule: To set a time when the software will automatically start taking backups of Salesforce.
Step 12: Click on the Project Name and select Job Name to view backup status in the software console.
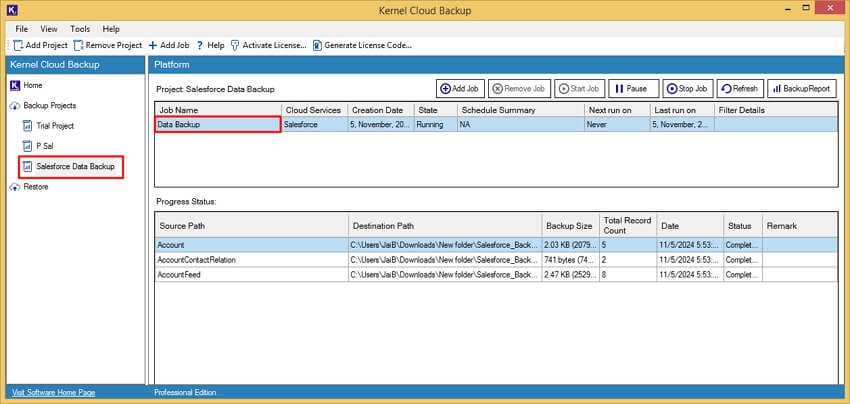
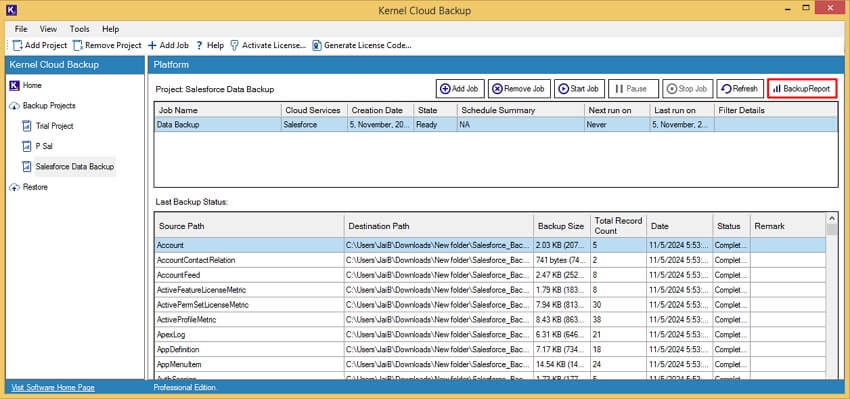
Step 13: When the backup is completed, the software will show Ready status. Click on Backup Report to generate backup reports.
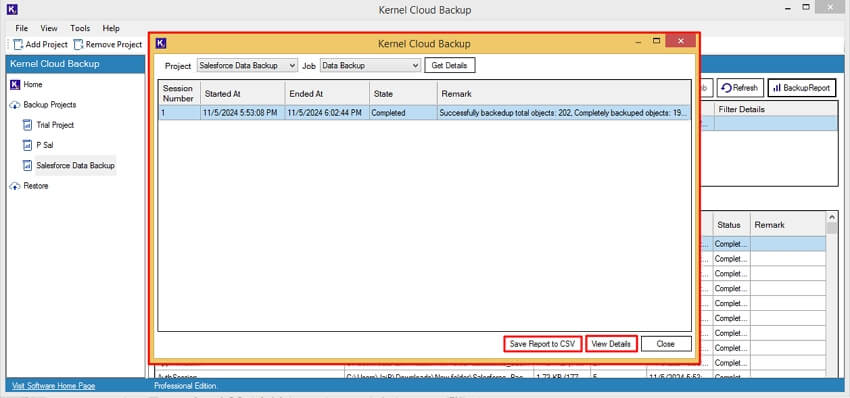
Step 14: To save project name and job name summary report, click Save Report to CSV. However, if you want to see an in-depth report, click on View Details.
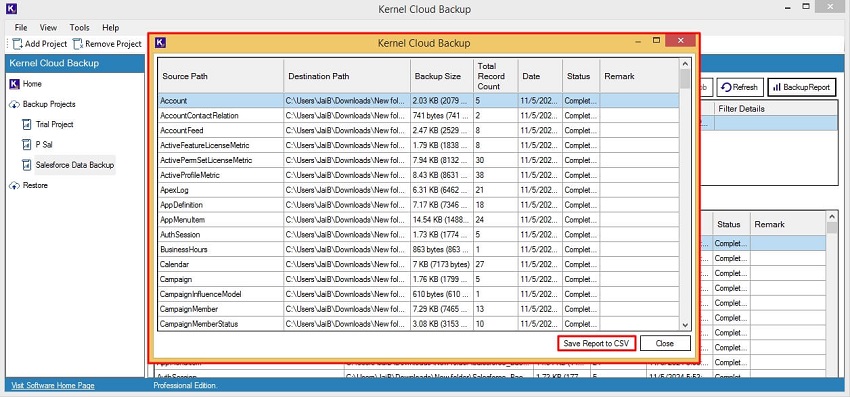
Step 15: To download a detailed backup report, click on Save report to CSV option.
Step 16: In the Save As wizard, select desired location and click Save to download a detailed backup CSV report.
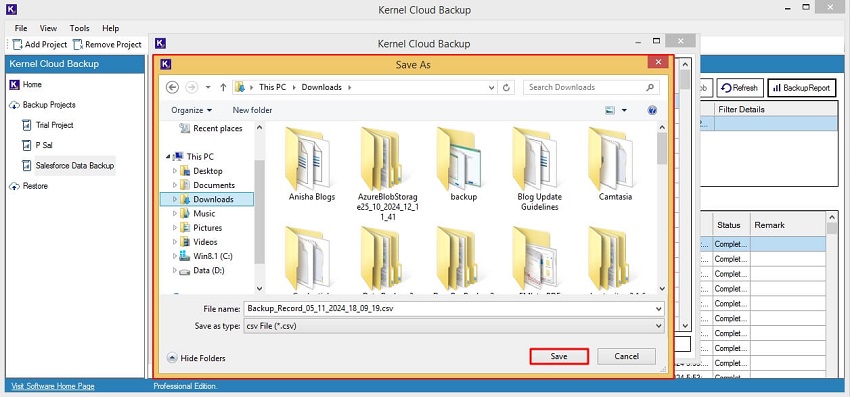
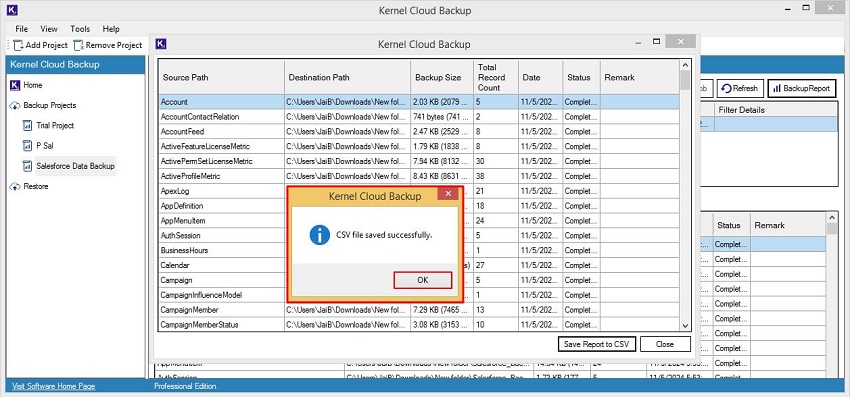
Step 17: The software will pop up CSV file saved successfully message; click OK.
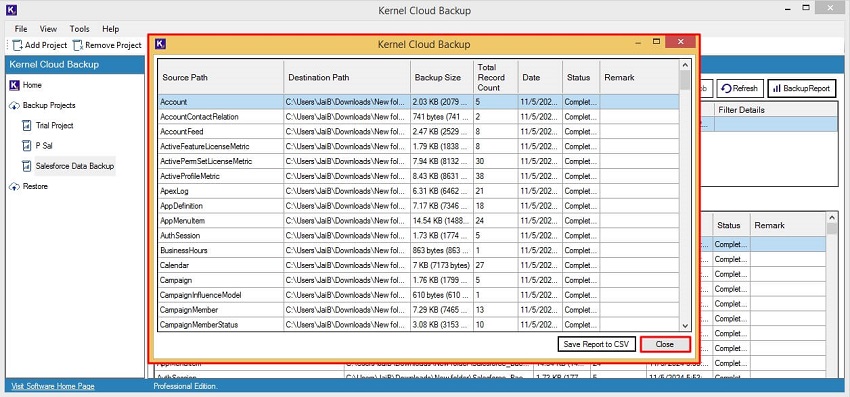
Step 18: Finally, click on Close to end the backup process.
Salesforce Restore Process
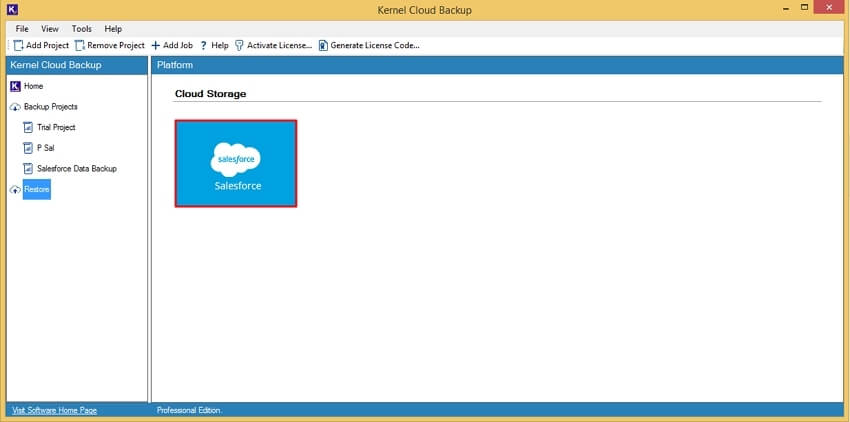
Step 1: To restore data from Salesforce backup, run Kernel Salesforce Backup and Restore tool and go to Restore tab.
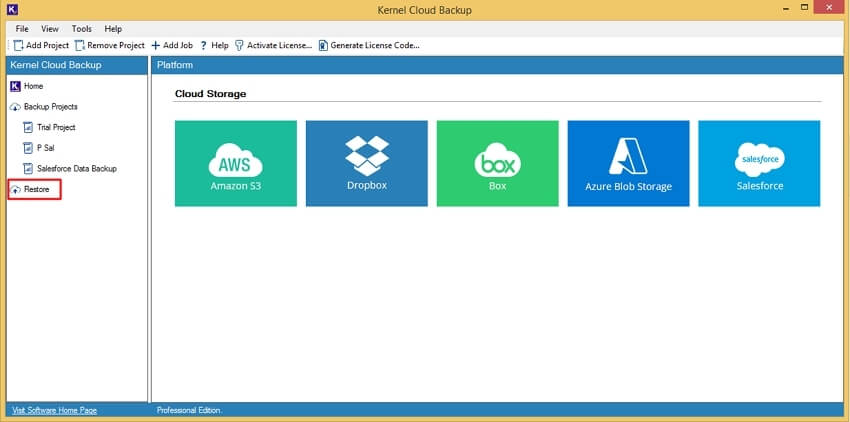
Step 2: Click on Salesforce cloud storage to proceed.
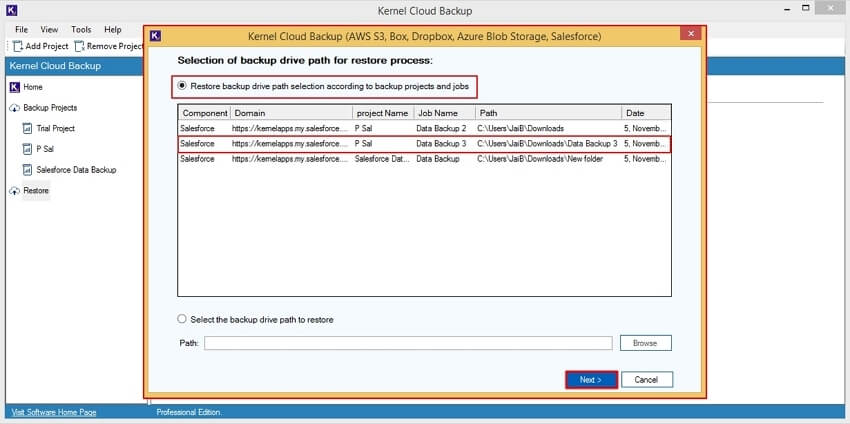
Step 3: From the “Selection of backup drive path for restore process” screen, select backup path from the given options and click Next.
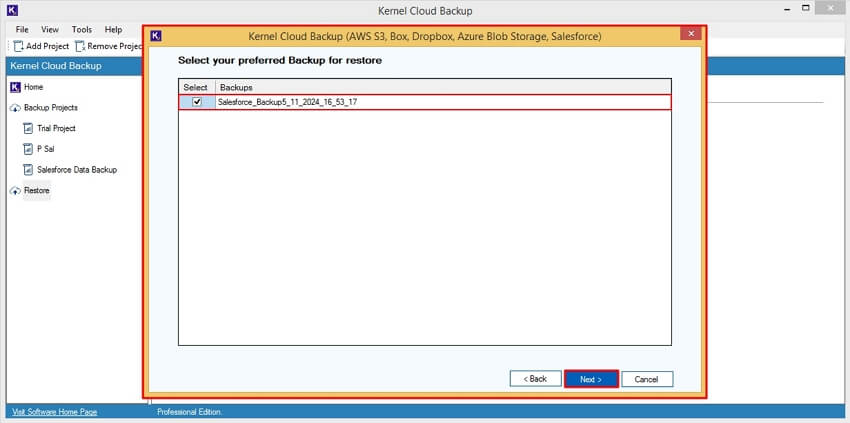
Step 4: In the Select your preferred Backup for restore wizard, select backup source and click Next.
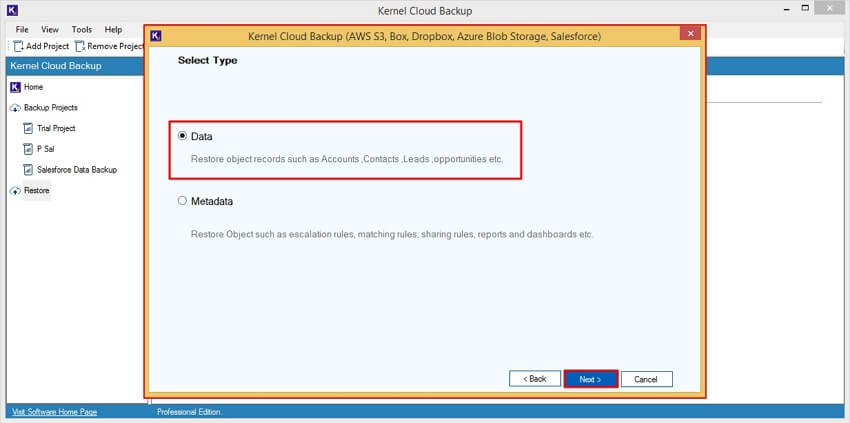
Step 5: Select Type of data you want to restore from:
- Data
- Metadata
After that, click Next to initiate restore process.
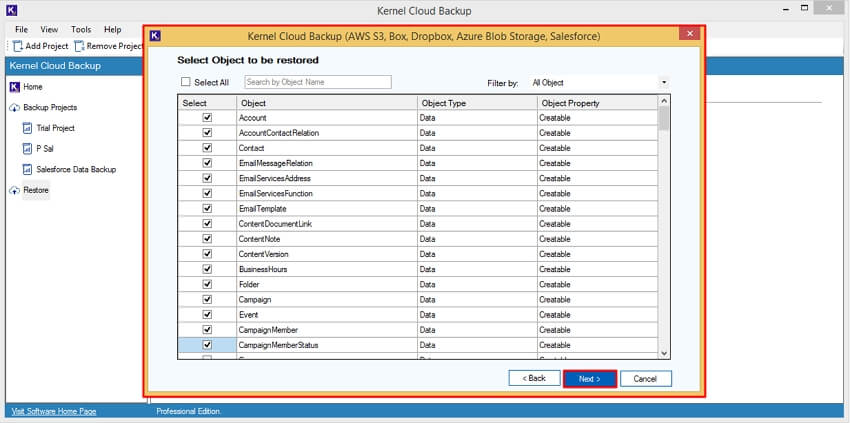
Step 6: The software pops up a new screen where you can select the objects you want to restore and click the Next button.
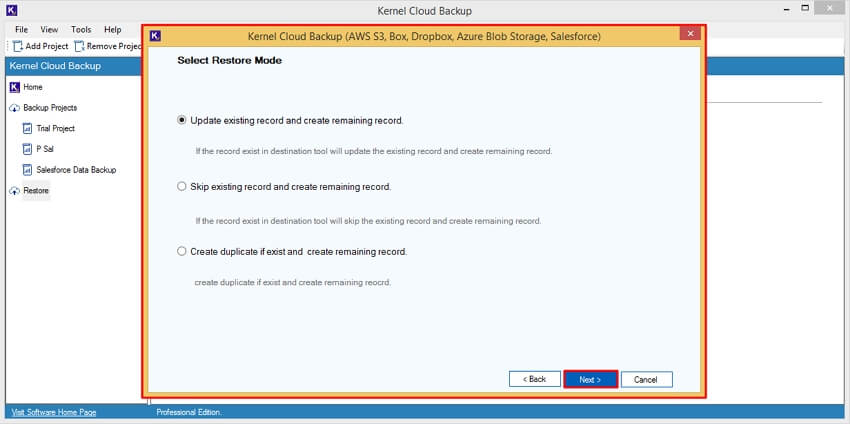
Step 7: Now proceed to define the restore mode you want to go ahead with:
- Update existing record and create remaining record
- Skip existing record and create remaining record
- Create duplicate if existing and create remaining record
After selecting restore mode, click Next.
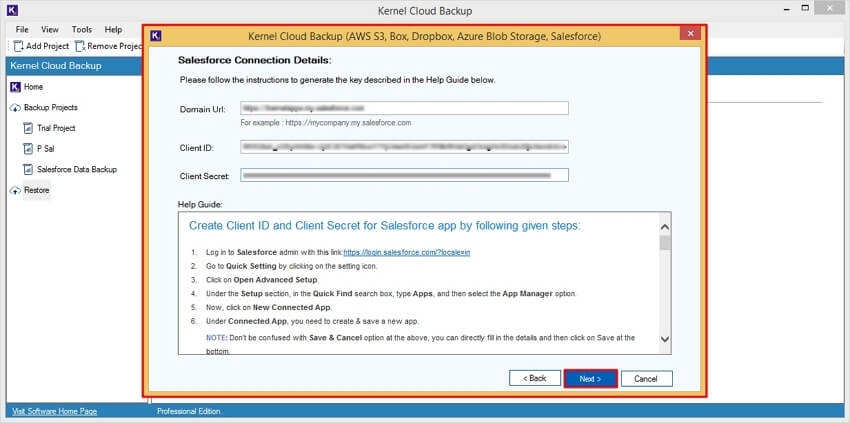
Step 8: In the Salesforce Connection Details wizard, enter Salesforce credentials such as Domain URL, Client ID, and Client Secret. Click Next to initiate restore process.
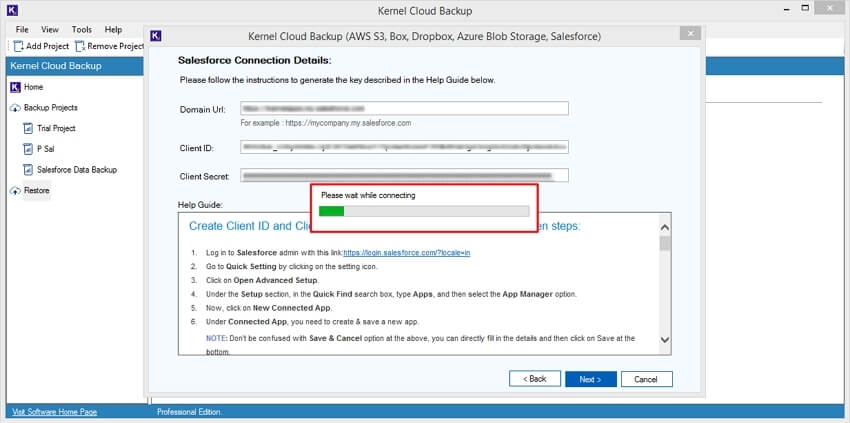
Step 9: The software will start mapping the account with the software and show “Please wait while connecting” message.
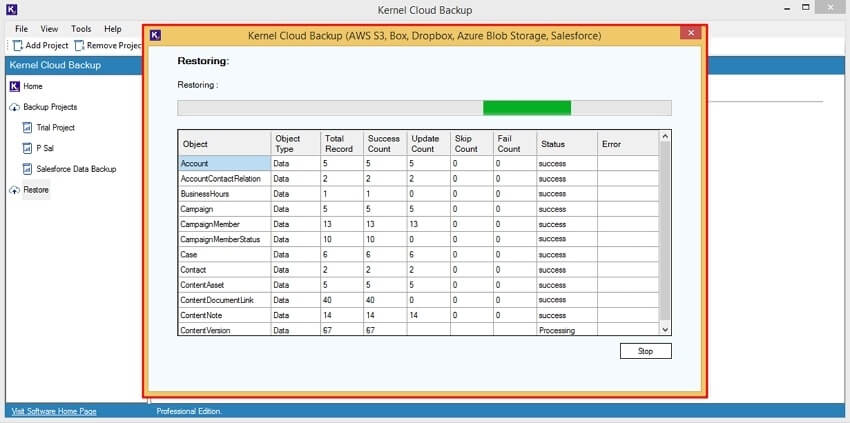
Step 10: The software will start recovering and show Restoring status in the toolbar.
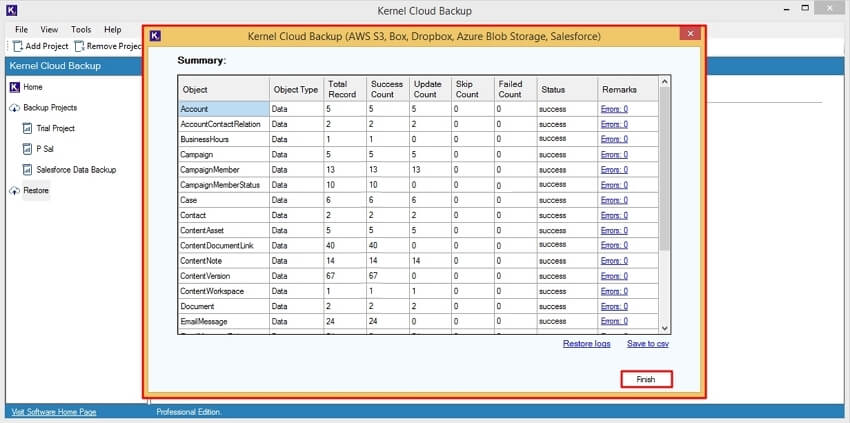
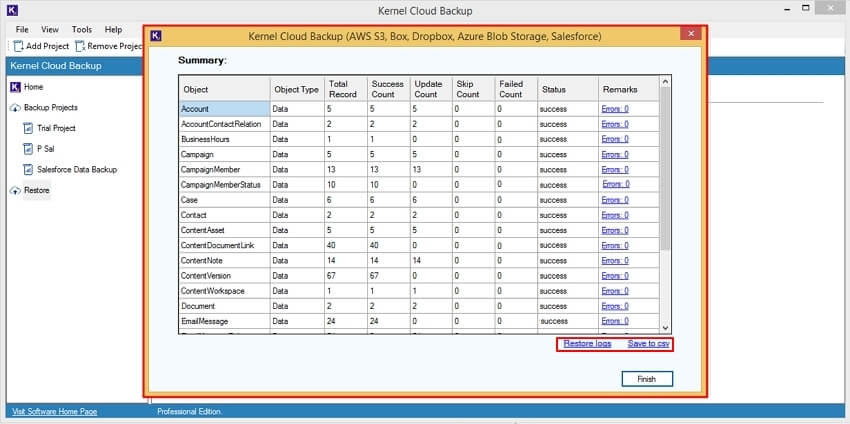
Step 11: Once the restore process is completed, you can easily view Restore logs in notes and download restoring summary in CSV format by clicking on Save to csv.
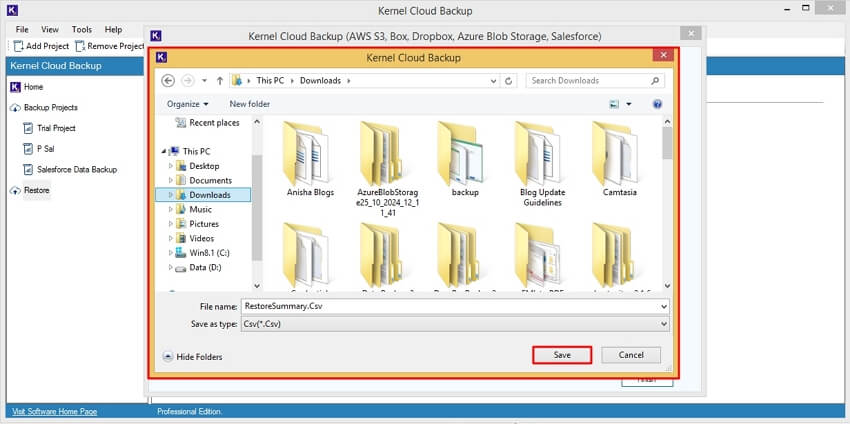
Step 12: Select specific location in your local drive and click Save to download CSV file.
Step 13: Click on Finish to finalize the restore process.
