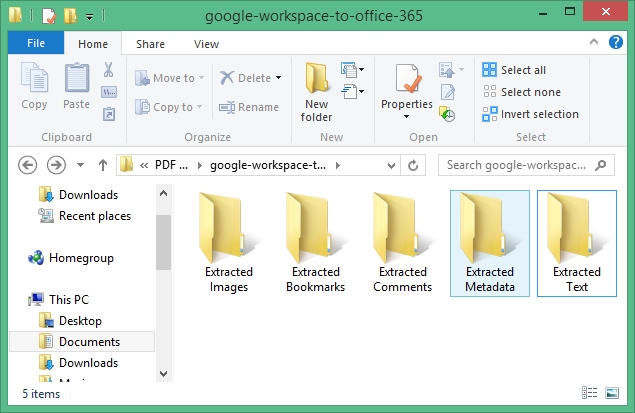
Kernel Extractor for PDF is an efficient PDF extractor that you can use to extract different data from a PDF file(s) by following a simple process. Let us go through the steps to learn how to extract PDF file data:
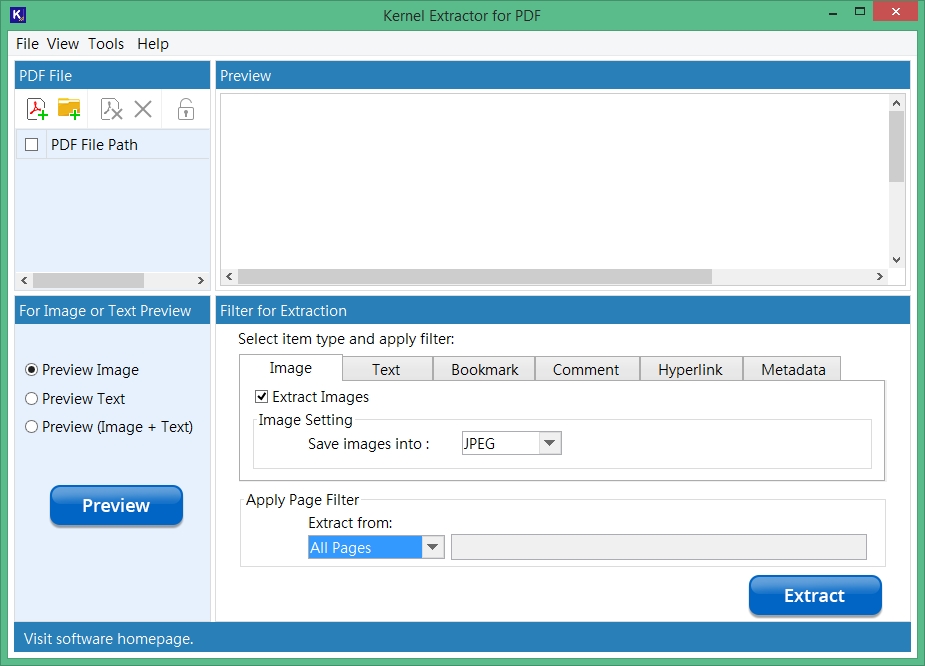
Step 1: Launch Kernel Extractor for PDF tool and you’ll see a self-descriptive screen with so many features.
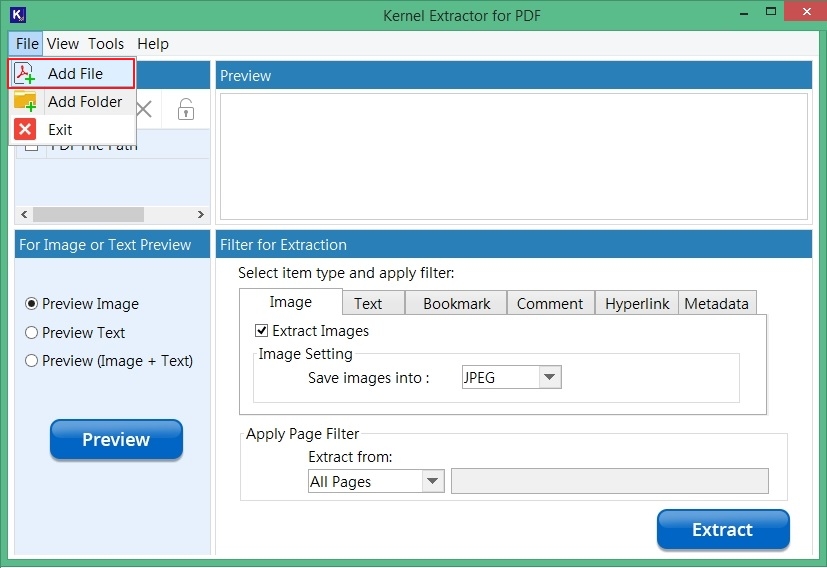
Step 2: Go to the ribbon at the top and there click on File and select Add File to import your desired PDF files for the extraction process.
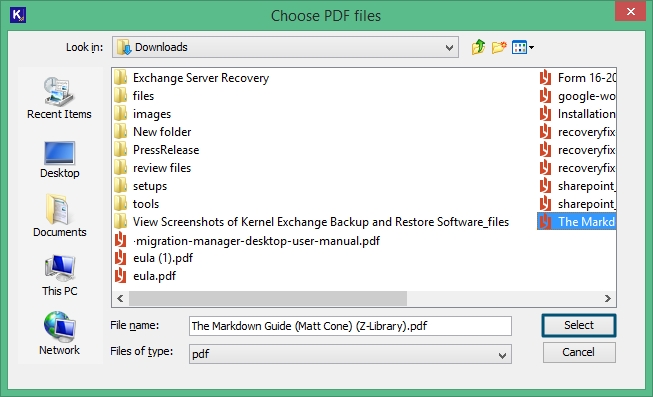
Step 3: Choose the targeted PDF files from your local storage to add in the list and click Select.
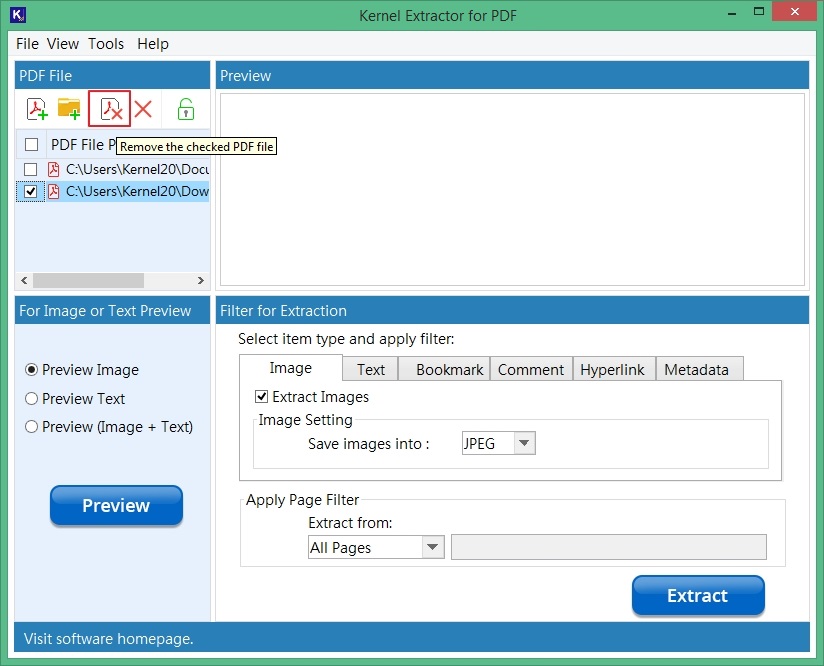
Step 4: Checkmark the particular file and click on Remove button if you want to remove a file.
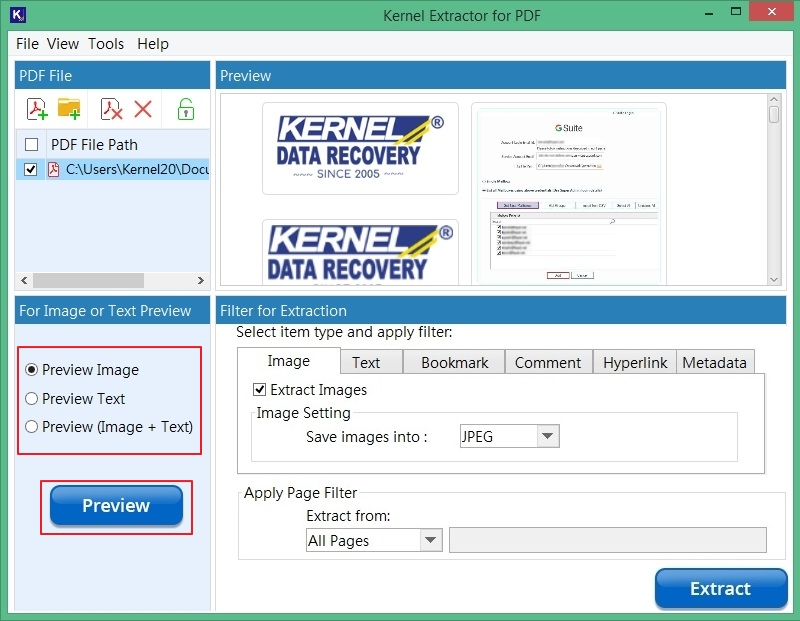
Step 5: Now select any PDF, then Preview Image and then click on Preview button to see the images added in the PDF file.
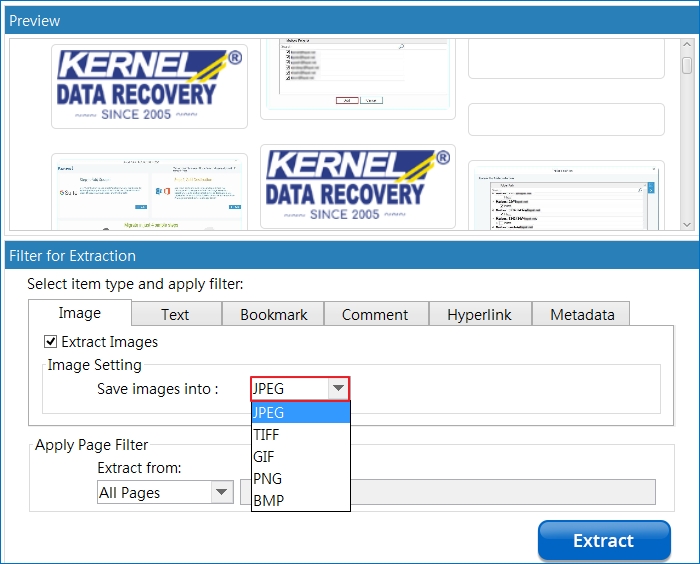
Step 6: In the Image tab, mark the check box Extract Images if you want to extract images from pdf. It also allows you to select the output type to Save images into JPEG, TIFF, GIF, PNG, and BMP.
Step 7: Select the Text tab and mark the check box Extract Text and then adjust the Text Setting to Save text into TXT, PDF, HTML, or DOCX format.
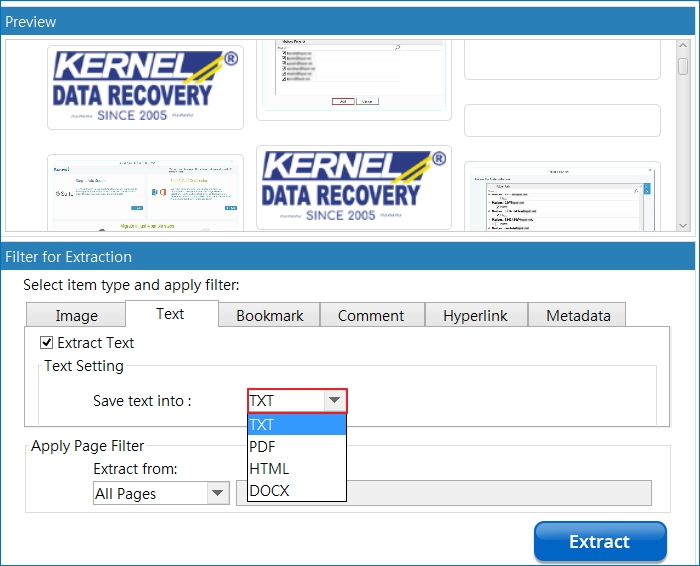
Similarly you can go to each tab and mark the checkbox if you want to extract the data and then define the format to which you’re looking to save the data.
Step 8: Once done, you can Apply Page Filter, if you want to extract one page from pdf or want to extract selective page range. Click Extract to start PDF extraction.
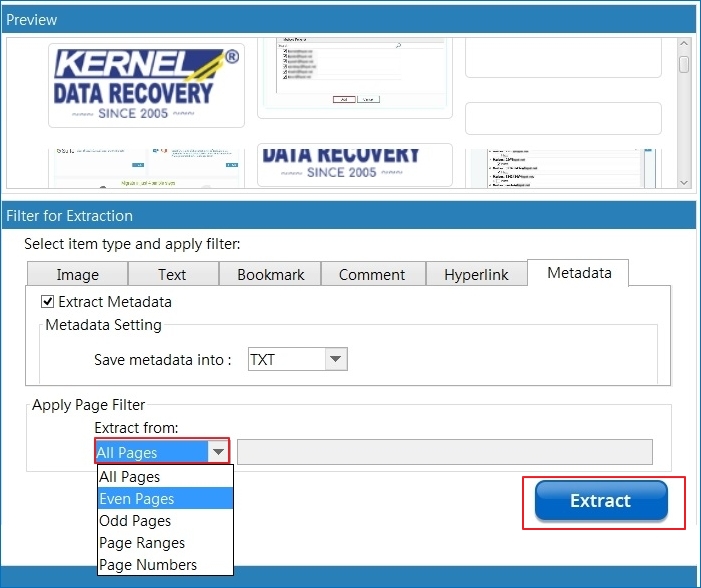
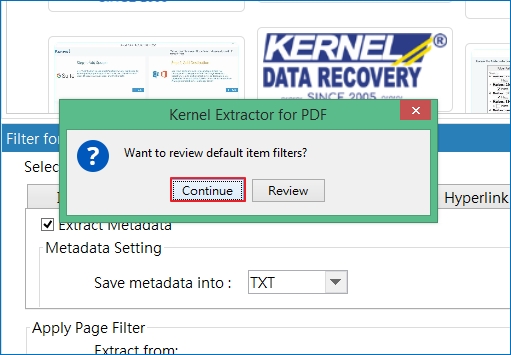
Step 9: From the dialog box, select Continue if you’re fine with the filters selection and want to proceed with the further process. However, if you want to make changes to the filters or selected format type, click on Review and then Extract.
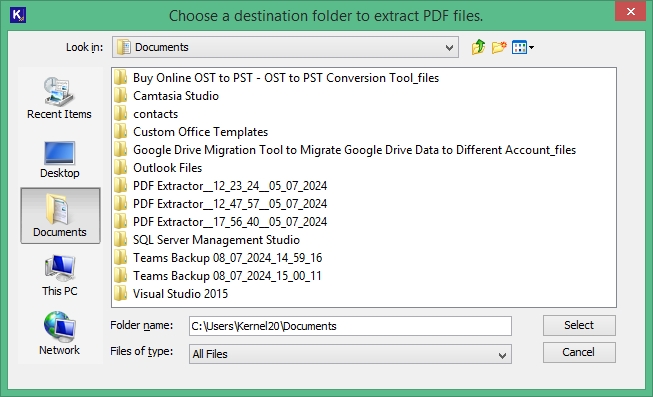
Step 10: Choose the destination to provide a path to save the extracted data to your local storage.
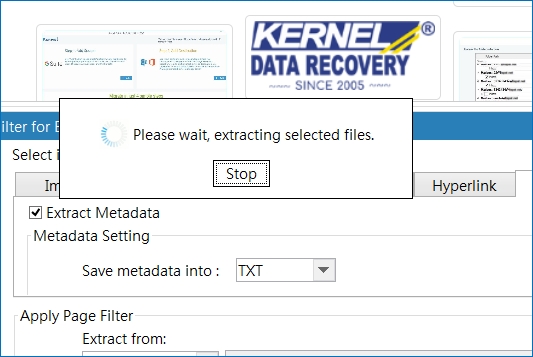
Step 11: The process of pdf file extraction has begun. Click on Stop button if you want to stop the process in between the execution.
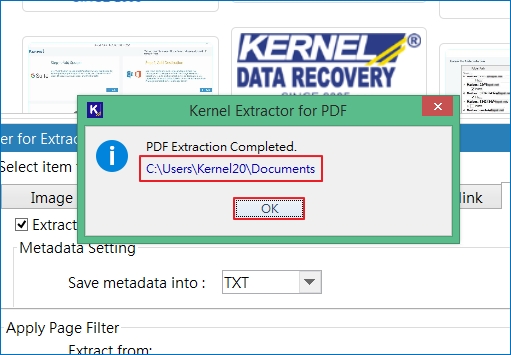
Step 12: Extraction of PDF file is complete, click on the given path to your system and locate the data extracted. Click OK to finish.
Here’s how the data is arranged after the extraction.
