Microsoft Teams migration
With SharePoint migration software, you can migrate Teams channels including all their data such as messages, files, tabs, apps, members etc. from one tenant to another. Here’s a step-by-step process that guides you on how to do it.
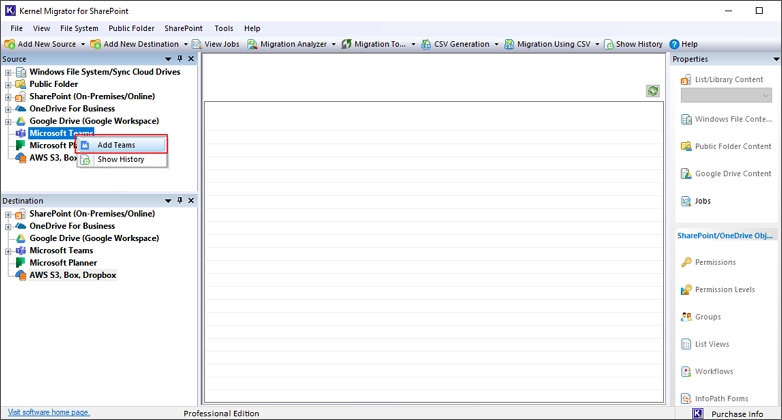
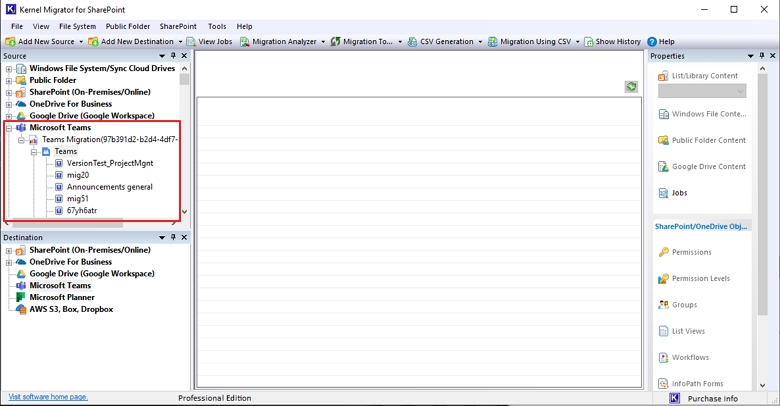
Step 1: Launch Kernel Migration for SharePoint, go to the Source pane.
Step 2: Right-click Microsoft Teams and select Add Teams to add your teams account to it.
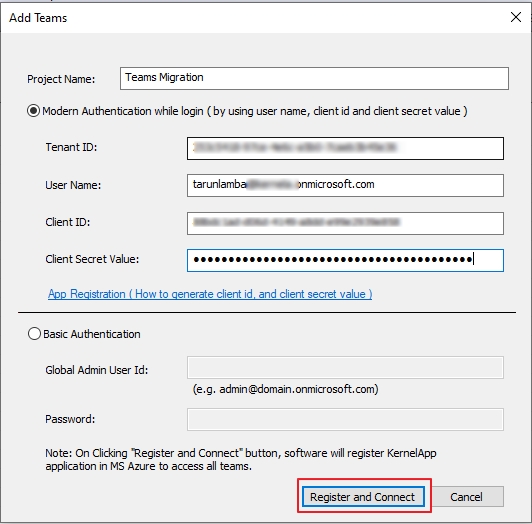
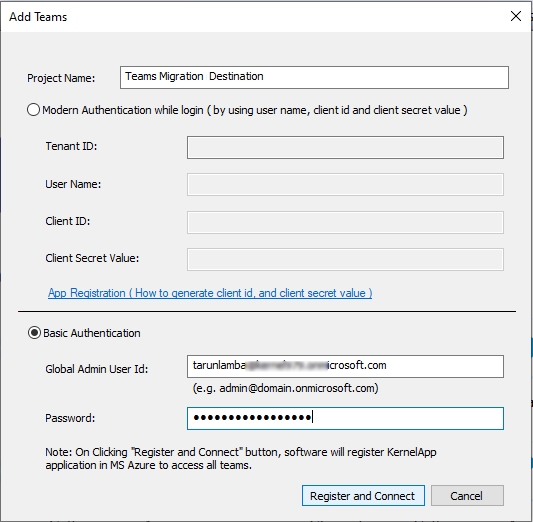
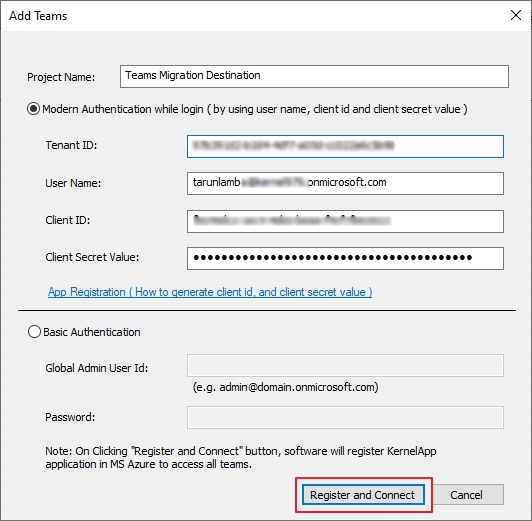
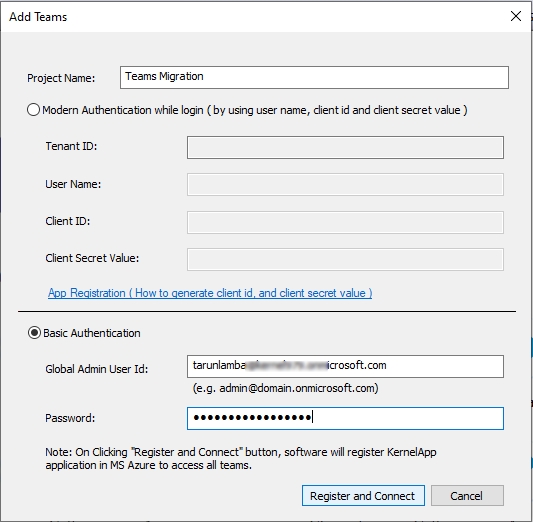
Step 3: In the Add Teams wizard, provide a Project Name and enter the credentials based on the Authentication you choose from the two.
Step 3.1: [A]: Modern Authentication: Enter Tenant ID, Client ID, Client Secret Value, and User Name from the App Registration in Azure Active Directory.

Step 3.1 [B]: For Basic Authentication (Recommended method), input a Global Admin User Id and its password.

Note: User should be a Global Administrator and possess a valid license of Microsoft 365 and Microsoft Teams to execute the data transfer.
Click Register and Connect.
Step 4: The Microsoft Teams account is added to the source. You can expand the Project Name and see the components of Teams account under the project name you created.
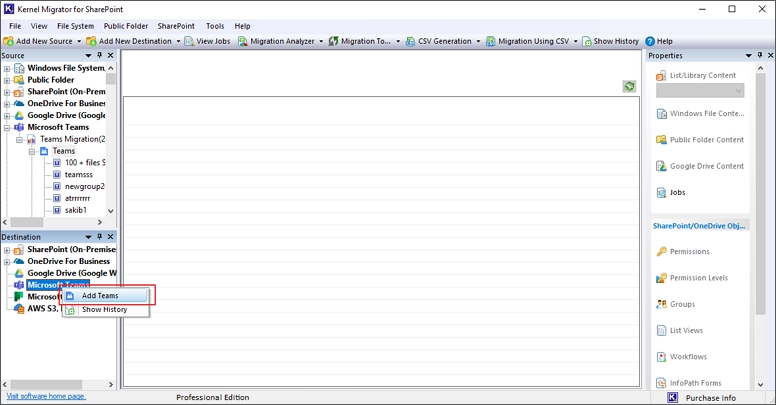
Now go to the destination pane and right-click Microsoft Teams to add the destination account with the same process you followed to add source.
Step 5: Enter the Project Name and credentials as per the Authentication Type and then click Register and Connect to connect with the destination Teams account.
Step 6 [A]: Modern Authentication: Enter Tenant ID, Client ID, Client Secret Value, and User Name as available in the App Registration in Azure Active Directory. Follow the on-screen instructions to add Teams using Modern authentication.
Note: Please make sure that the selected user is a Global Administrator with a valid Microsoft 365 and Microsoft Teams license. We recommend creating a new user in the destination tenant for migration.
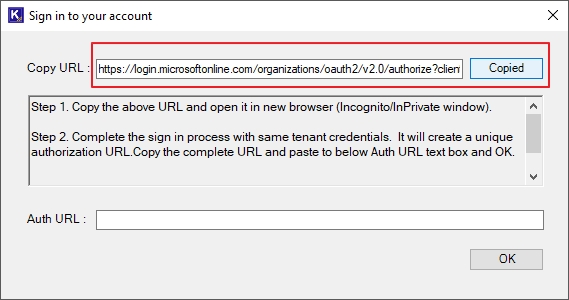
Step 6 [A-I]: In the Sign in to your account window and copy the given URL.

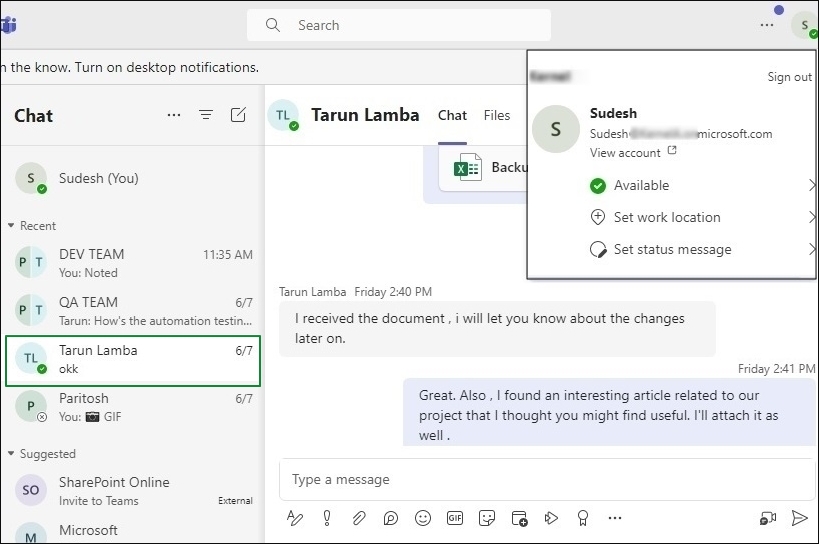
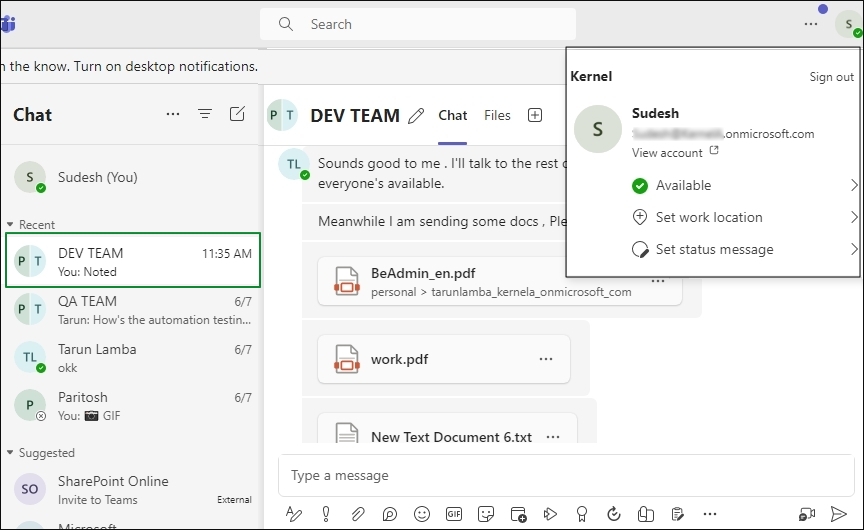
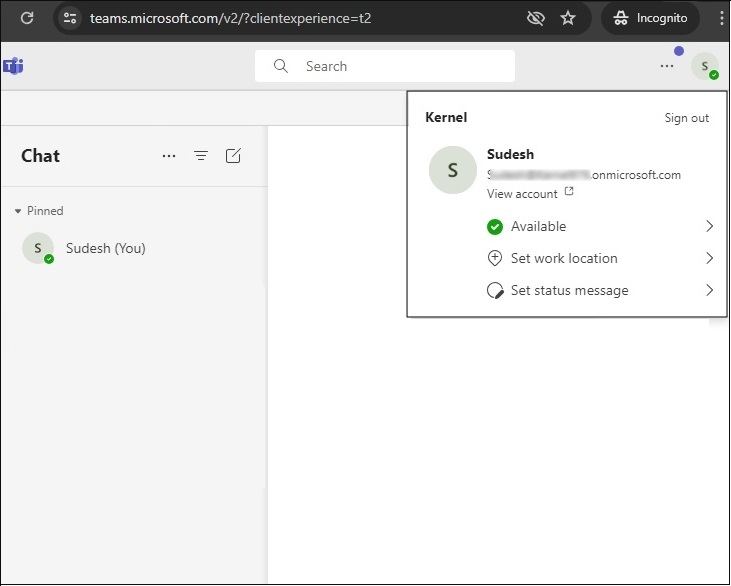
Step 6 [A-II]: Now, go to Private /Incognito window of your browser and paste the same URL in the search bar. If you’re not logged in to your Microsoft Office 365 account, it will first ask you to sign in.
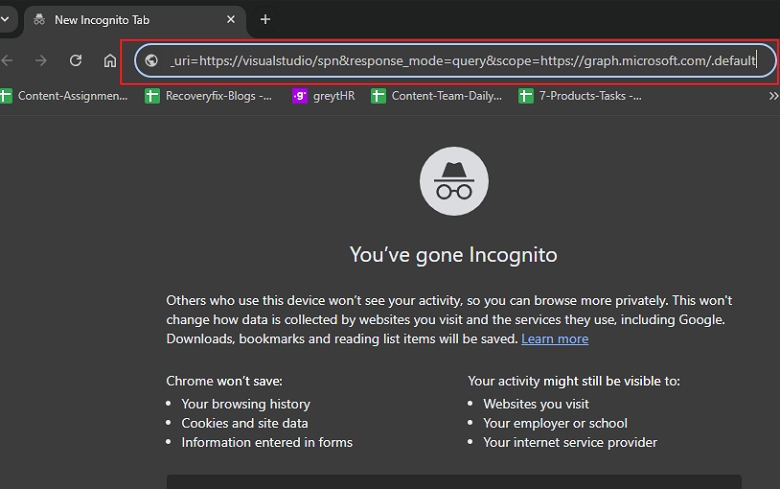
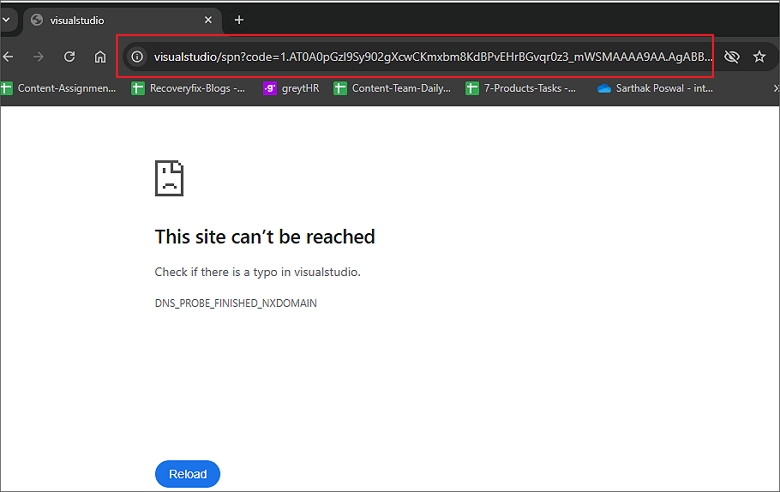
Step 6 [A-III]: Copy the new visual studio URL from the Incognito window.

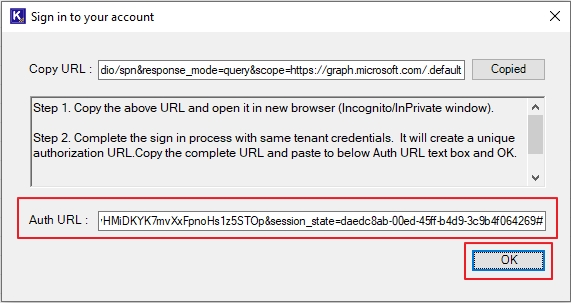
Step 6 [A-IV]: Paste the URL copied in previous step to Auth URL box and then click OK. This will connect the tool with the destination tenant.

Step 6 [B]: Basic Authentication: Enter a Global Admin User Id and its password. Click Register and Connect.
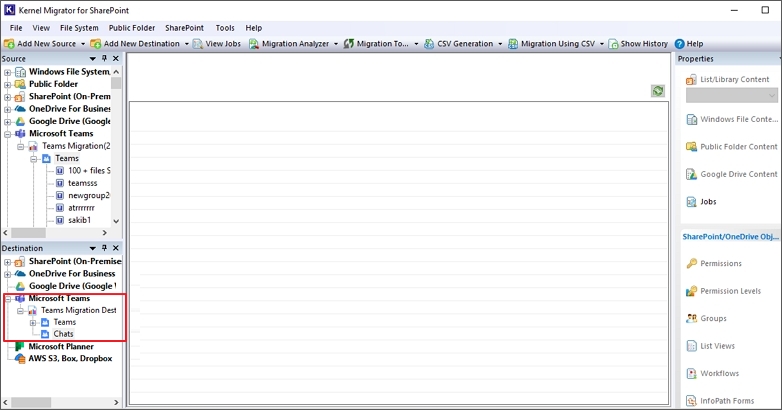
Step 7: This will add the Teams to the destination pane. You can expand and see all the Teams within the tenant by clicking on + icon preceding project name.
Step 8: As both source and destination are connected, now, there are two options to move the Teams data from tenant to another, Copy-Paste and Migrate.
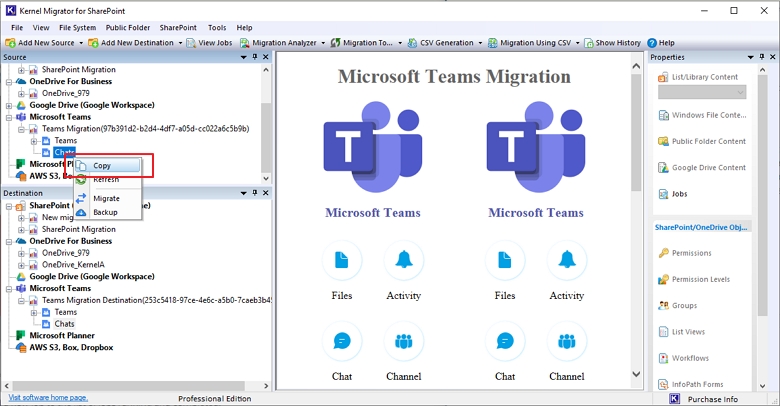
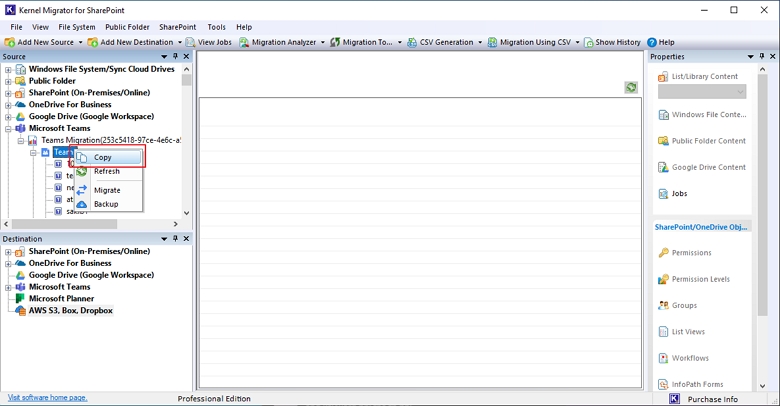
Step 8 [A]: Copy-Paste method
Step 8 [A-I]: When you right-click Teams and then Copy on the connected team with project you created above. This will copy the content (channel, chats, files, members, etc.) from the source account.
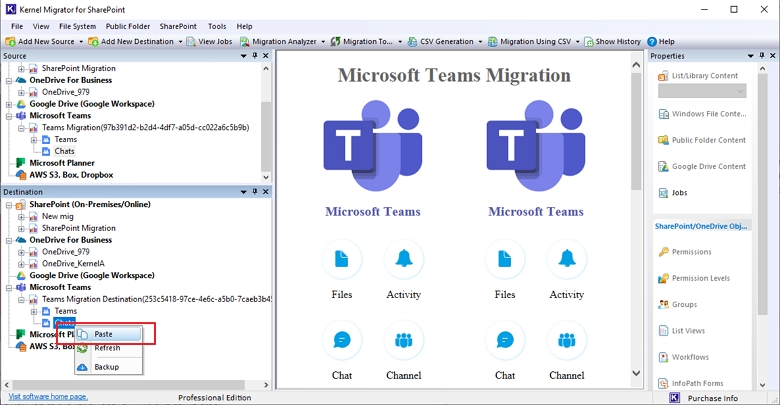
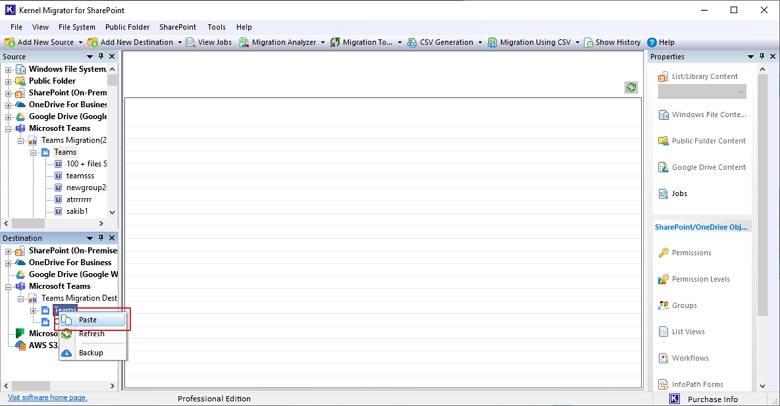
Step 8 [A-II]: In the destination pane, right-click on Microsoft Teams and choose Paste option to take data you copied from source to destination tenant.
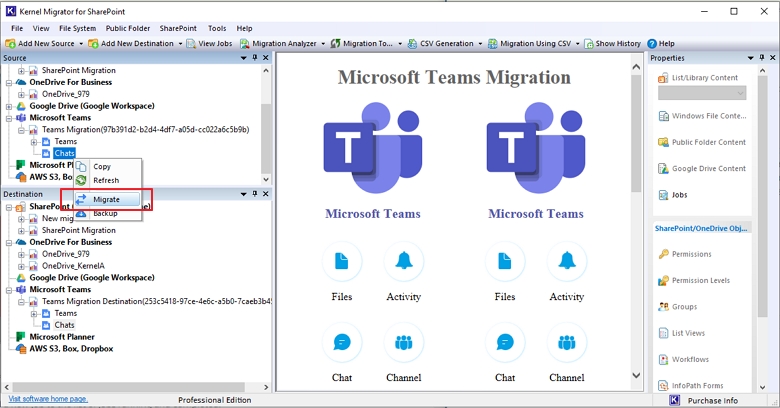
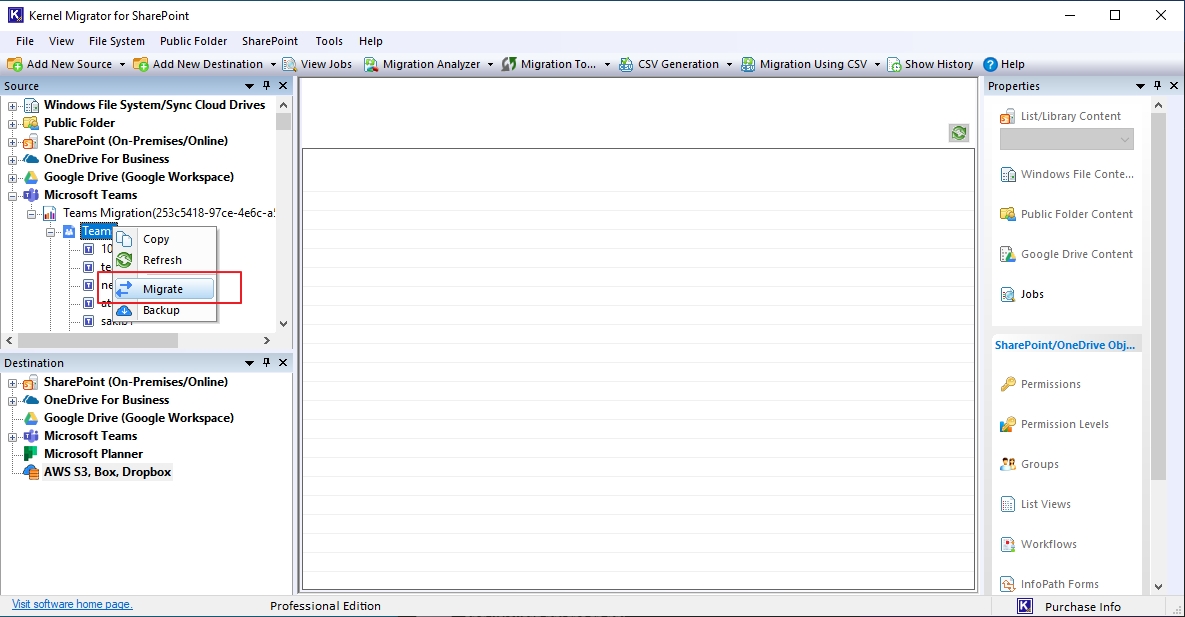
Step 8 [B]: Migrate method
Just like we did in the copy-paste method in previous steps, right click on the connected Teams, and then select Migrate.
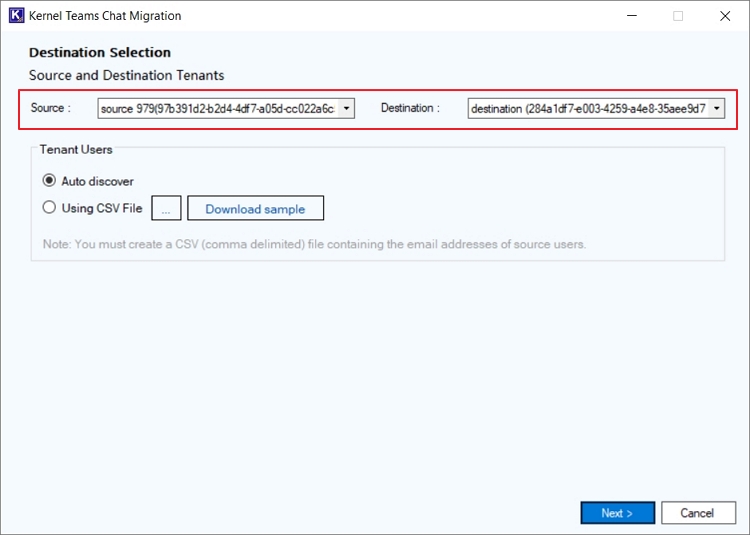
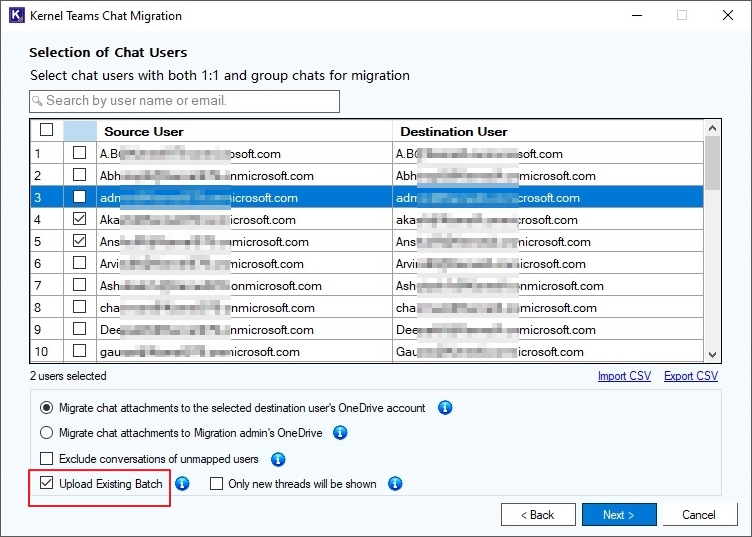
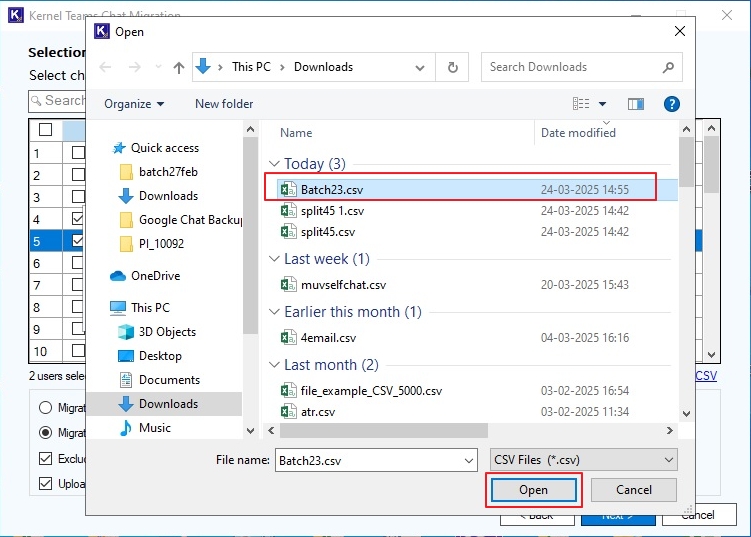
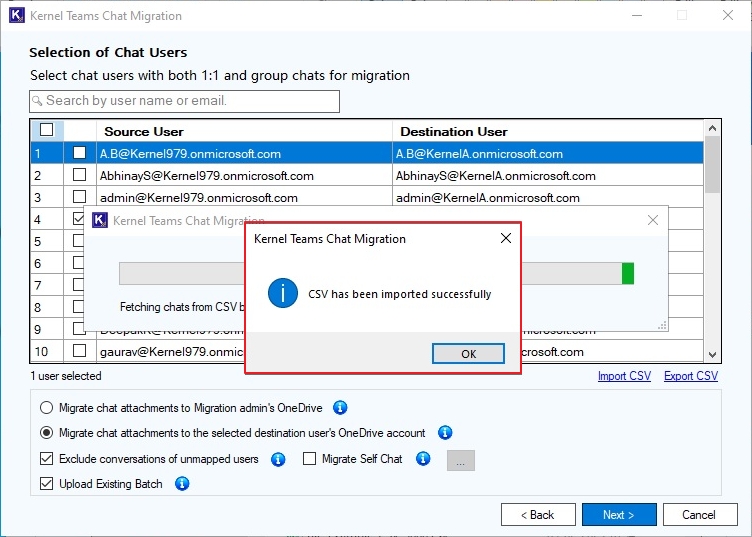
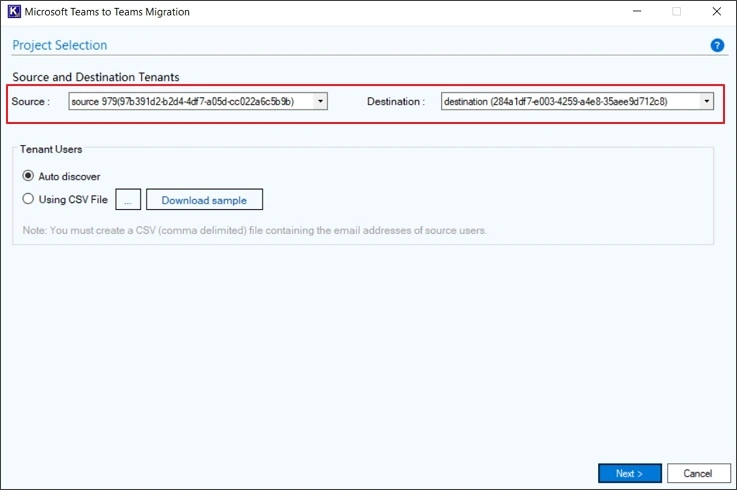
Step 9: Select the Source and Destination tenants using the dropdown and then define if you want to add users manually with a CSV file or let the tool Auto discover.
Step 10: The tool will start fetching users and the respective data.
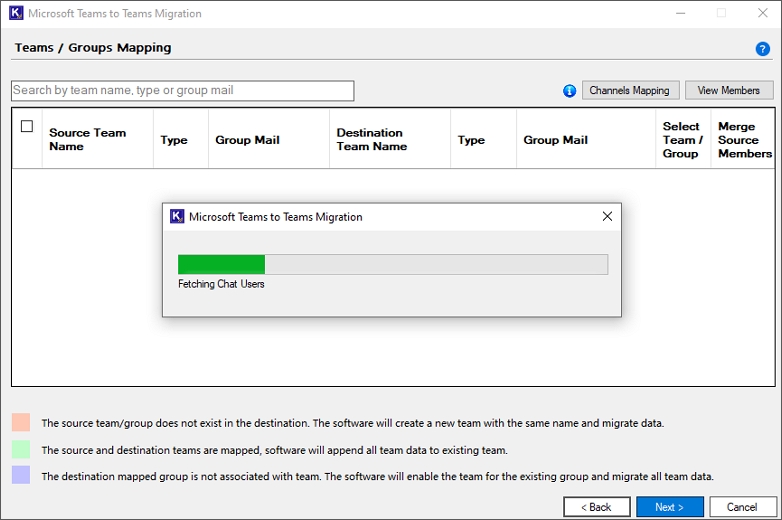
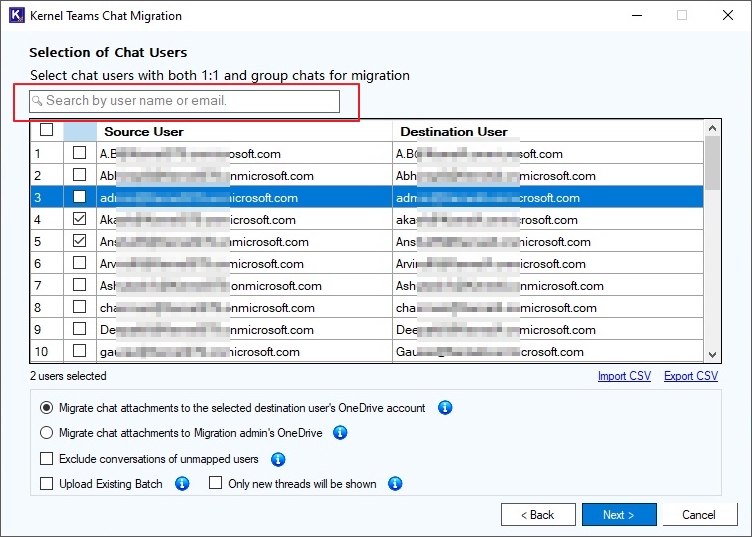
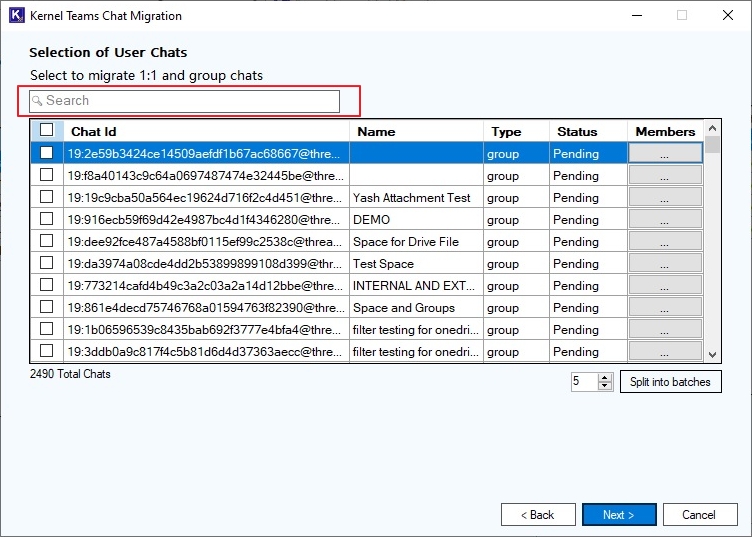
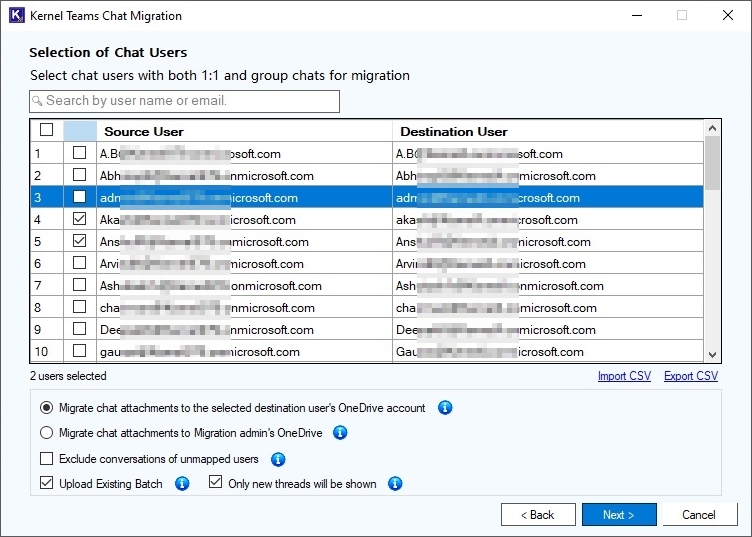
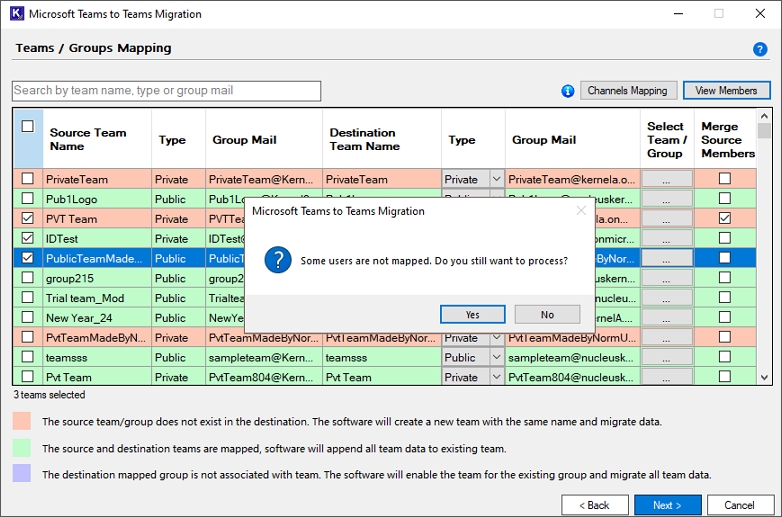
Step 11: In the next window, select users whose data you want to migrate to Teams at the destination. The items appearing in Red color indicates that the Teams from the source are not available in the destination and Green means they’re present at the destination.

Note: Use the search box on the top to find the Source Team you’re looking for from the tenant.
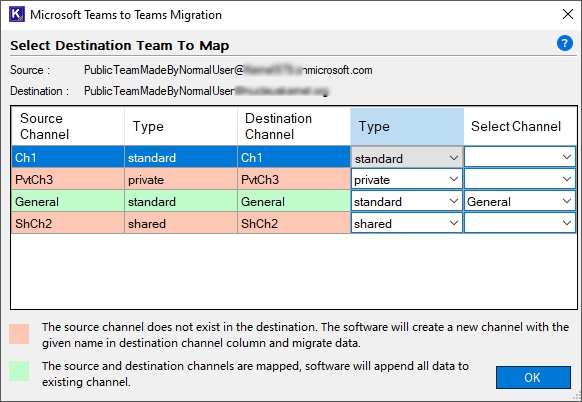
Step 12: Click Channels mapping to see mapped source and destination channels in both the tenants. Red color shows that the source channel is not available in the destination while green color means the source channels are mapped with the respective destination channel.
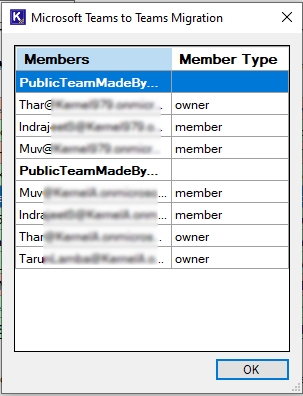
Step 13: You can check out all the available members of the selected Teams mentioned along with the Member Type.
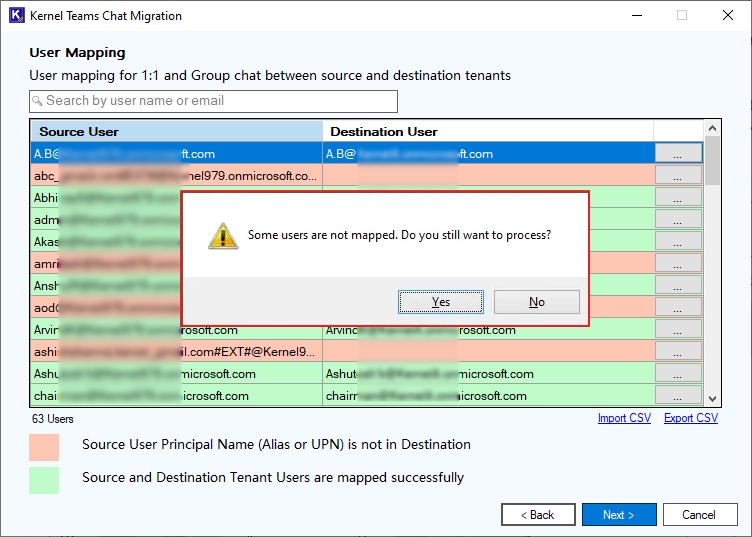
Step 14: As you press Next button with some users left without mapping at the destination, the tool will show a popup saying, “Some users are not mapped. Do you still want to process?”
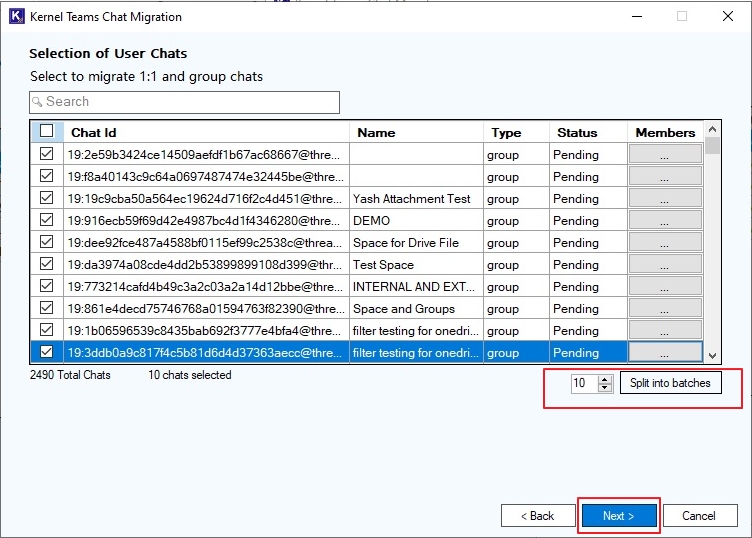
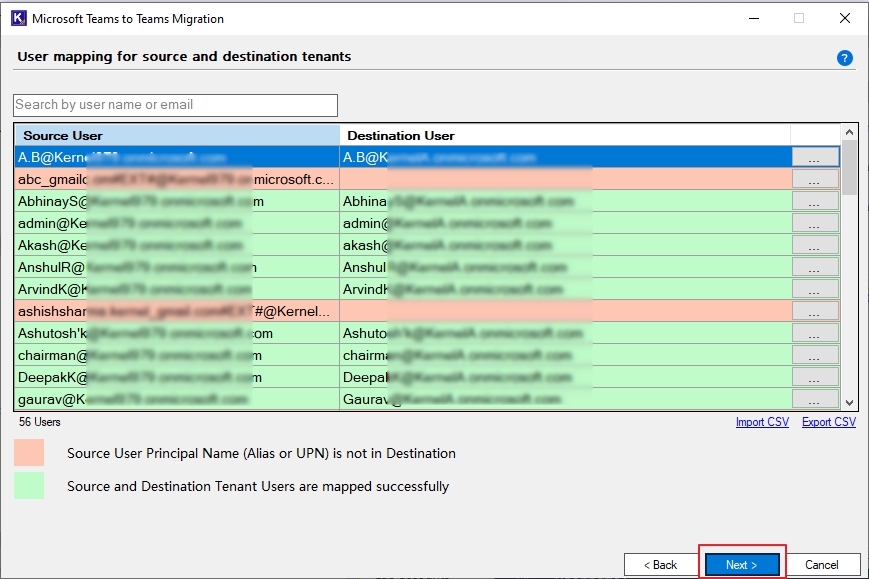
Step 15: Make sure you map all the Users from Source with the destination before starting the migration.
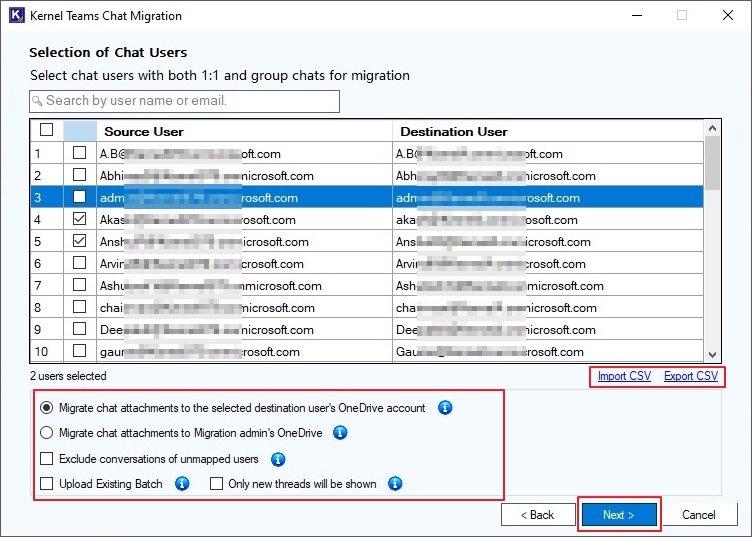
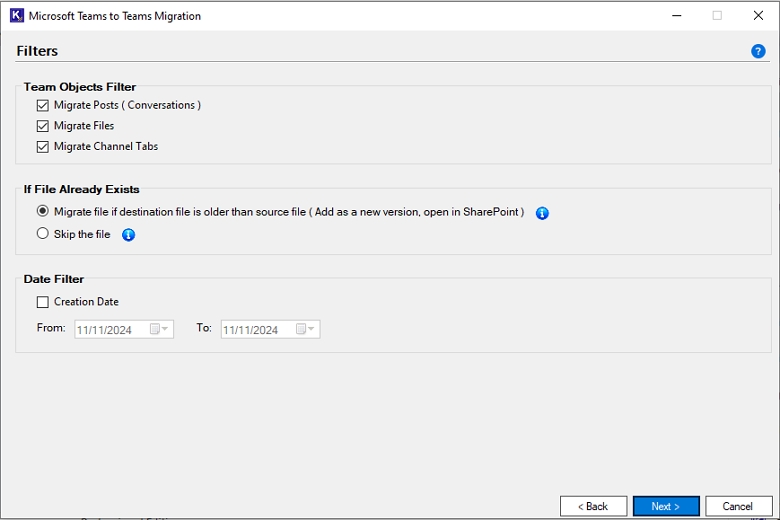
Step 16: From the given list of filters, apply the filters as per your requirements to migrate selective data. the list of filters in the tool include:
Step 16 [A]: Team Objects Filter
Step 16 [A-I]: Migrate Posts (Conversations)
Step 16 [A-II]: Migrate Files
Step 16 [A-III]: Migrate Channel Tabs
Step 16 [B]: If File Already Exists
Step 16 [B-I]: Migrate file if destination is older than source file (Add as a new version, open in SharePoint)
Step 16 [B-II]: Skip the file
Step 16 [C]: Date filter
Step 16 [C-I]: Creation date
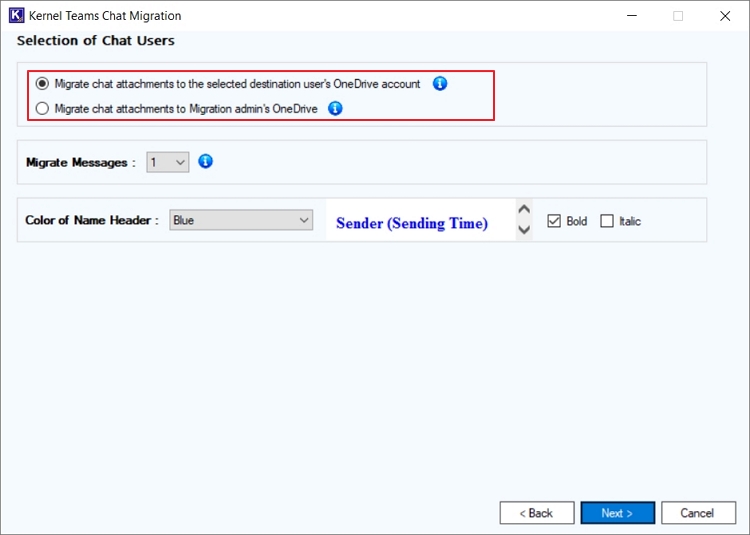
Step 16 [D]: Migrate Messages
Step 16 [E]: Define Color of Name Header
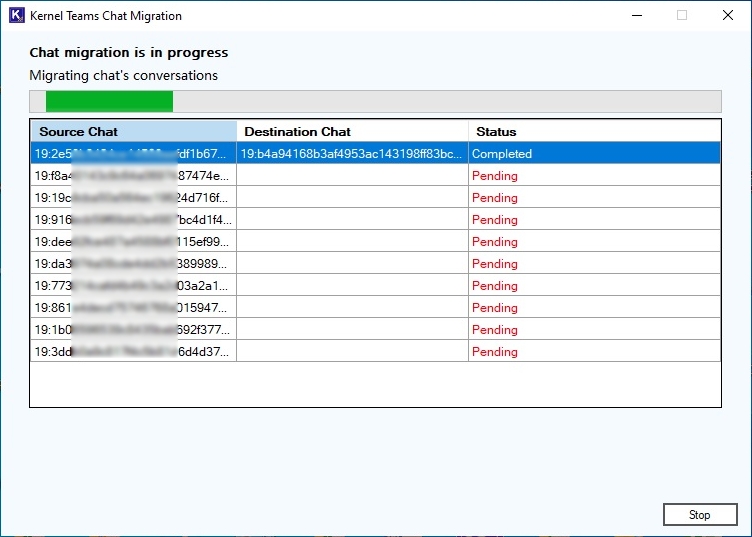
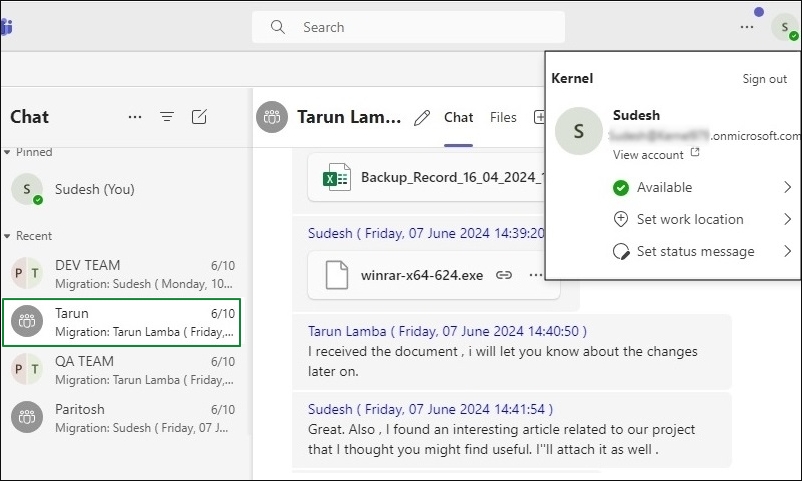
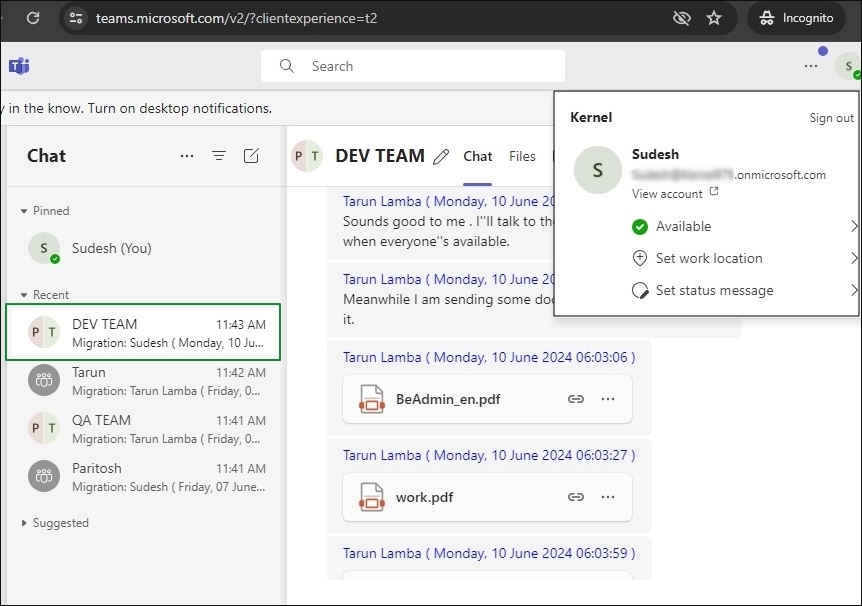
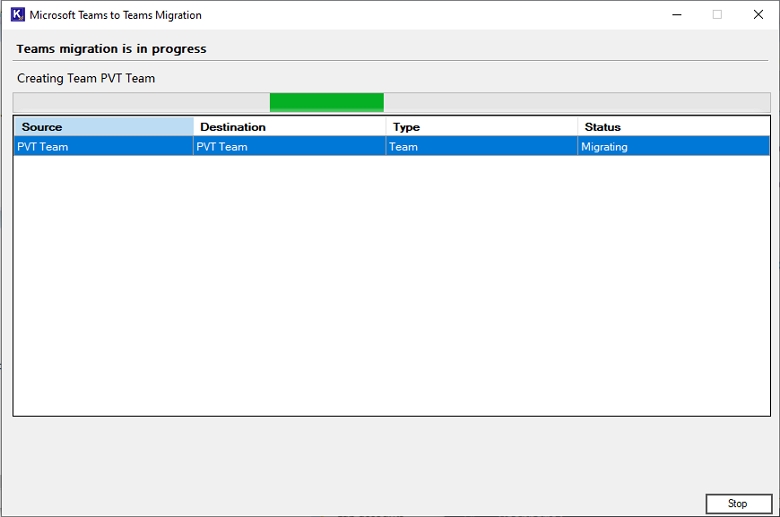
Step 17: This will begin the process of migrating team data between the tenants. The new window appearing on the screen will share the progress of the process.
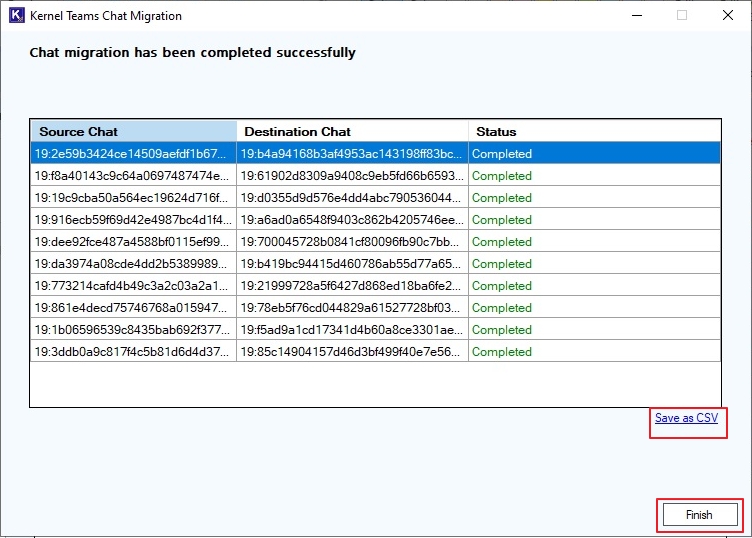
Step 18: Once completed, you’ll see the completion message, “Migration is completed.” Click OK to finish the process.
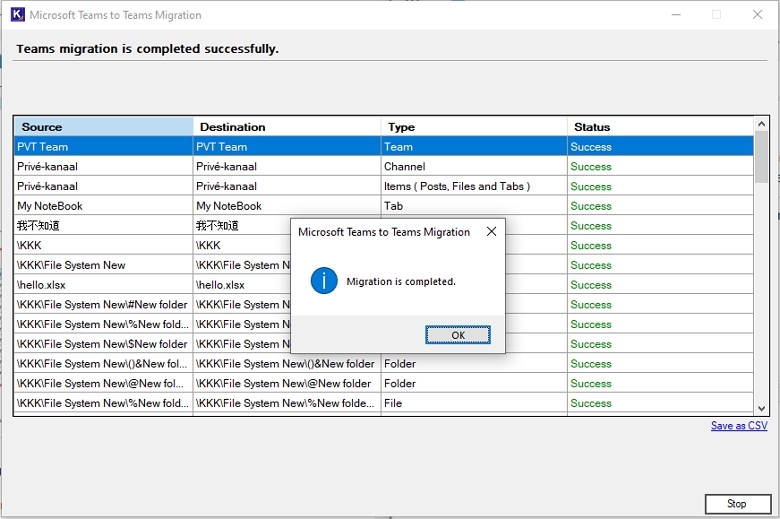
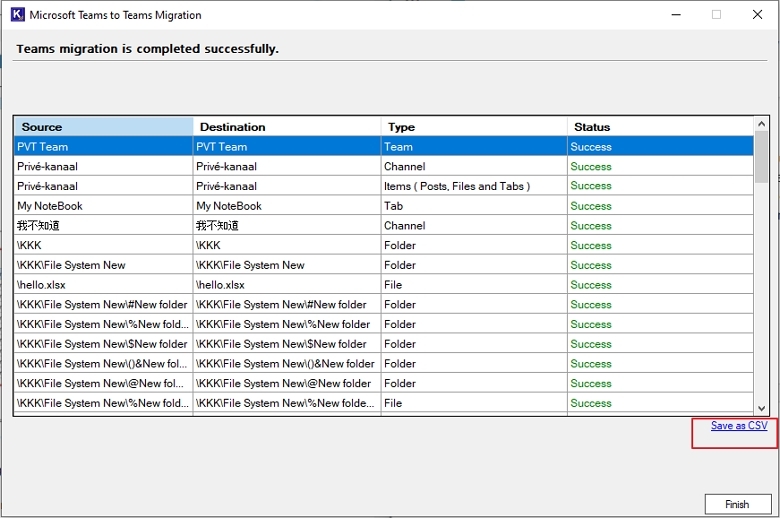
Step 19: When the data is completely moved to the destination, the migration summary will explain the detailed status of each selected team. You can download the migration logs as a CSV file for getting insights of the process later.