There are many reasons to schedule an email in Outlook, like you are working across different time zones, or you don’t want to reply to an email instantly sent by someone. Whatever the reason is, the main concern here is how to schedule an outgoing email in Outlook.
Well, Outlook being one of the feature-rich platforms, facilitates scheduling an email in the easiest way possible. In Outlook, you can always schedule an email after completing the message and specifying the destination address for it. In this blog, we will walk you through the steps to schedule an email in Outlook on the Web and Classic Outlook.
Benefits of Email Scheduling in Outlook
There are multiple benefits to schedule an email to be sent in Outlook. Some of them are:
- Allows you to draft an email on weekends and send them during the working hours.
- Users can easily send emails to the recipients across different time zones at their working hours.
- Emails will end in the user’s mailbox at the time when they are most likely to opened and read.
- Send reminder emails at the exact moment when they are needed.
- Allows you to rectify mistakes made while drafting the email.
Now we will go through the actual procedure to schedule an email in Outlook.
Manual Methods to Schedule an Email in Outlook
In this section, we will explore the methods to schedule an email to be sent in Outlook’s different versions. Follow the steps according to the type of Outlook you are using:
Method 1: Schedule an Email in Classic Outlook
Here are the steps one needs to follow to schedule an email in Classic Outlook:
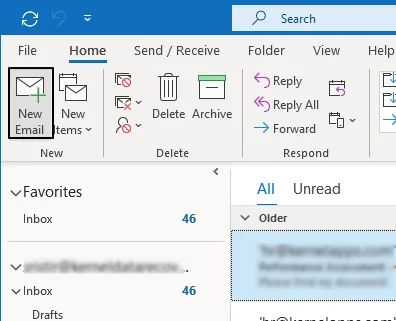
Step 1: Launch Outlook and click on the New Email button located at the top left corner of the interface.
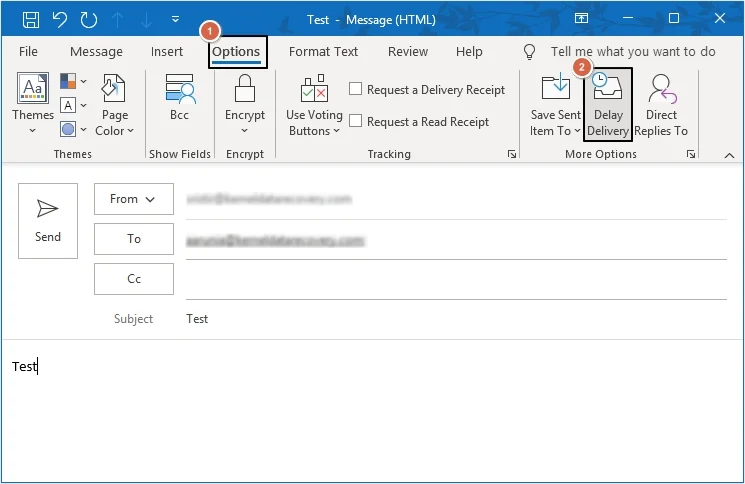
Step 2: Compose a new email, then click on the Options tab >Delay Delivery.
Step 3: In the Properties dialog box, under Delivery options, select Do not deliver before and set the date and time of delivery and click the Close button.

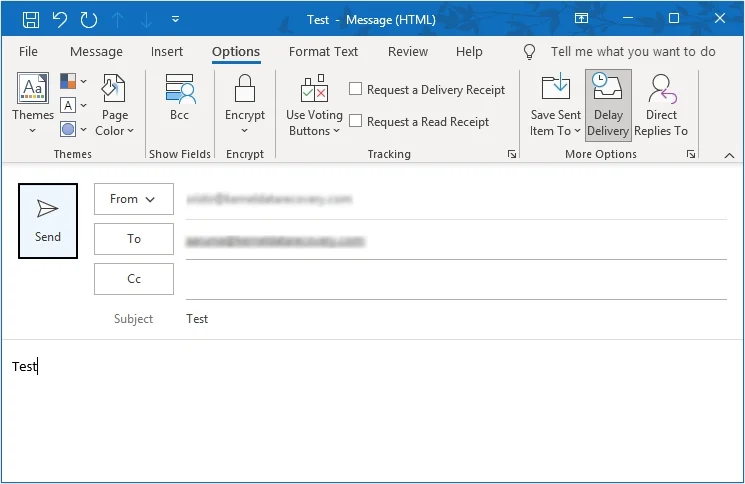
Step 4: Click the Send button, and the email will get saved and will be delivered on the specified date and time of delivery.
Method 2: Schedule an Outgoing Email in Outlook on the Web or Outlook.com
Below are the steps to schedule an email in Outlook on the web. Follow them carefully:
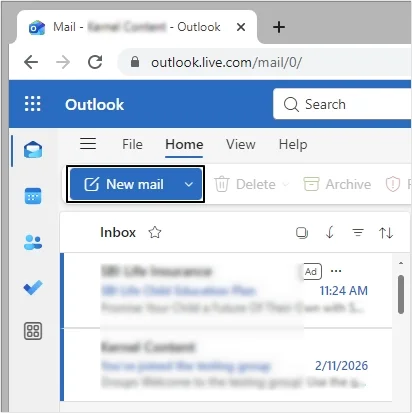
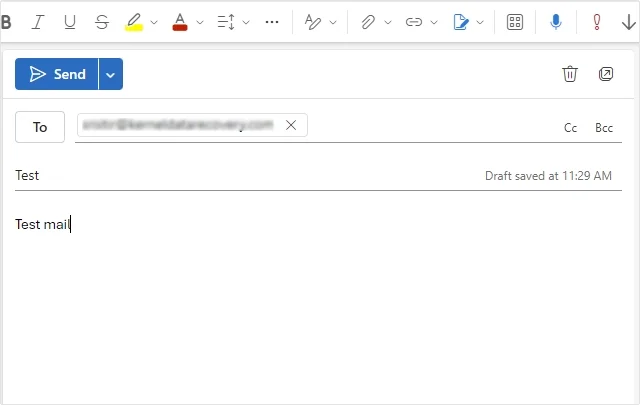
Step 1. Log in to your account in Outlook.com and click on New Mail.
Step 2. Compose a new email.
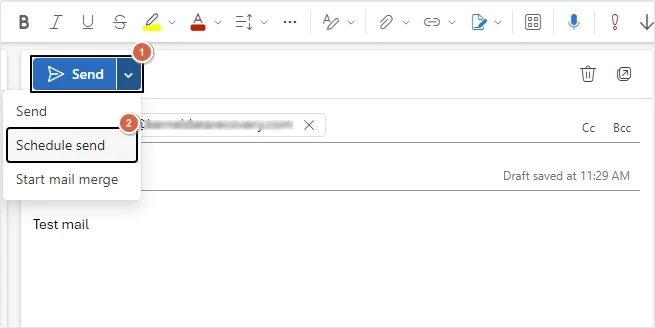
Step 3. Click on Send, then Schedule send.
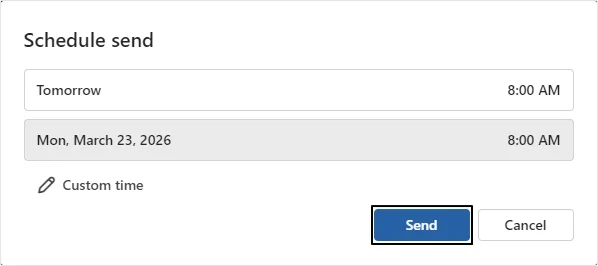
Step 4. Set time and date, then click Send.
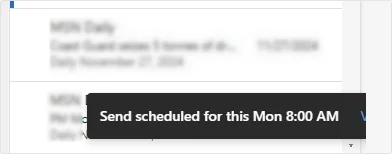
Step 5. The email message will be scheduled, and you will receive a notification saying Send scheduled for this XXYY.
Method 3: Using Outlook Rules to Automate Email Scheduling
In case you want to set a default send delay for all the emails you compose and send; you can do it manually with a single email template that will ensure delayed delivery for all the emails. This, perhaps, is beneficial for users that often found themselves in a position of making changes to every email they send. Here is how you create a send delay for all emails using Outlook rules:
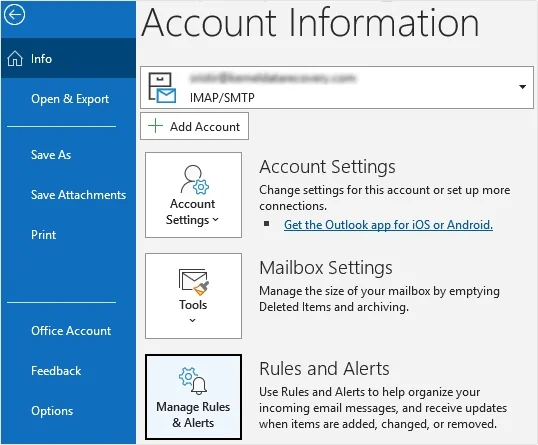
Step 1. Go to File, then click on the Manage Rules and Alerts option.
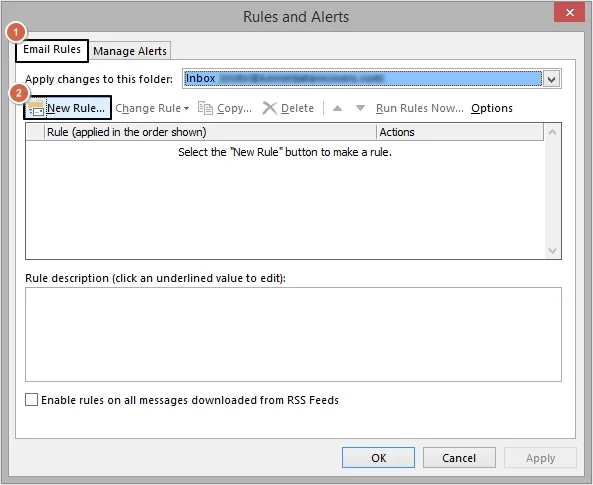
Step 2. Select the Email Rules tab and then click on the New Rule button.
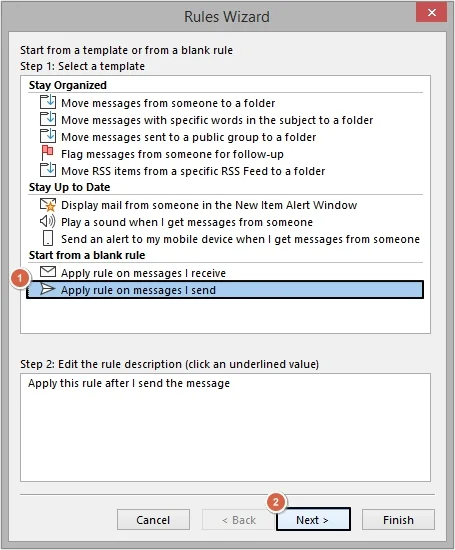
Step 3. Under the Start from a blank rule section, select the Apply rule on messages I send and then click Next.
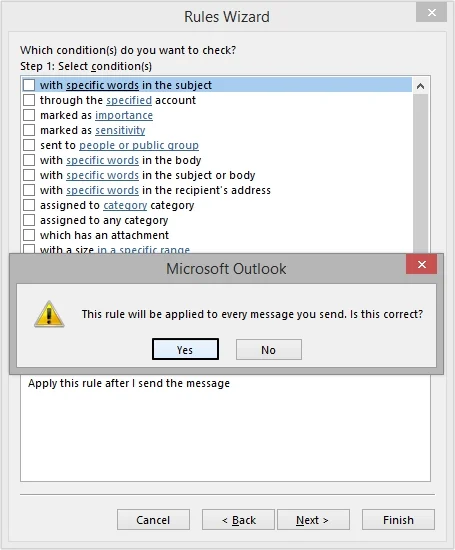
Step 4. Select any rule if you want to apply, then click Next. It will prompt a confirmation dialog box, select Yes to apply the rules.
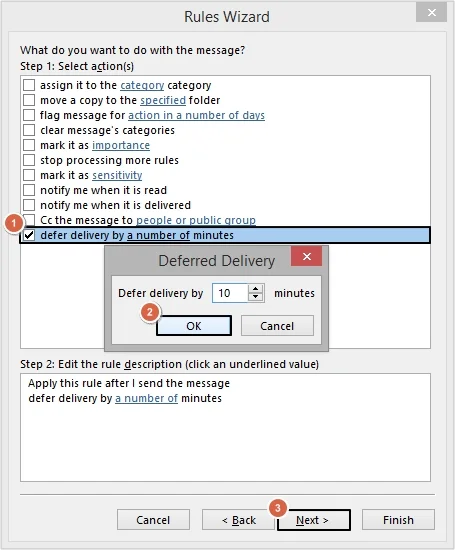
Step 5. Select defer delivery by a number of minutes, then set the number of minutes by which the emails will get delayed and click OK. Then click on the Next button.
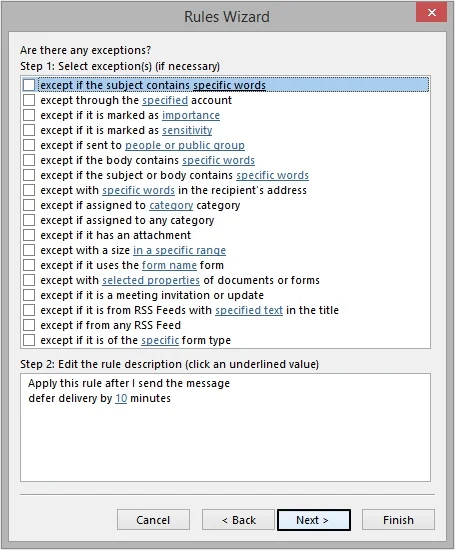
Step 6. Select exceptions for the rule you have defined. In case you don’t want any exceptions to be made, click Next.
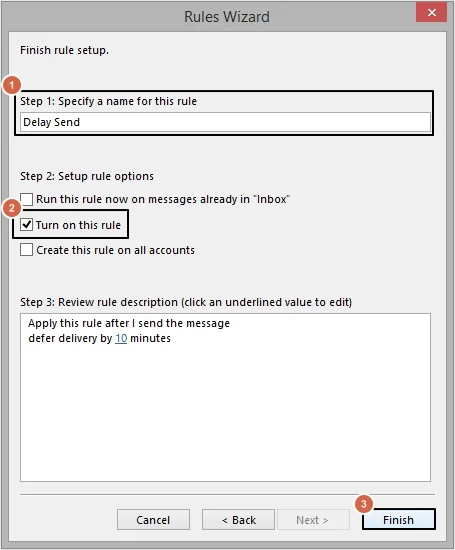
Step 7. Specify a name for this rule, check the Turn on this rule checkbox and click Finish.
Step 8. Click OK to save the changes and go back to the mail interface.
After specifying a delay for emails, make sure that Outlook is running in the background during that specific period. In case Outlook is closed and not actively running in the background, the email will not get delivered and will be sent immediately next time you launch the application. Moreover, you can even schedule reply email in Outlook using the methods discussed above in this blog.
What if the Scheduled Email Failed to Deliver?
There are some other factors that can also hinder the delivery of emails even if your Outlook is running and your connection is consistent. For instance, if your Outlook PST gets corrupt for any reason, it will lead to cancellation of delayed emails. In such scenarios you must choose a reliable Outlook PST repair tool to restore corrupt PST files.
Kernel for Outlook PST Repair is one such reliable tool that restores emails of corrupt PST files. The tool not only resolves the corruption issues but also ensures the complete restoration of emails, notes, calendar, contacts, and other mailbox data. Moreover, you can save the PST in other formats like EML, DBX, MBOX, etc.
Download and install the trial version and save first 25 items from each mailbox folder.
Wrapping Up
You can easily schedule an email in Outlook with some easy steps mentioned in this blog. It also provides the steps to create a delay rule for all the emails you compose. Moreover, in case of corruption issues with your PST files, we have recommended a professional PST Repair software to resolve all types of severe corruption issues.
Frequently Asked Questions
Q. How to schedule an email in Outlook manually?
A. To schedule an outgoing email in Outlook manually, you can use the delay delivery option while composing the email.
Q. How do you schedule an email in Outlook on the Web?
A. Outlook on the Web offers a Schedule send option to delay the email. You can use this option to schedule emails.
Q. How to schedule an email to be sent in Outlook Classic?
A. To schedule an email in Classic Outlook, simply open the app and utilize the delay delivery option.

Repair PST files and save to PST, MBOX, Office 365 & Exchange.