VHDX is a virtual image file format, majorly used to create a virtual environment on the Windows device. Windows 10 has an in-built Hyper-V manager; this Hyper-V manager stores all data in VHD or VHDX file format. And just like any other data stored or present in Windows, VHD and VHDX files are also vulnerable to corruption. If your VHDX file is also corrupted, then here we are going to tell you the most perfect and the easiest way to do it. Keep reading the article for the same.
How do VHDX files get corrupt?
Before moving towards the solution to fix the corruption in the VHDX file, let’s first know how it happens. It is very important to understand the reasons so that you can avoid doing the same mistakes and take extra care from now onwards. Here we are going to list some of the popular reasons that are responsible for the corruption in the VHDX file.
- Virus or Malware Attacks: If your system has recently been attacked by any virus or malware, then you might face the corruption in the VHDX files. Virus attack is one of the most common reasons for the corruption in VHDX files. Once infected by a virus, all the files become inaccessible and useless.
- Abrupt System Shut Downs: If you do not practice a proper shutdown routine while working on your system, you can face corruption. Even if you are practicing and following the proper step by step shutdown process, many other factors may lead to a sudden system shut down. Be it intentional or accidental, any sudden shut down of your system may lead to corrupt files.
- Corruption in Storage media: If your storage media is facing some type of corruption issues, then you can face corruption in the VHDX files too. Even a collapse or breakdown of the storage media may lead to corruption in the VHDX files.
- Hard Disk Crashes: If your hard disk has crashed, then no doubt, you are going to face some hard time with those corrupt VHDX files for sure.
Steps to recover all your files and folders (including lost and missing data) from corrupt virtual hard disk partitions. You can smoothly recover data from VHDX files after a hard disk crash, damaged storage media, RAID failure, unintentional deletion etc.
What All you can Recover from VHDX files?
- Recovery of lost, and deleted files/folders from inaccessible VHDX files
- Data recovery from severely corrupt VHD partitions.
- Restoration of all image files, multimedia files, database files, email files, internet files, archives etc. from damaged VHDX files.
- Supporting of VHDX files created using all Windows platforms: Windows 10, 8.1, 8, 7, Vista, XP, 2000, 98, NT, 95, Hyper-V Server, Windows Server 2008 R2.
- Immediate searching of the specific data file type (like DOCX. PDF, XLS etc.) from VHDX files.
- Configure your recovery settings to skip/rename/overwrite duplicate items, etc.
On Widows 8 and Windows 10
- Right-click on Windows Start menu, and select and open Disk Management.
- On Disk Management window, go to Action menu, and choose Create VHD.
- On Create and Attach Virtual hard Disk dialog box, select Browse button to specify VHD location on the machine.
- Specify the desired location, and add a File name to it. Click Save to continue.
- Specify the preferred size of the VHDX file. You can select size type using drop-down button.
- Creating the VHDX file may take some time. After the file is created you can see VHD disk.
- Select right-click on Disk and select Initialize Disk to proceed further.
- On Initialize Disk box, select MBR and click OK.
- Right-click the newly created virtual hard disk, and select New Simple Volume.
- Click Next and specify the value for Disk Space size, from the drop-down menu button.
- When New Simple Volume Wizard dialog box appears, then assign the folder drive letter and click Next.
- Specify your format partition setting, and click Next.
- Click Finish to close the wizard.
Now you have successfully created a VHDX on Windows machine.
How to Recover VHDX Files – Step-by-step Instructions
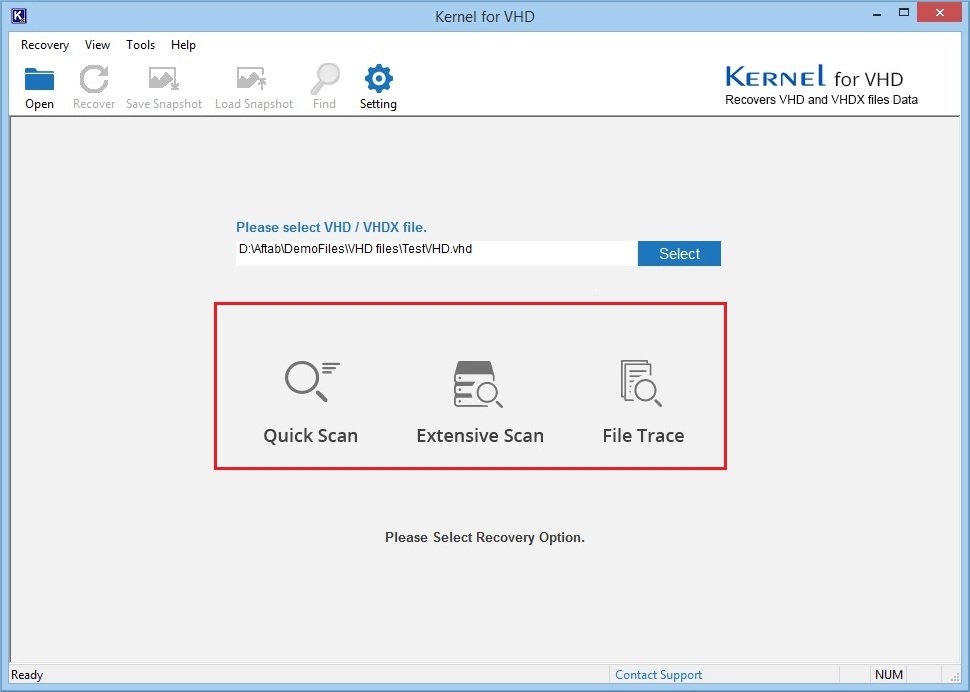
- Launch the program, from Start > All Programs » Kernel for VHD Recovery or simply double click on the application to Launch. Once the VHD Recovery tool is launched, then browse the desired VHD/VHDX file(s) to continue.

- Select any of the recovery modes (depending upon the intensity of damage – considering Quick scan mode the lightest mode, and File Trace the most aggressive mode) to recover the VHDX file.
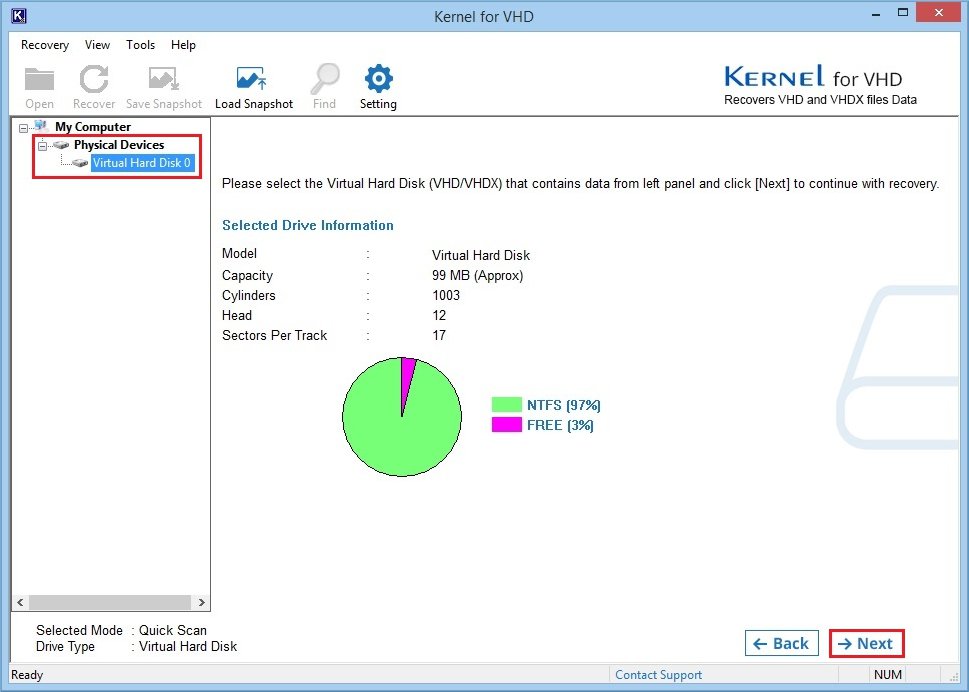
- Select the virtual hard disk drive that you want to recover and click Next.
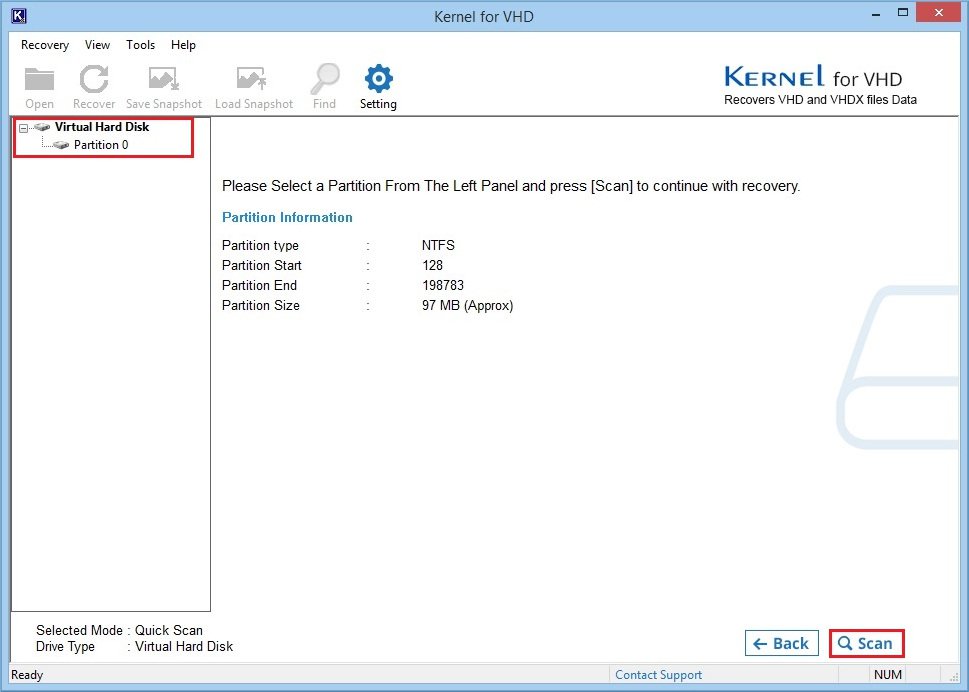
- Select the desired partition and click Scan button to proceed.
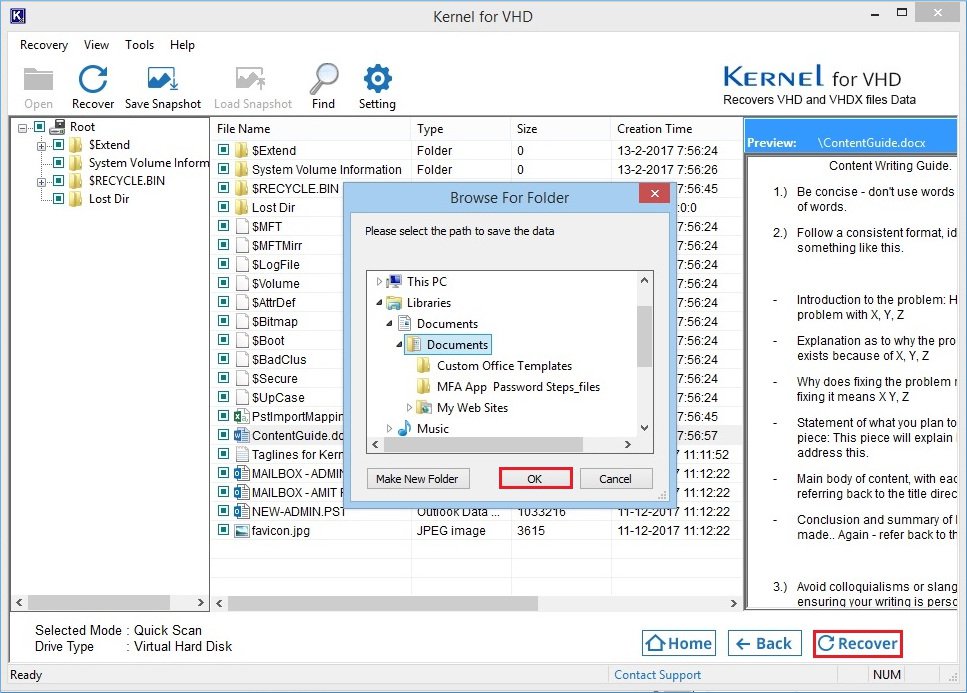
- The tool displays all the files and folders of the selected partition for the preview. Select any specific folders that you want to restore at the desired location. Click Recover and choose a desired location to save files.
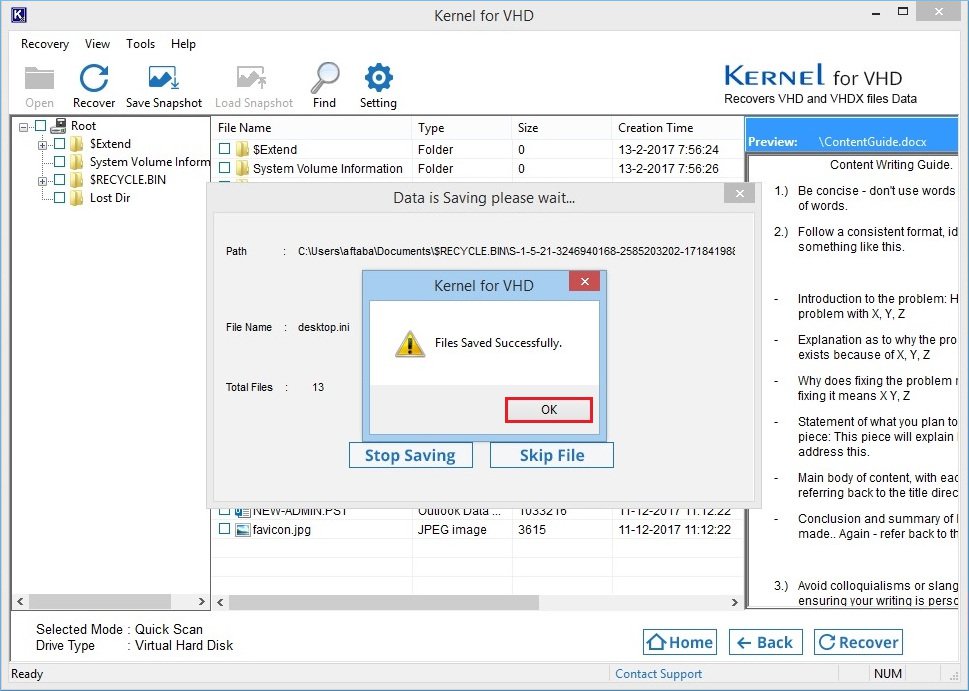
- The files are successfully saved to the desired location.
Conclusion:
In this blog, we have discussed the corruption in VHDX files. We started with knowing what VHDX files are and how they are created on your system. Then we discussed the reasons that may lead to the corruption of the VHDX files. After that, we started mentioning the solution in detail with the help of the step by step process. We used Kernel for VHD to fix the corruption in the VHDX files, as this tool is the best approach for the same. This tool can easily fix the corruption of the VHD and VHDX files in just a few easy steps in no time. This tool comes with a friendly user interface and self-descriptive features. Hope this blog helped you to fix the corruption in the VHDX file.