Migrate NSF/Domino files to Office 365 Mailbox Using CSV
Use of CSV File for Advanced Mapping
In order to add NSF file, you can take assistance of a CSV file to include multiple NSF file. CSV file is used to migrate multiple NSF files to Office 365 in one attempt.
CSV file contains four columns -
- NSF File Path: In the first column of CSV file, enter NSF file(s) with full path that you want to migrate to Office 365.
- Source Mailbox: In second column of CSV file, enter complete mailbox name of source NSF file.
- Target Mailbox: In third columns of CSV file, enter the target mailbox name.
- Target Email: In the fourth column, enter the complete target email.
Here is a brief method -
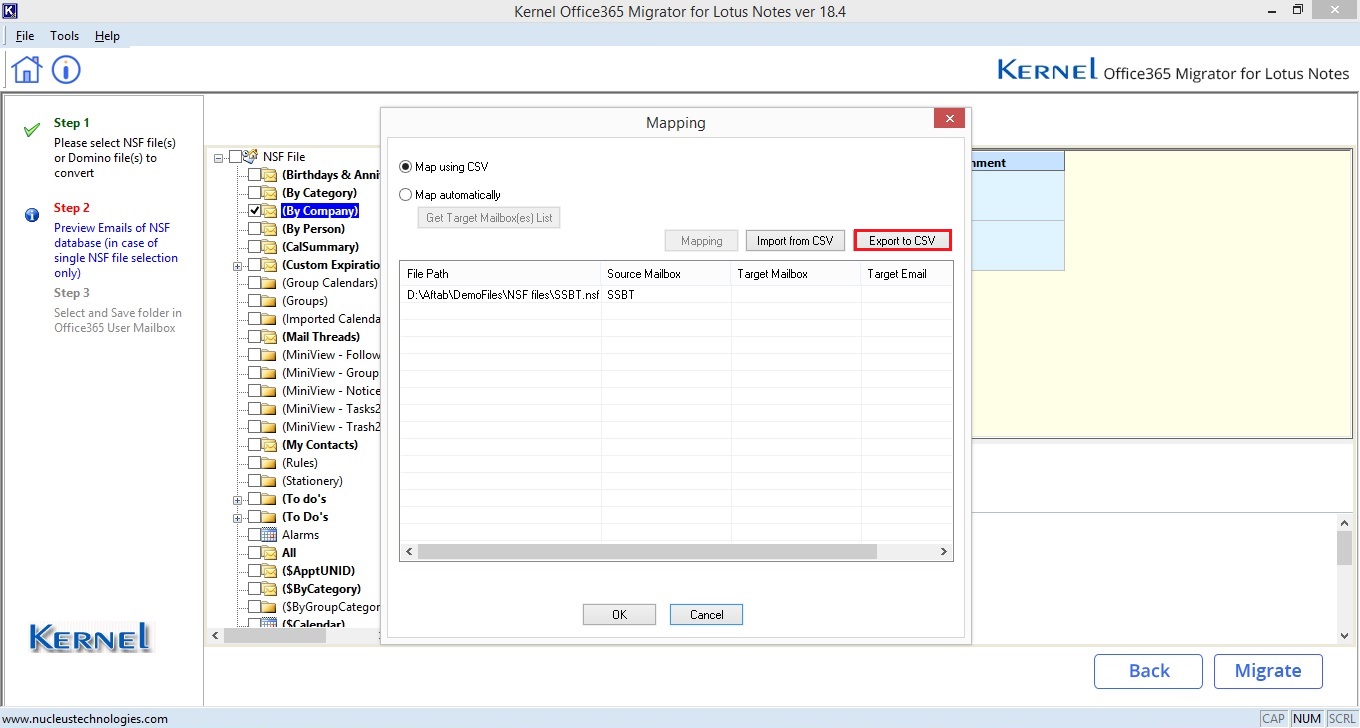
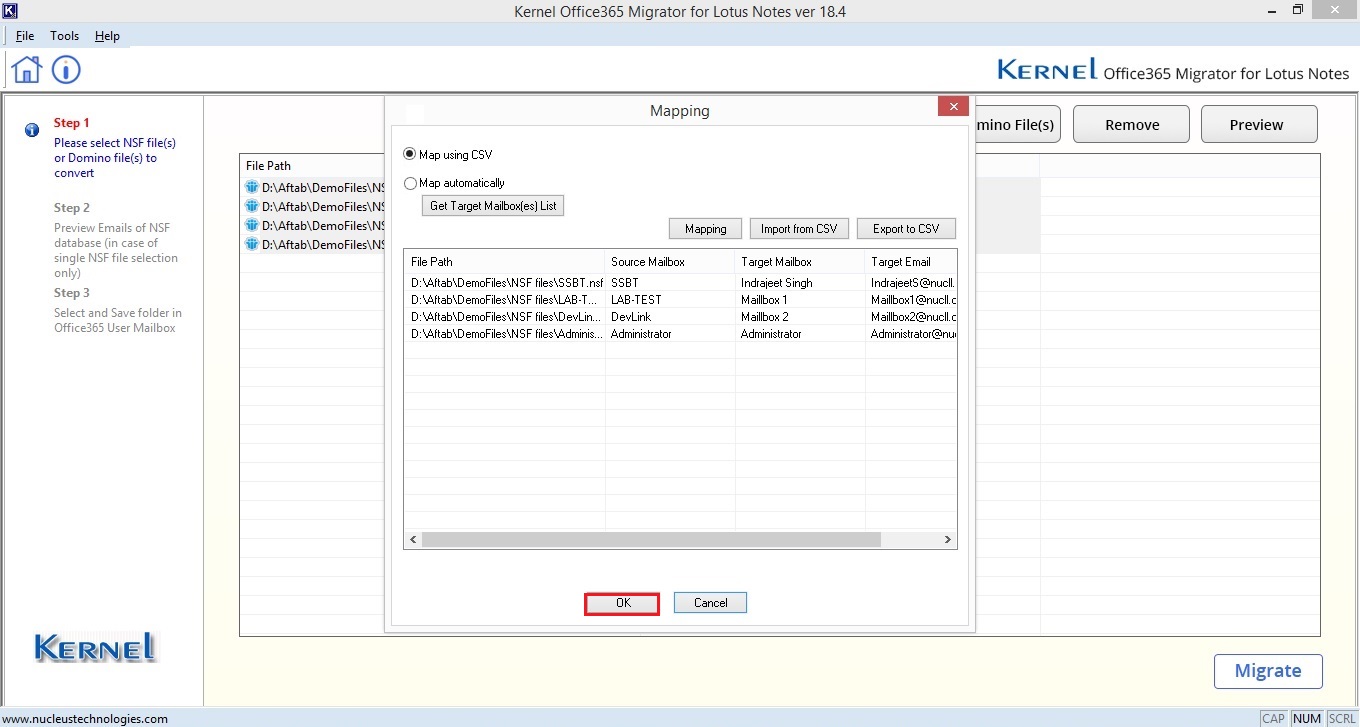
- Step 1: Under Mapping window, select the first option of Map Using CSV and click Export to CSV button.
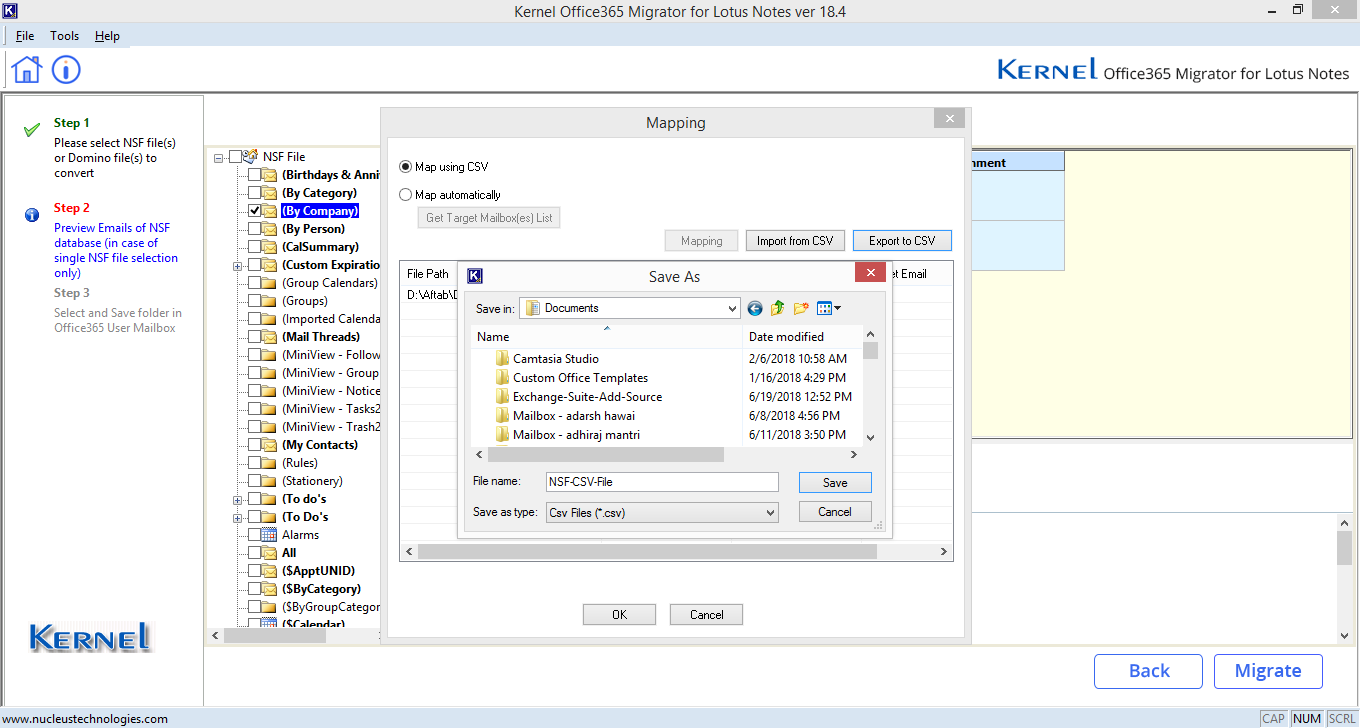
- Step 2: Save the CSV file at a desired location.
- Step 3: A pop-up message will inform you that mapping details are successfully exported to CSV file.

- Step 4: Fill the complete details as per the following example.

- Step 5: Now, click Import from CSV button to bring the fulfilled details. Browse the CSV file in which you filled details.
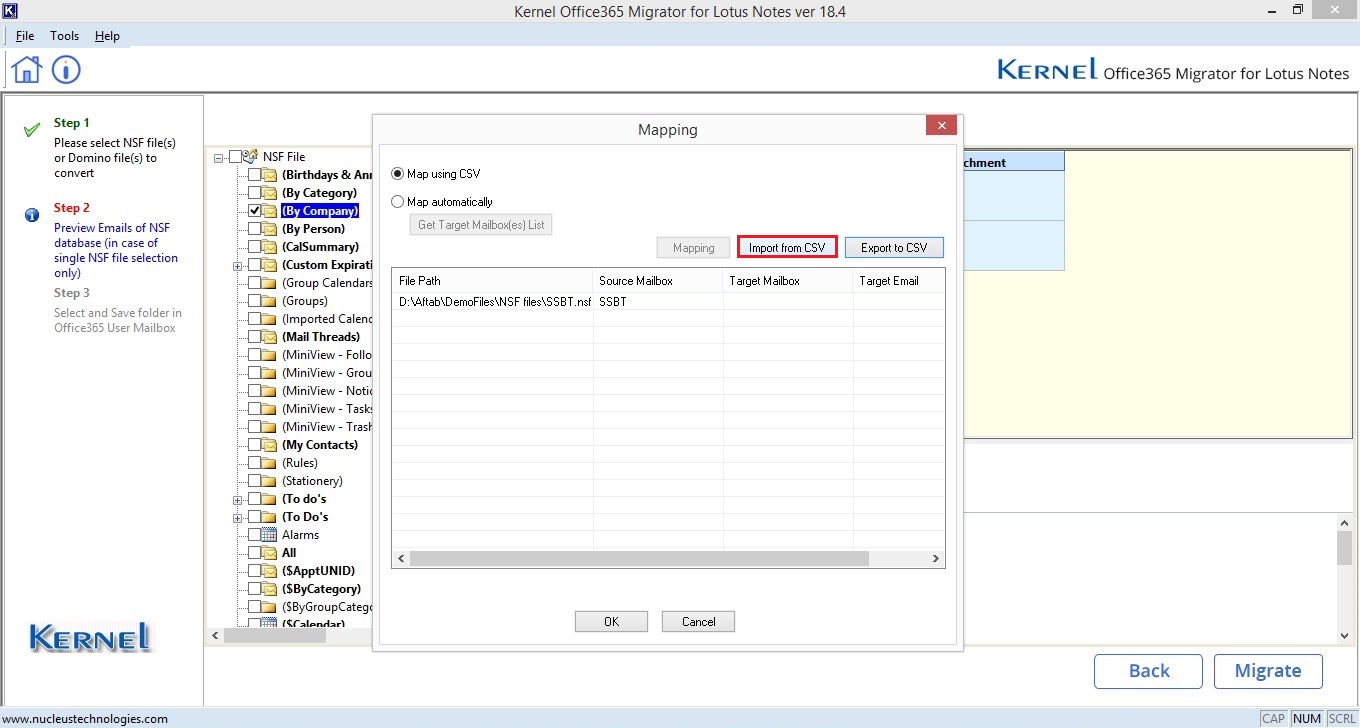
- Step 6: Source and Destination mailboxes are perfectly mapped. Click OK.
Restrictions of CSV File
There are few restrictions with CSV file:
- File Path: Provide correct source path of the NSF File in CSV (for example, if NSF file is located in a folder inside 'C' drive then file path should be "C:\Folder Name\file name".
- Provide correct NSF file name with extension in CSV file (for example, if NSF file name is abc, then file name should be "abc.nsf").
- User ID of Office 365:
- There should be valid User ID.
- User ID name should be correct.
Related topic