SeaMonkey is an open-source desktop-based email client application driven by a community of developers. It supports multiple accounts, junk mail folders, message filters, address book, and other sophisticated features. Although, SeaMonkey is an obsolete email program because of the absence of any new versions since its introduction. Nowadays, users want to work with advanced and upgraded technology, for this reason, they are shifting to another compatible platforms like Microsoft Outlook. Outlook provides incredible and out of the box features that blow the minds of users. Also, SeaMonkey lacks the advanced security, and flexibility features that Outlook possesses.
Method to convert mail from SeaMonkey to Outlook
To utilize your essential data in Outlook email client, you need to convert SeaMonkey's MBOX files into PST format that is compatible with it. However, the MBOX to PST conversion can be a complex task for users due to the unavailability of direct methods. Therefore, using a professional Kernel for MBOX to PST converter tool is the best approach for this conversion. It is a user-friendly tool that converts multiple files with absolute precision.
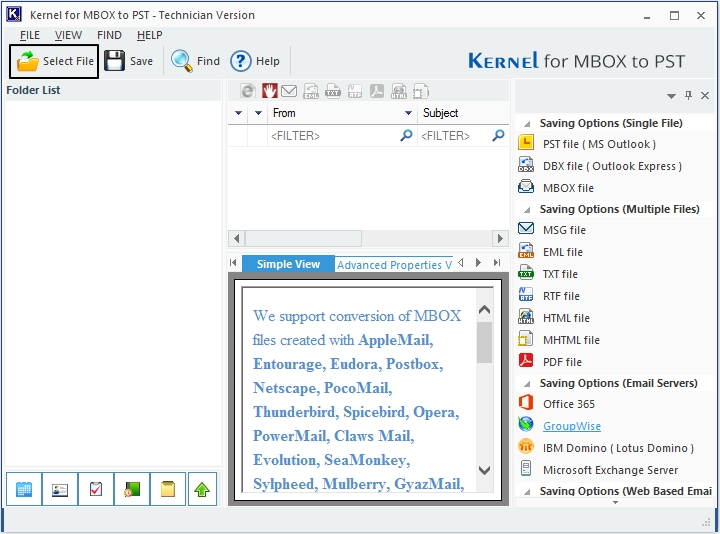
- Launch MBOX to Outlook PST Converter tool on your machine and click Select File option.
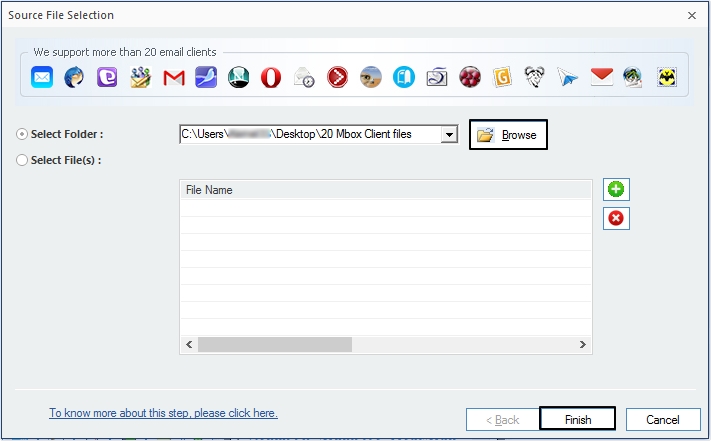
- Click on the Browse button to add SeaMonkey file or folder. To add more than a single file, select the “Select File(s)” option, and to import an entire folder containing MBOX files, select the “Select Folder” option. Click Next to proceed.
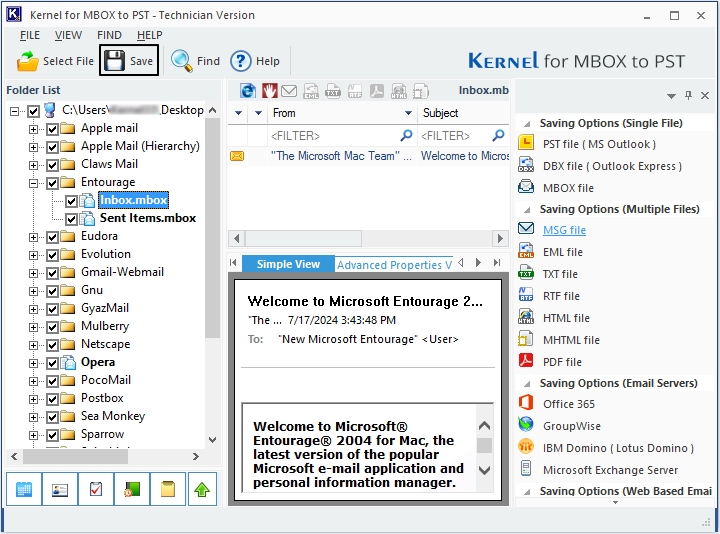
- The tool displays the mailbox items with all necessary information. To save the file, click on the Save button.
- In the Savings Options window, select PST file (MS Outlook) as the output type. Then, click Next to proceed further in the process.
- The next window contains the filter options to save specific data from your file. For instance: From, To, Subject, Folder Name, Item Type, and Date Range. Click on Next button to move forward.
- If you have a large file, then you can use the Split option to divide it into smaller files. You can even add a prefix to make it easily identifiable. Once done click Next.
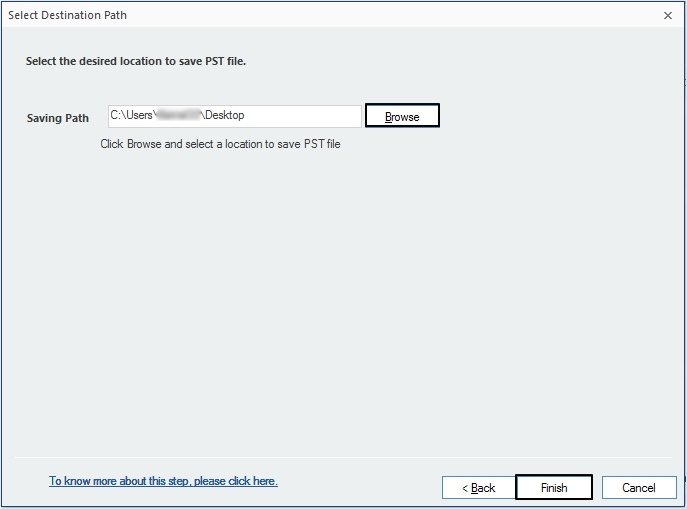
- Click on Browse to provide a destination path to save the converted PST, then click on Finish button.
- After the successful completion of the conversion process, the converted PST gets saved to the specified location click OK to end the process.
Conclusion
Despite offering a wide range of features, SeaMonkey email client lacks new updates from its development team. As a result, its users are continuously shifting towards more reliable email clients such as Outlook. Therefore, we have discussed a reliable solution, i.e., Kernel for MBOX to PST, which makes this transition process smooth and convenient. Moreover, it allows users to convert MBOX files into different formats such as PST, EML, DBX, MSG and more.