MS Outlook is bounded with MS Exchange Server technology for offering extraordinary email, calendaring, task scheduling, contact management services, etc. It provides two most useful email formats, i.e. Outlook Data File (.pst) and Offline Outlook Data File (.ost) which eases the access to emails either from Exchange Server, Standalone machine, or both.
Out of these two files, Offline storage facility creates the replica of email items stored on Exchange mailboxes on local machine. Creating a look-alike OST email items on local machine provides uninterrupted email accessibility in times of Exchange Server disconnection. However, automatic creation of OST folders on your hard drive sometimes proves to be a disadvantageous as unexpected requirement occurs to save OST backups in a different drive partition or a hard disk
Offline Outlook Data file or OST file is effectively created inside the computer’s hard drive with the help of MS Outlook and MS Exchange Server. Each Windows OS version stores OST file at slightly different locations. Have a look at the following information:
- • OST file location in Windows 10, Windows 8/8.1, Windows 7, & Windows Vista C Drive: \Users\%username%\AppData\Local\Microsoft\Outlook (For MS Outlook 2010 or Above)
- OST file location in Windows XP
C Drive: \Documents and Settings\%username%\Local Settings\Application Data\Microsoft\Outlook
If you really want to change the default location of an OST file, then you can do so by using the MS Outlook email client. However, one must take careful steps while changing the location of OST file. To change location of OST file, follow the steps listed below:
- Close the MS Outlook email client application.
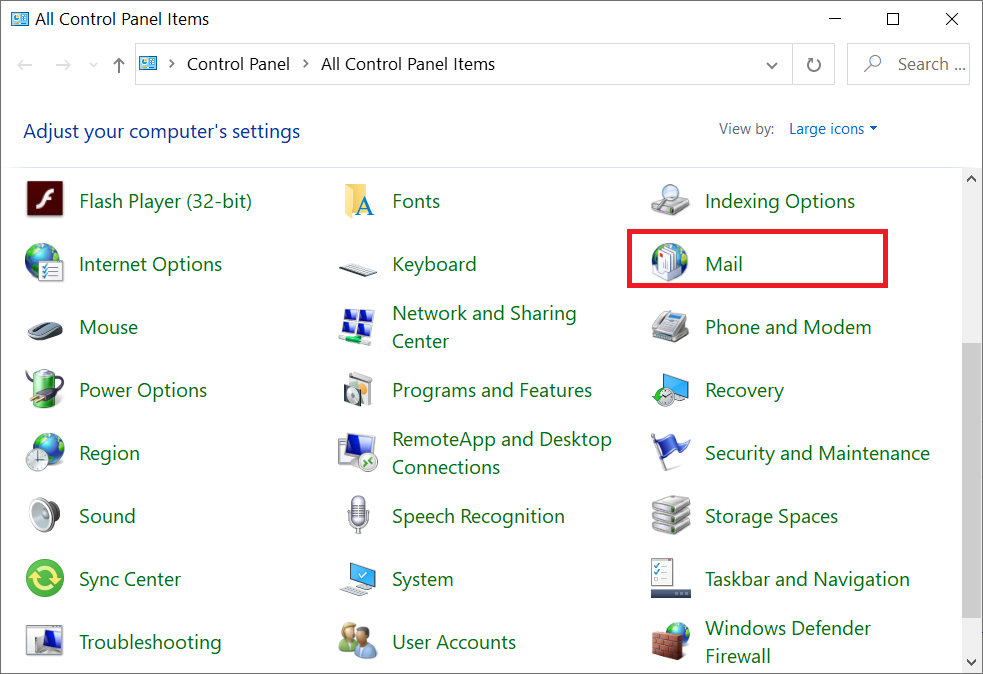
- Open the Control Panel on your device.
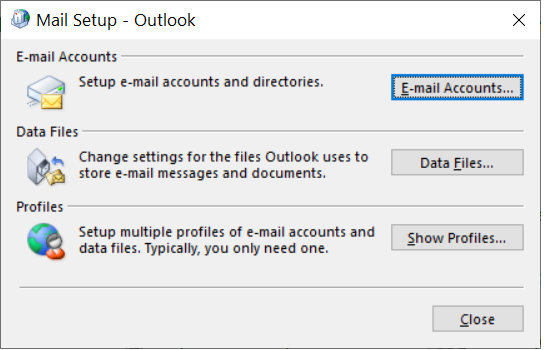
- Double-click the Mail icon. The Mail dialog box will display on your screen.
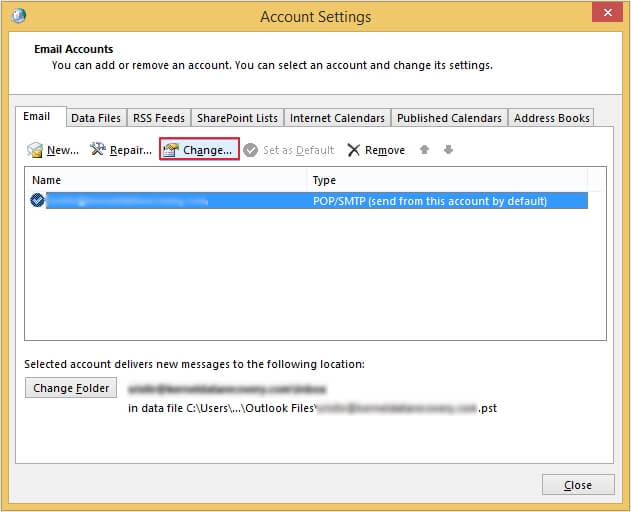
- Click the E-mail Accounts tab, then locate and select your Exchange account.
- Select the specific email account and then click on the Change option.
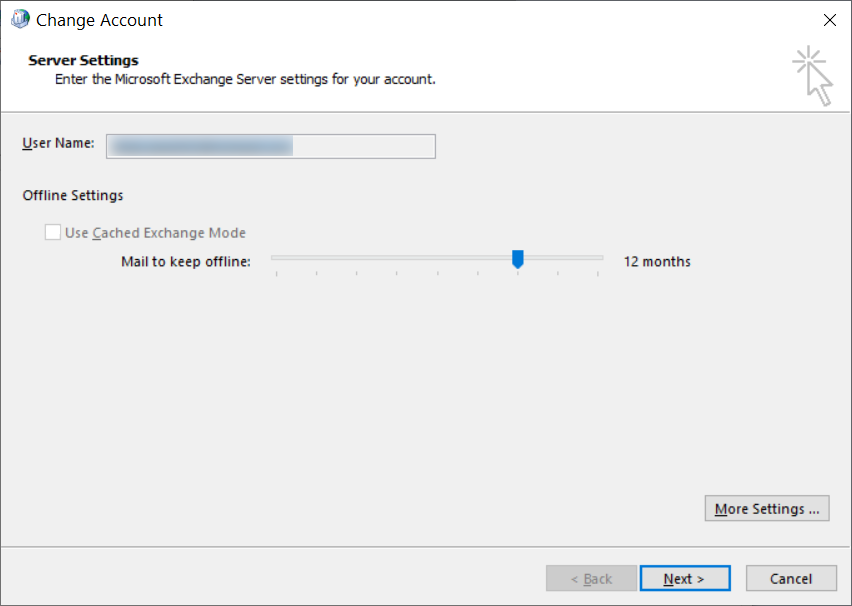
- Uncheck the Use Cached Exchange Mode option and then, Ggo to the More Settings option.
- Select the Advanced tab, and then click the Offline Folder File Settings option.
- Click the Disable Offline Use option, and then click Yes.
- Once again click the Offline Folder File Settings option.
- Click the Browse button to set the OST file location. Click the OK button.
- Click Yes to apply actions.
- In the Cached Exchange Mode Settings field, select Use Cached Exchange Mode.
- Click OK → Next → Finish.
- Close all the dialog boxes.
In this way, you can move the OST file to a desired location while keeping the Exchange data files safe. Make sure that the Cached Exchange mode is disabled while relocating the OST data files.
A registry key is a specific key in the Windows Registry. It is a database that stores settings, configuration, and other information for the operating system. You can change OST file location by applying some changes in Windows registries. Follow the steps mentioned below to begin the procedure:
- Close Outlook email client application on your system.
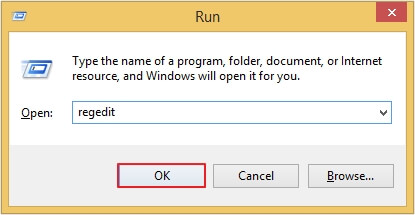
- Press the Windows + R button, type regedit, and then press OK.
- Navigate through the following registry path: HKEY_CURRENT_USER\Software\Microsoft\Office\version number\Outlook.
- Right-click the Outlook sub key, point to New, and then click the Expandable String Value option.
- Specify ForceOSTPath. Press the Enter key.
- Right-click the newly-created ForceOSTPath. Click the Modify option.
- Specify OST file path for saving in the Value box. Click the OK button.
- Exit the registry editor.
Entire OST file relocation sequence requires extreme precision and attention as any incorrect step would lead to OST email items corruption. During such procedures, if any kind of interruption happens, then the level of corruption couldn’t be tackled by manual troubleshooting procedures. There is no direct way to fix corruption in files, so we recommend using Kernel for OST to PST for converting your OST files to PST without any corruption and data loss.
Conclusion
In this present write-up, we have mentioned methods to relocate OST files. However, applying these methods can lead to corruption in the file or your file may become inaccessible. To avoid such situations, you can get help from the recommended OST to PST Converter tool. The software allows you to efficiently convert OST files to PST.