Outlook is not just limited to managing your professional mail. It has numerous advanced features where you can easily make your daily notes, schedule your meetings, manage your address book, and create some specific tasks. Today, we will talk about how to assign tasks to another member in Outlook 2010.
Outlook 2010 has a friendly user interface that helps you manage the workforce and their tasks in the organization. You can easily assign tasks to other members so they can quickly proceed with the work and complete the task before the deadline.
Here is how you can create and assign the task in Outlook 2010:
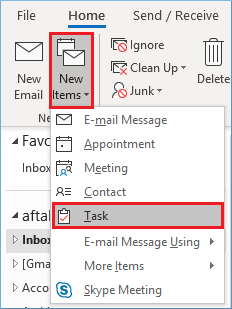
- Start Outlook application and select New Items > Task.
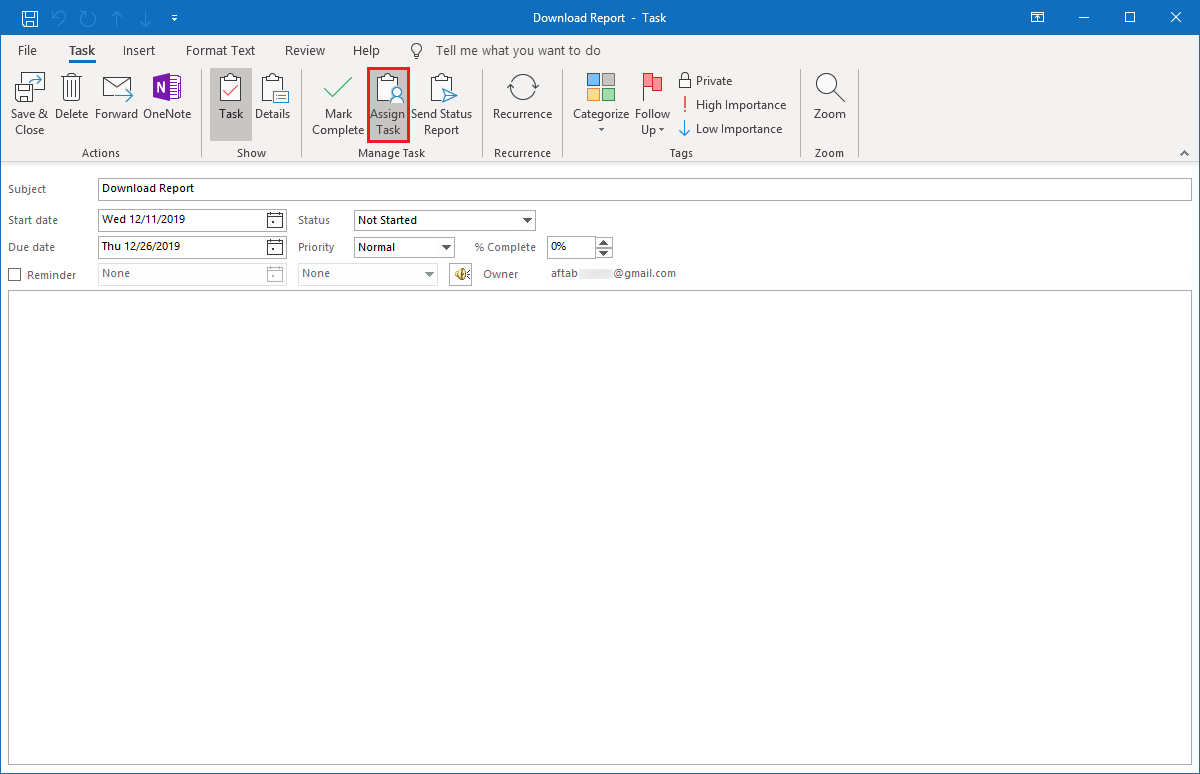
- Input the Subject, Start Date, Due Date, Status, and Priority. To assign the same task to other users, then click the option Assign Task.
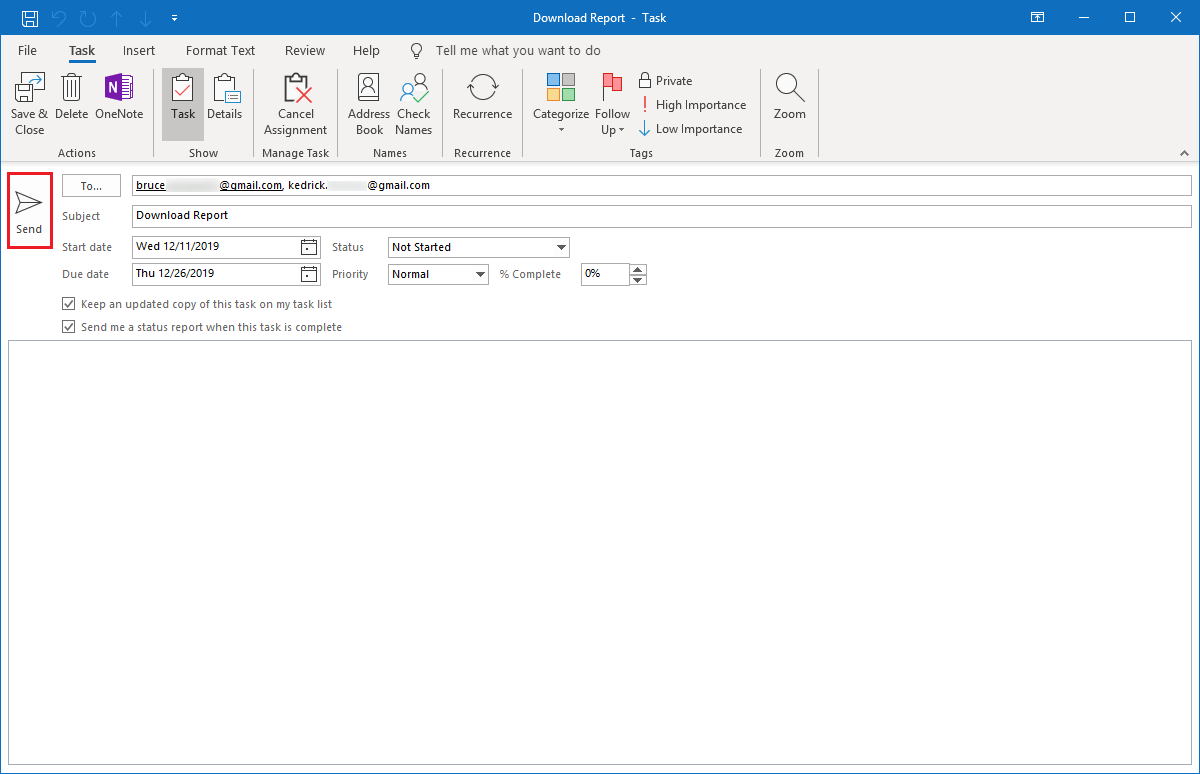
- Input the team member’s email IDs of the users. You can input the account of more than one team member. Click Send.
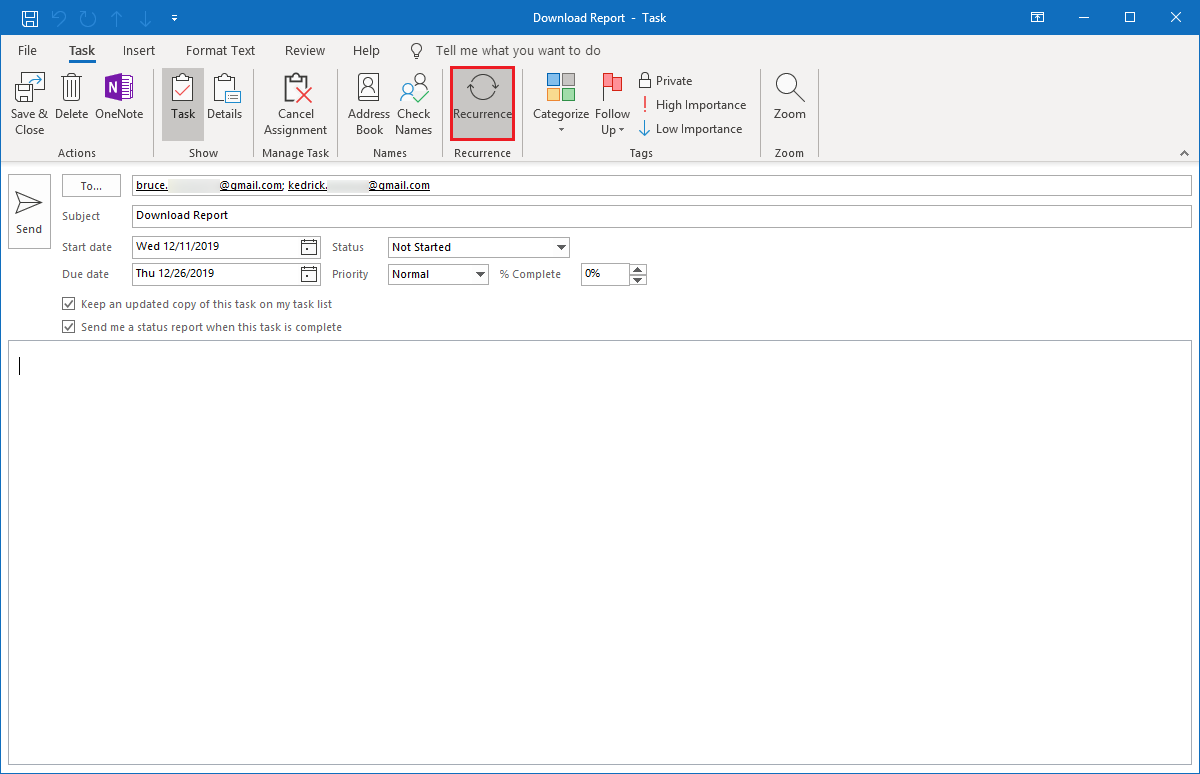
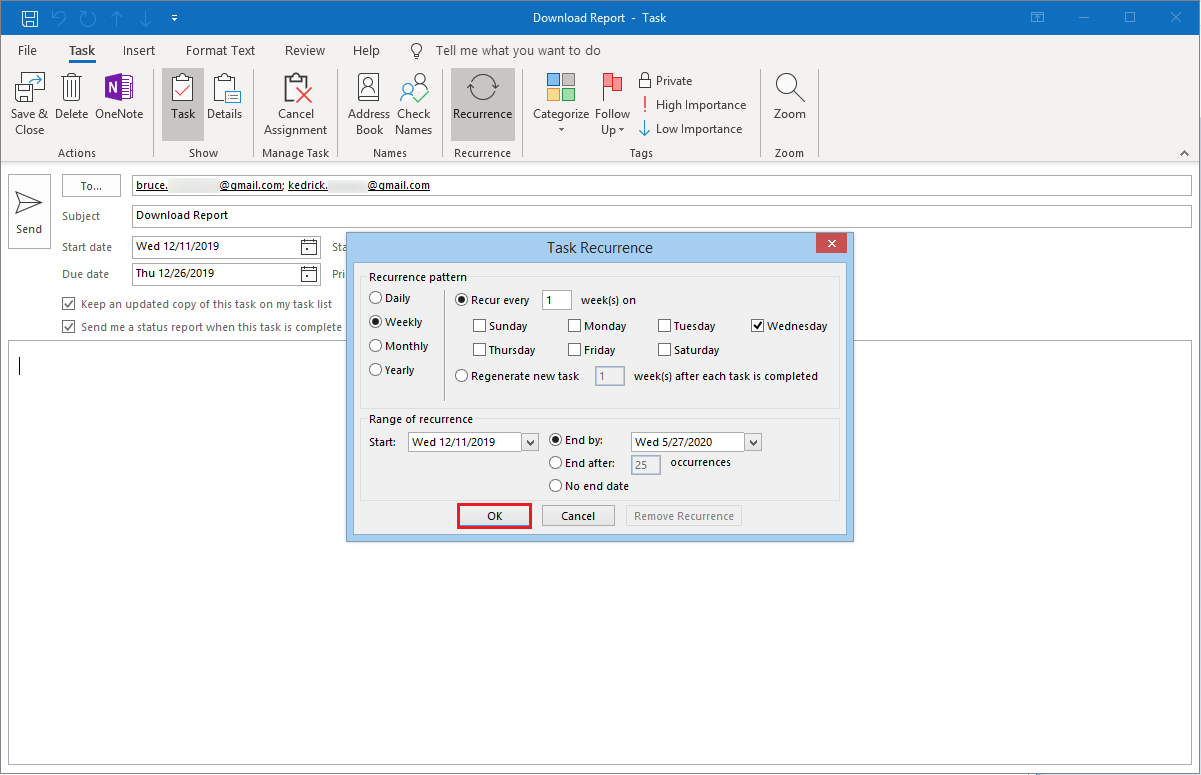
- If you want to assign the same task multiple times, then you can choose to recur the task using the recurrence option. Click the Recurrence icon.
- In the Task recurrence window, use the various options like recurrence pattern (recurrence based on Daily, Weekly, Monthly, Yearly), range of recurrence (Start Date, End Date, End After, No End Date), and click OK.
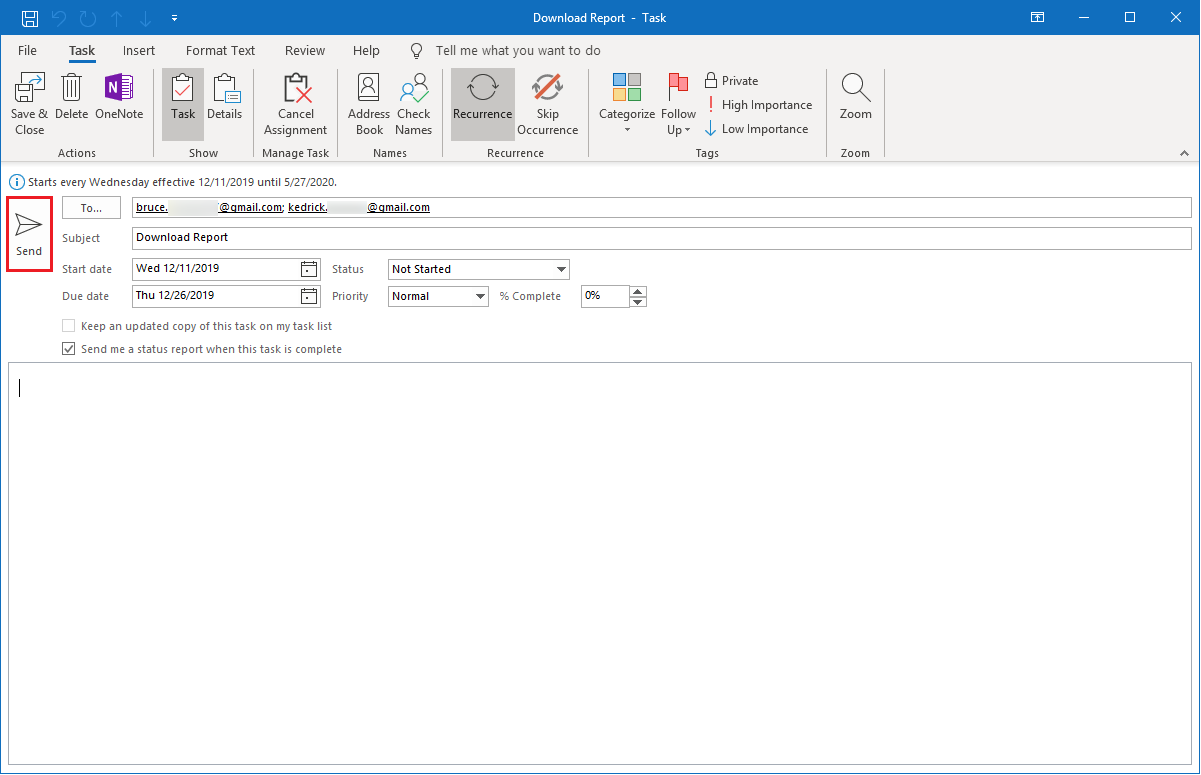
- After setting the recurrence of your task, click the Send button again.
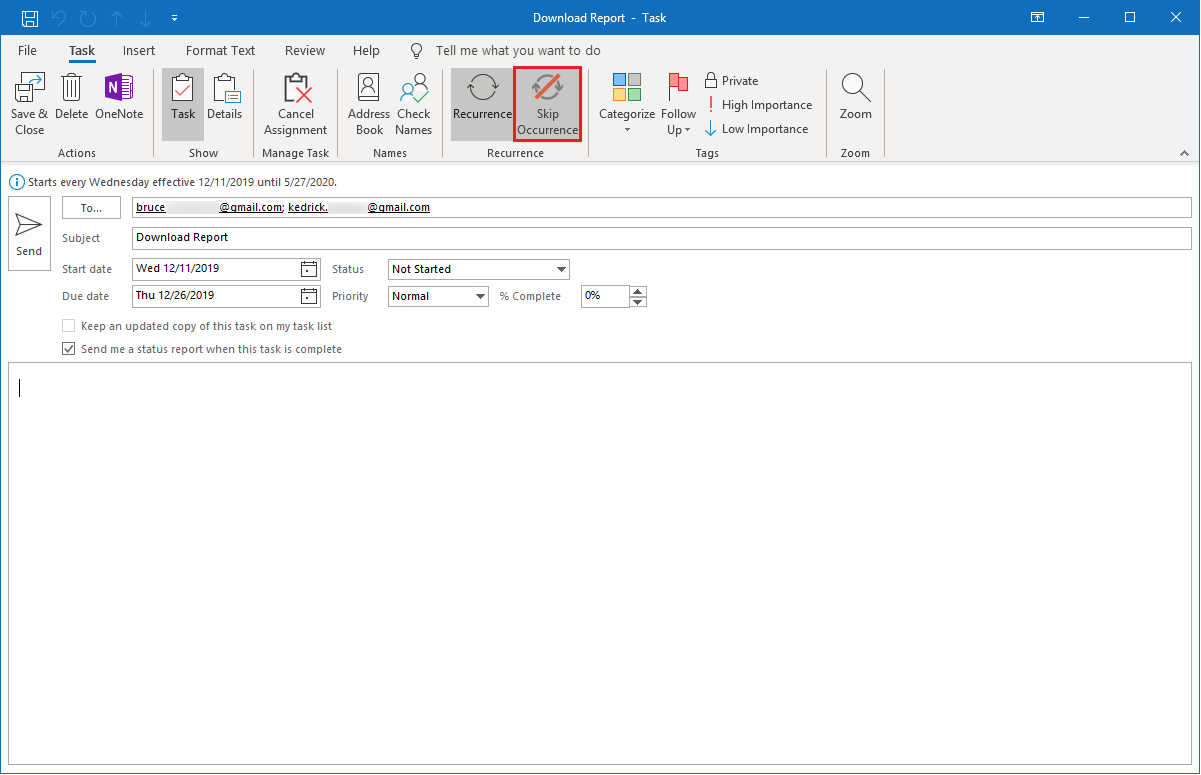
- You can click 'Skip Occurrence' and stop the task from occurring again.
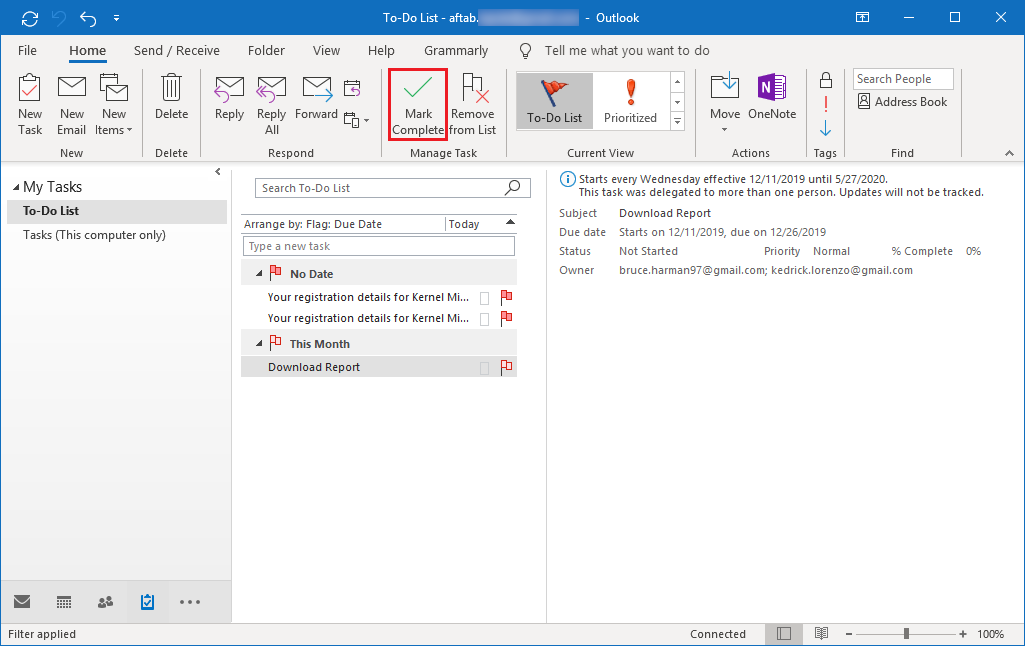
- To check out the ongoing tasks, click on the Tasks icon.
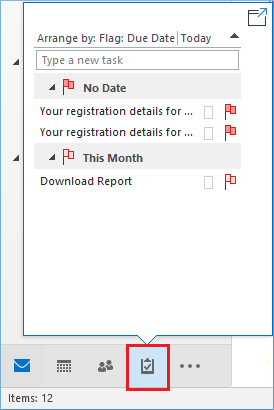
- When you select the task, then you can see its progress, its Subject, Due date, Status, Owner, etc. After completion of the task, you can click 'Mark Complete' and fulfill the task.
After assigning the task to your team members, your next job is to monitor the task and perform some management duties. For example, you need to get a constant update on the task, the progress of the task, and if the person rejects the task due to any reason. In that scenario, you will need to reassign the task to another person.
Actually, when you create a task and assign it to another person, then that person becomes the temporary owner of the task. The user can either accept it, reject it, or assign it to another person. When the user rejects the task, then the task will returned to the owner.
After assigning tasks to the members, you need to check all the aspects, whether they are doing assigned tasks in a proper way or not and many more. Here are some important checkpoints that the owner can commit for any task.
- Select the task that you want to forward to other users.
- Follow Task > Manage Task > Forward.
- Input the recipient's email address in the To and Cc input boxes.
- Click the Send button to forward the task.
Now, when we assign another user to track the status of the task, let’s find out all the possible ways to know the status of the task. In Outlook 2010, there are three methods to track the assigned task status.
Method 1: Receive automated status reports.
When you activate the receive automated status reports, you will automatically get the reports of the completed tasks through a mail.
- Click the 'Options' in the Tools menu. Go to Task Options.
- Check the box 'Keep updated copies of assigned tasks on my task list.'
- Also, select the box 'Send status reports when assigned tasks are completed.'
Method 2: View the assigned tasks
If you didn’t get any automated reports, then you can go manually and view whether work is pending, progress, and done by members.
- Click the Tasks and follow View > Current view > Assignment.
Method 3: View the list of users who get updated tasks
You can also view the members list who are working on your task and make it complete on time.
- Select the task, go to its Details tab, and check the names in the Update list box.
If you get the task from your member and you don’t have enough time to complete it, then you can accept and reject that assigned task by these steps:
- Select the task or the requested task.
- At the Manage Task group, click either Accept or Decline.
- Perform any of the following actions;
- Click 'Edit the response before sending.' Input your message and click Send.
- Click 'Send the response now.'
After completing the task, if you want to send the detailed status report of the task and type a comment that the admin has to consider first. You can accomplish this task by the steps mentioned below:
- Select the task and go to the Task tab in the Manage Task. Select either Send Status report, Reply, or Reply All.
- Input the email address of the recipient in the To and Cc input boxes. NOTE: If the task has been assigned to you, then the name of the recipient will be added automatically.
- Type your message and click Send.
Final Words
Creating the task in Outlook increases the magnitude of the productivity of your business, and you can constantly monitor your tasks and their progress. But what if you lost your data in the PST file due to any corruption? Then, its tasks will also be irrecoverable. To resolve the corruption issues, we recommend you use Kernel for Outlook PST Repair tool, which can recover every single item, including email messages, contacts, notes, journals, and tasks. This software will recover all your Outlook PST files without harming the data structure.