How does Kernel OST Viewer Work?
Kernel OST Viewer is a standalone tool that allows its user to successfully access and open OST file without any requirement of establishing any connection with MS Exchange Server. This free OST file viewer software lets the user scan OST file and have a complete view of data saved in it including email messages, calendars, contacts, notes etc. in a proper folder structure. The good aspect about this free OST viewer tool is that it offers step-by-step directions to open OST file.
However, the steps you would require to follow to operate and view OST file are as follows:
Click Start » All Programs » Kernel OST Viewer. The first welcome window of the software will appear on the screen as shown below:
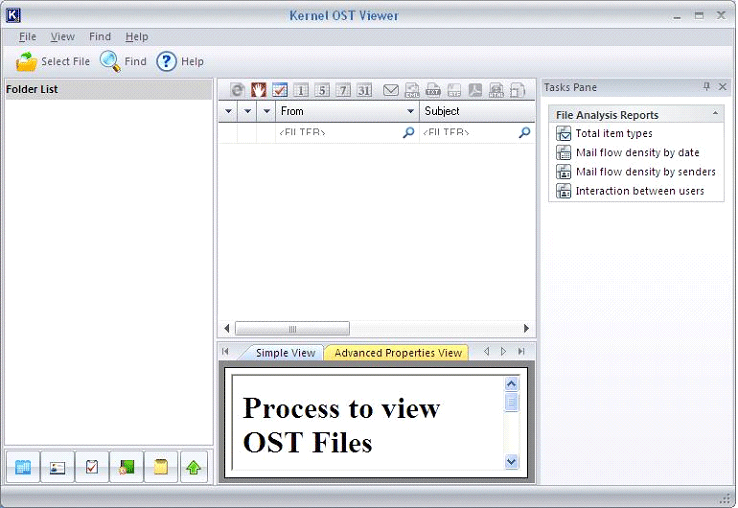
Click Select File to initiate the procedure of OST file selection.

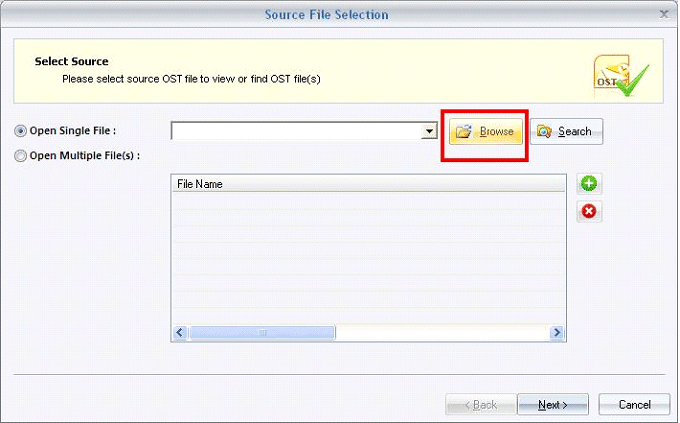
Check “Open Single File” if you want to choose single .ost file and after that click on the Browse button to locate the respective OPST file from the disk.
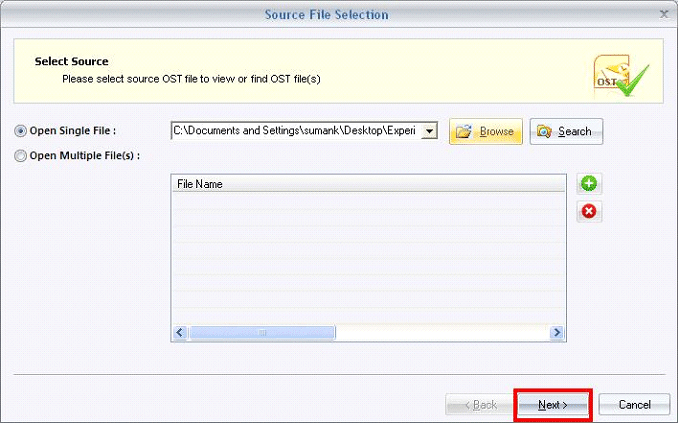
Click Next, after selecting the required .ost file and start the file loading method.
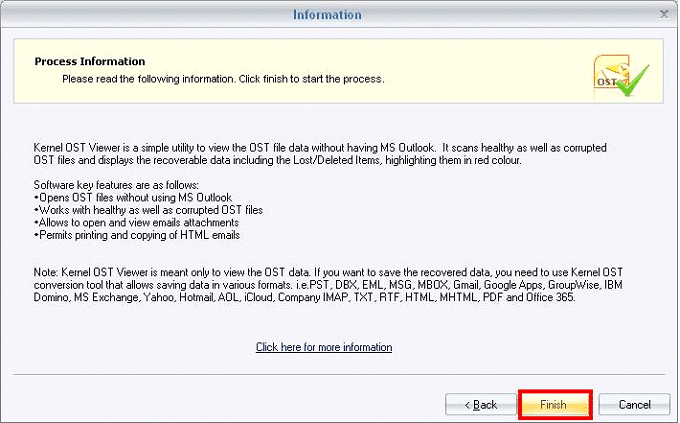
Click on “Finish” after successful addition of required .ost file.
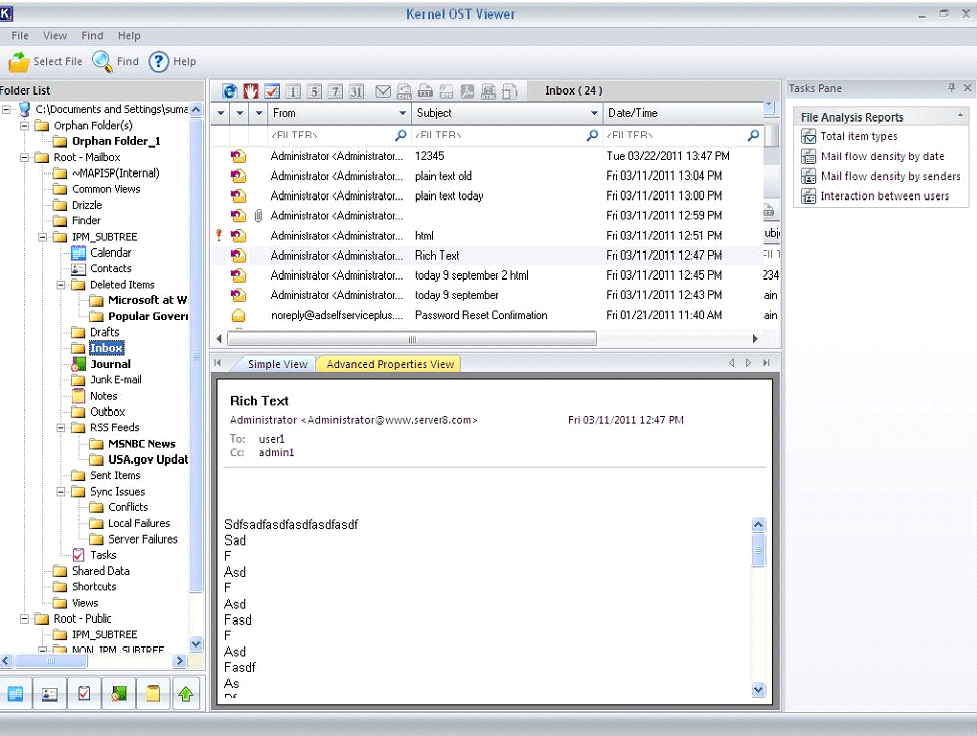
After successful loading of the .ost file Items, you can preview the contents of the OST file in the hierarchy.
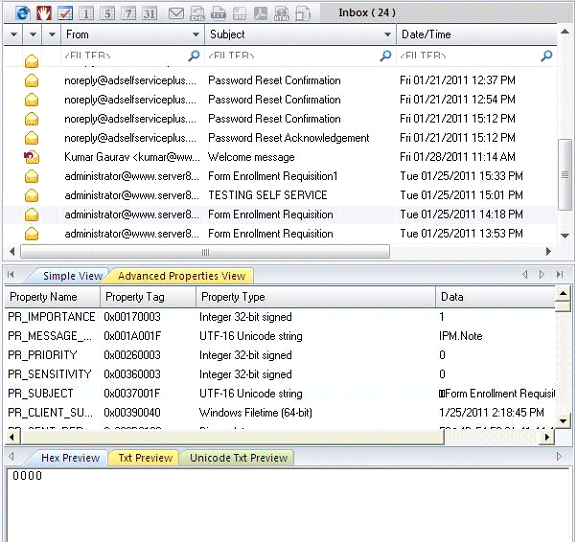
Select any email and have its preview as per the requirement.
Note: Software provides Simple View & Advance Properties View option and allows its user to view the email. While simple view helps in displaying the preview of email along with attachment (if any), Advance Properties View option allows user to sight the properties of an email message. Hex Preview, Txt Preview and Unicode Preview of email is also shown below in which user can view the email.
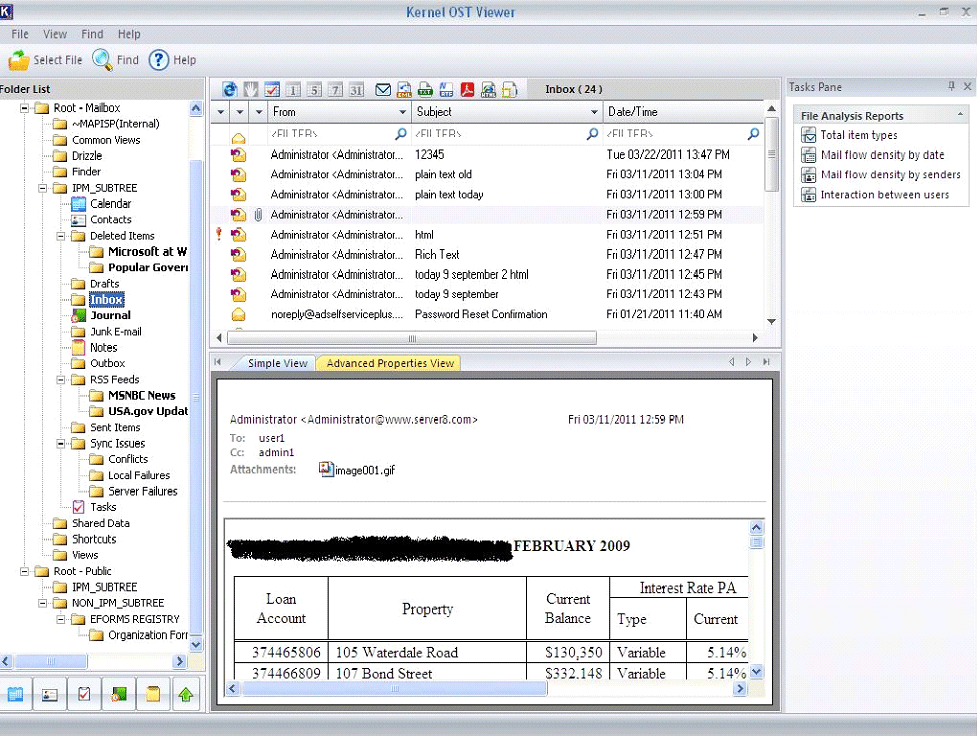
Click on the attachment icon and get complete access on the attachment of email message and view it with an appropriate program.
Select any of the preferred respective items or icons, which you want to view like Calendar, Contact, Task, Journal or Notes.
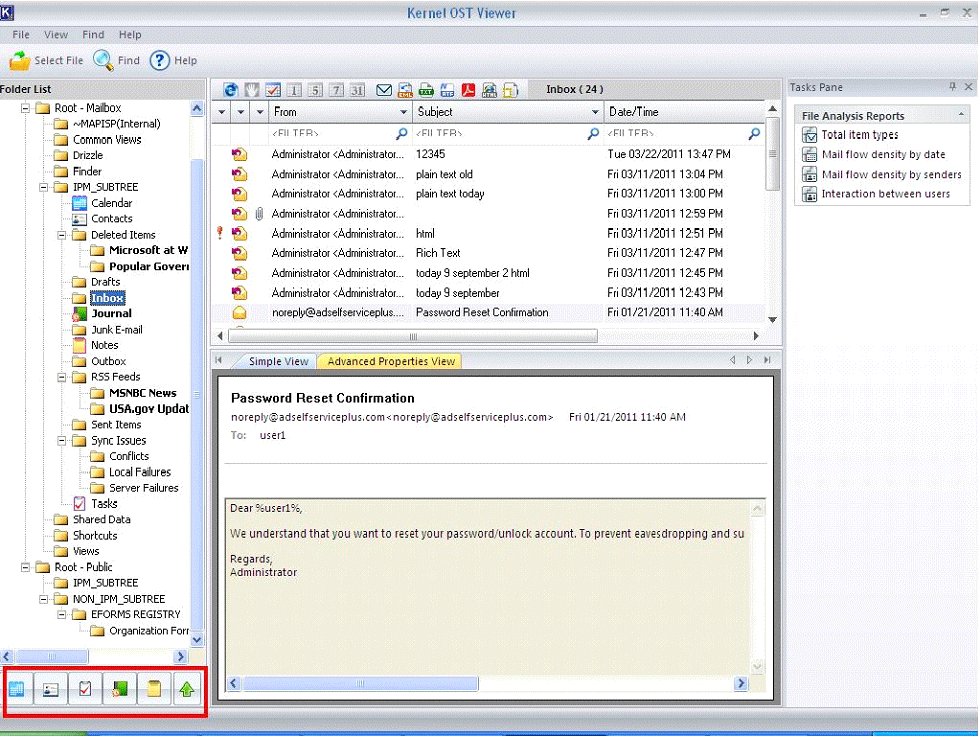
Click the “Find” button to find the specific email message within the chosen OST file.
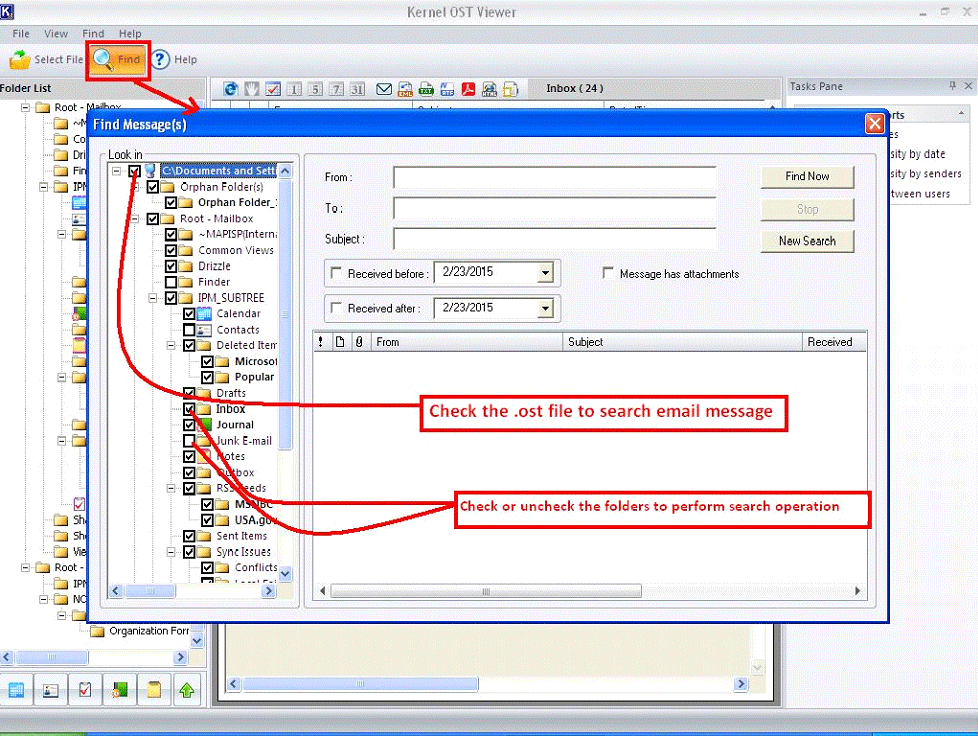
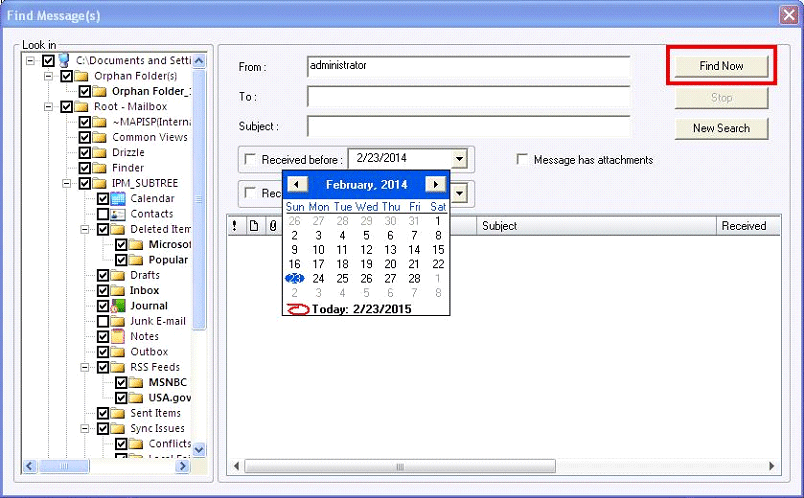
As Find Message(s) dialog box appears after selecting the respective .ost file, fill the respective fields: From, To, Subject, also select the Date Interval and click on“Find Now” button.
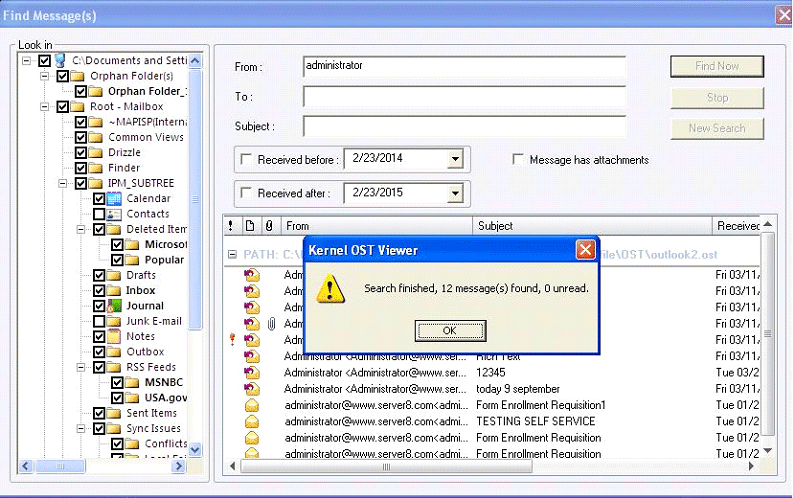
Click OK, after the successful completion of Find Email Message process.
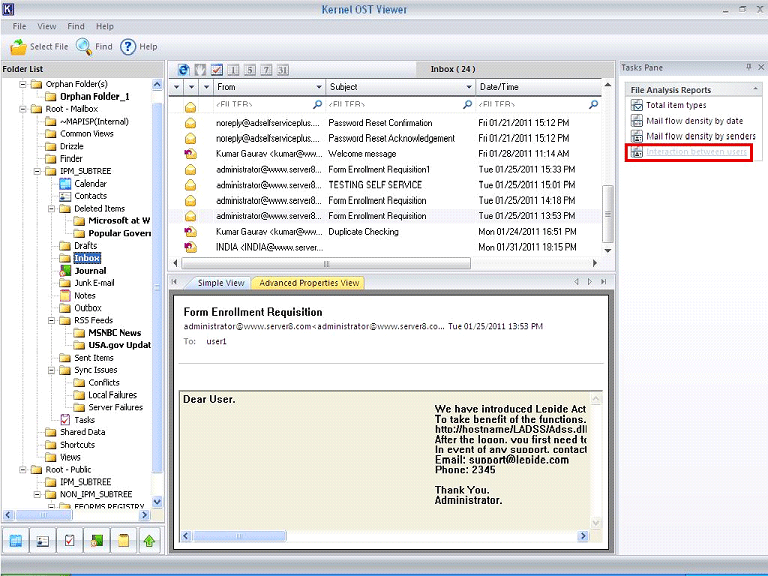
Software has got “File Analysis Report” section that generates complete report on items types, mail flow density as per data or sender, interaction made via mail between sender & receiver.
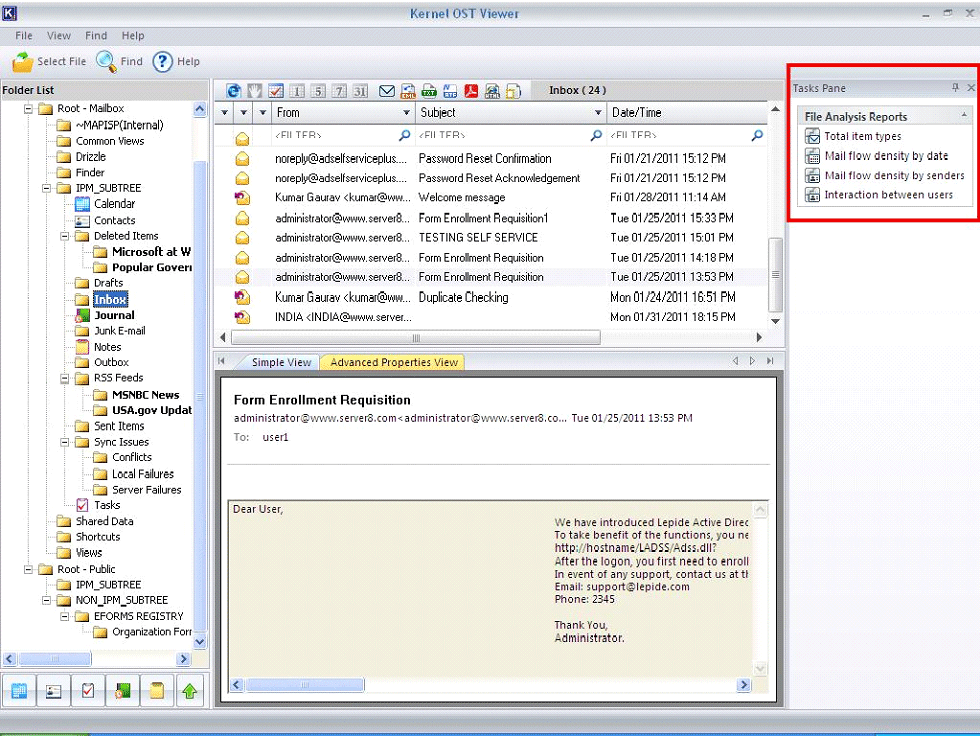
Click on “Total item types” icon, to view detail analysis report on total types of items.
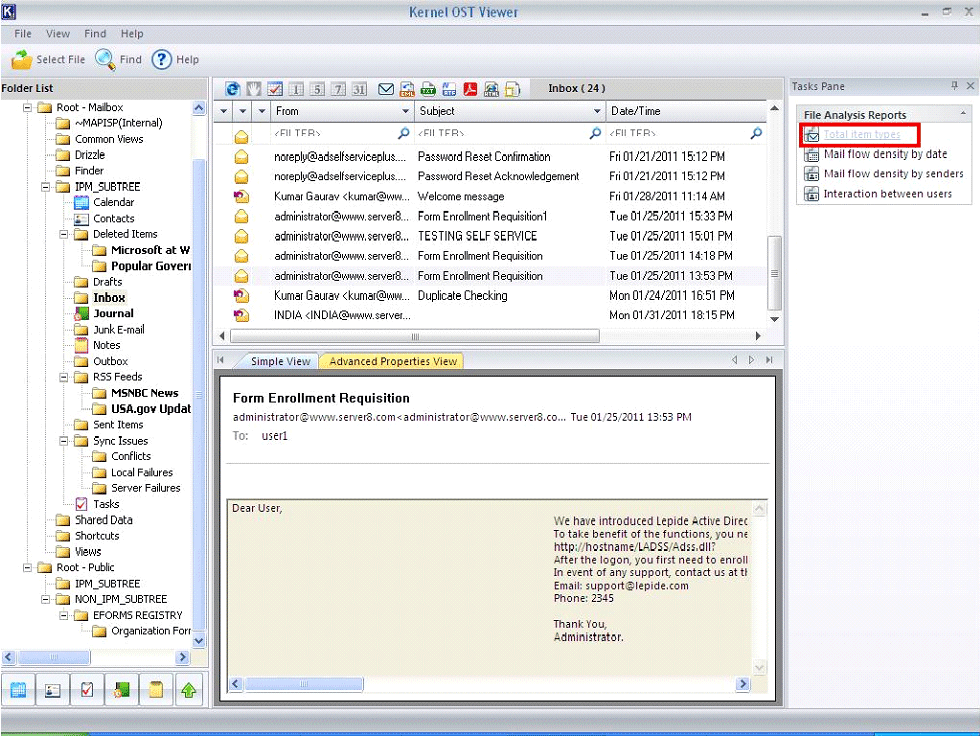
As “Find Message(s)” dialog box appears on the screen, check the items in the folder tree and click on “Analyse” button.
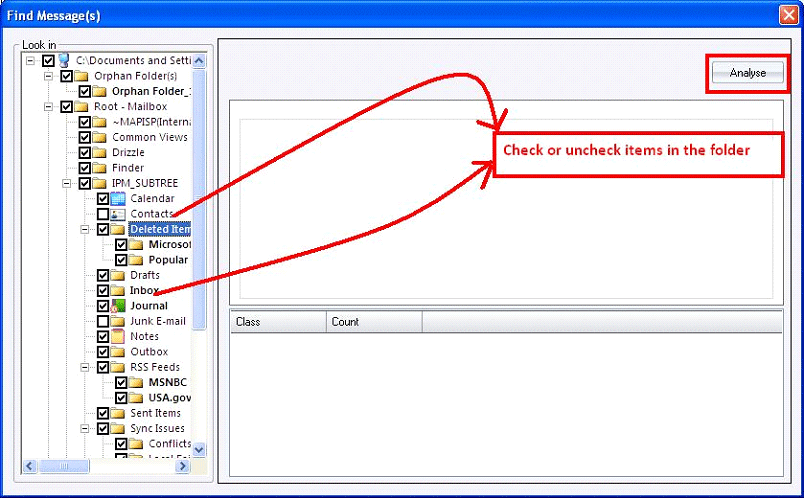
After successful completion of analysis of total item types, click on OK, to view screen providing details of item types.
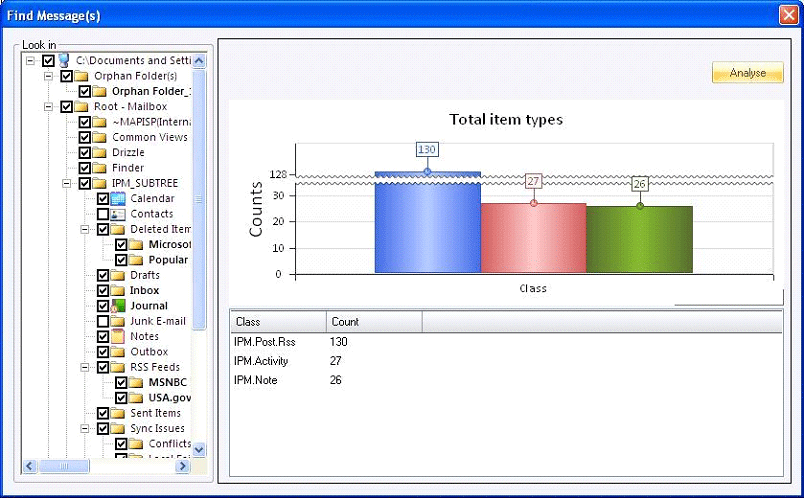
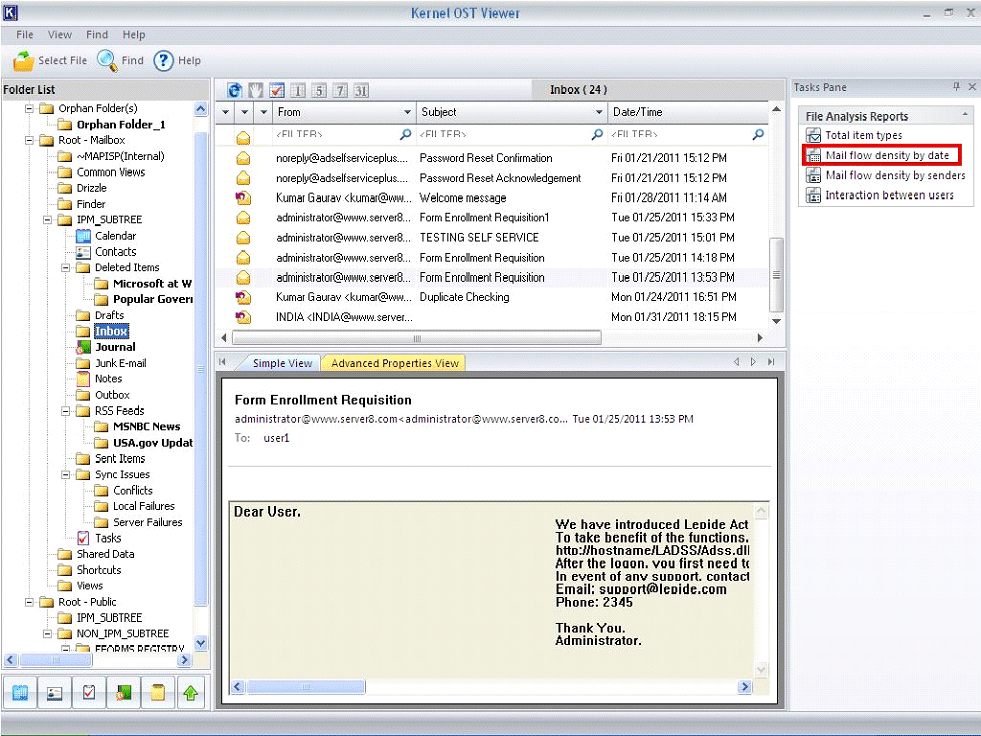
Click on “Mail flow density by date” icon to view detail analysis report on the density of email flow as on day by day basis.
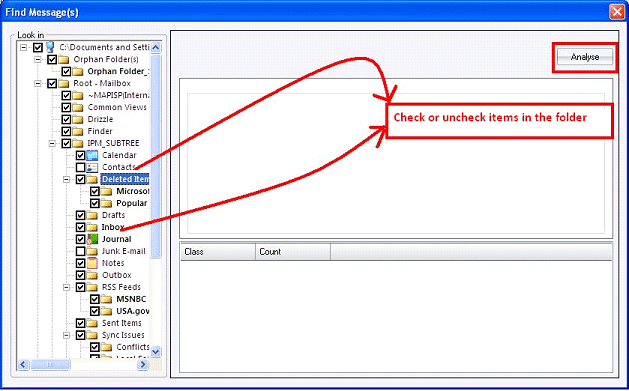
As “Find Message(s)” dialog box appears on the screen, check the items in the folder tree and click on “Analyse” button.
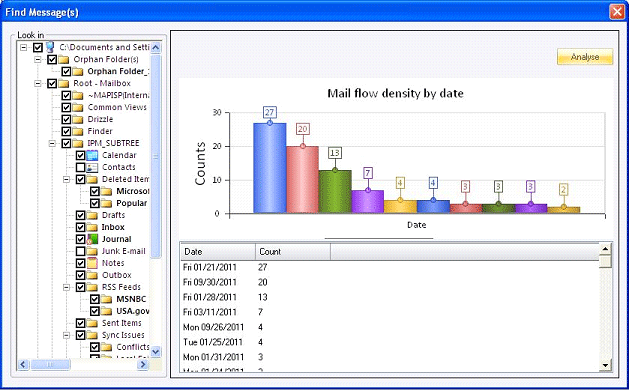
Click OK and window will appear providing complete report on flow of emails according to date.
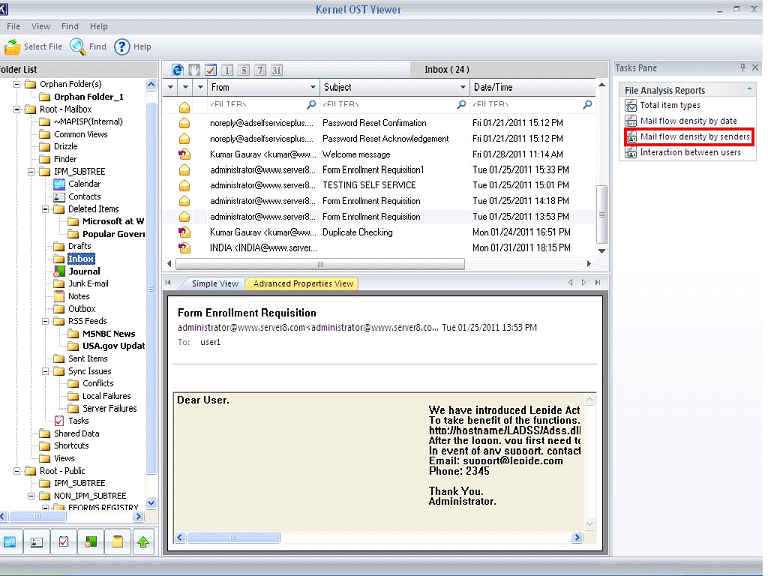
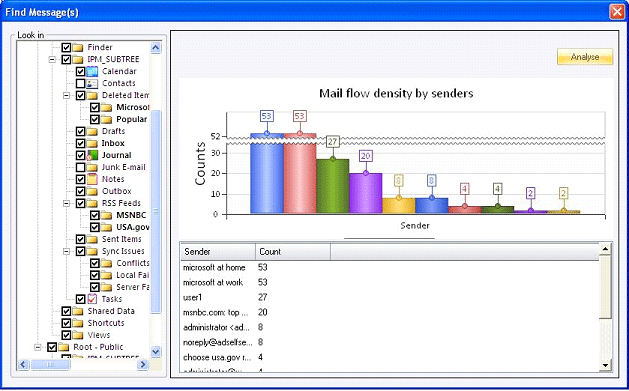
Click on “Mail flow density by senders” icon, to view detail analysis report on the density of email send to various individuals.
Check the items in the folder tree and click on “Analyse” button.
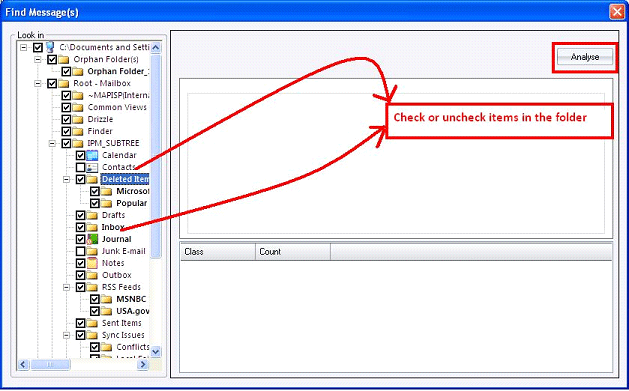
Click on OK, and window appears on the screen providing complete report on email flow density by sender.
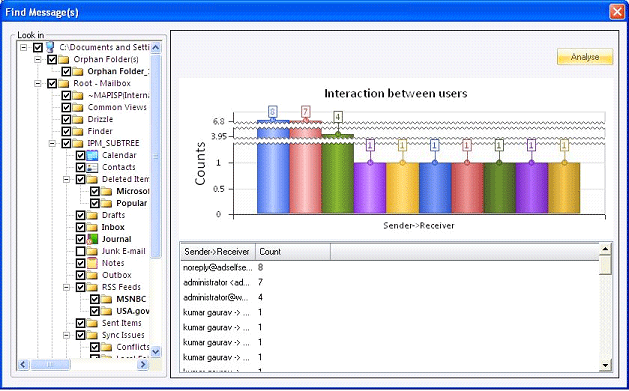
Click on “Interaction between users” icon, to inspect detail analysis report on the density of email send to various individuals.
Click on “Analyse” button after checking on the items in the folder tree.
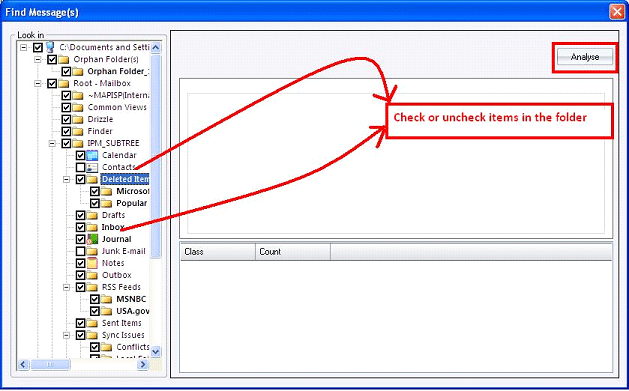
Click on OK button, and the window will appear providing a comprehensive report of email flow send between sender and receiver.
