Let's go through the detailed process to migrate from Dropbox to SharePoint using Kernel Dropbox to SharePoint migration tool.
Step 1: Download and install Kernel Dropbox to SharePoint migration tool on your system.
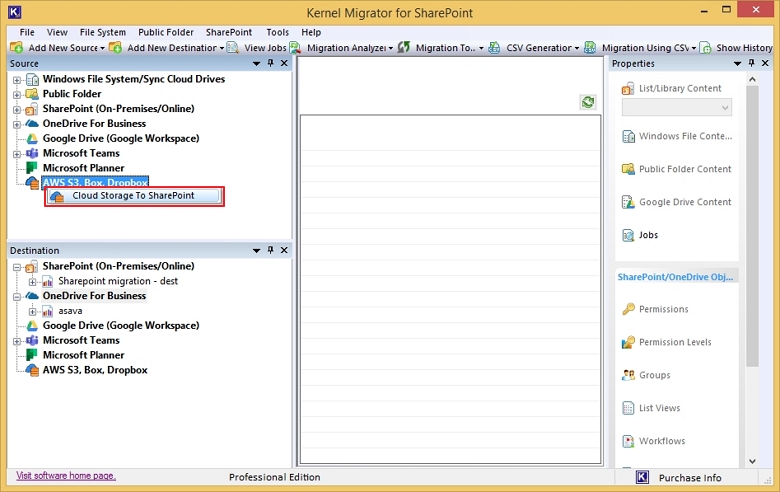
Step 2: Launch the tool and on the home screen, go to the Source pane, then from the bottom, right-click on AWS S3, Box, Dropbox and then select Cloud Storage To SharePoint.
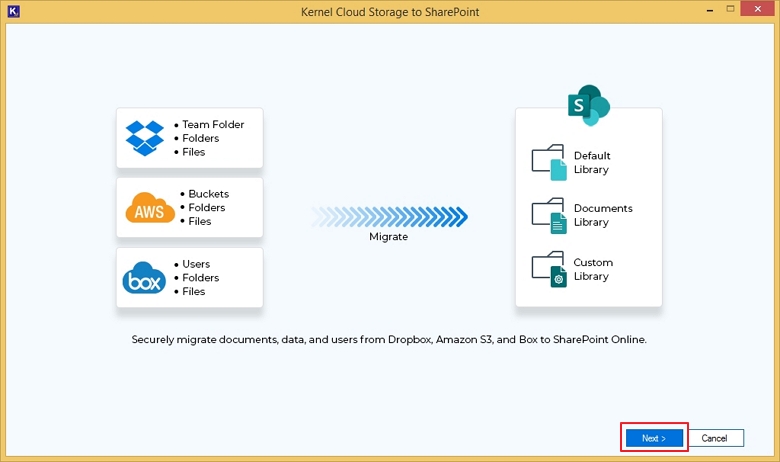
Step 3: On the Kernel Cloud Storage to SharePoint screen, click Next.
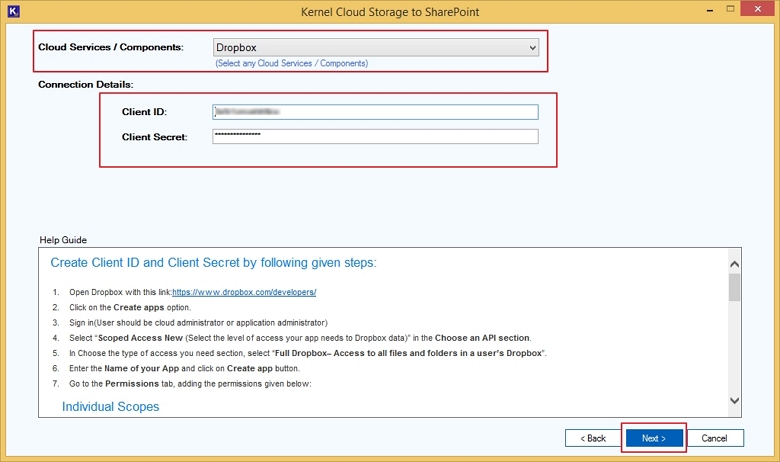
Step 4: On the login screen, select Dropbox from Cloud Services/ Components dropdown, enter the login credentials (Client ID and Client Secret) and then click Next.
Step 5: Please wait while Dropbox is connecting to the tool.
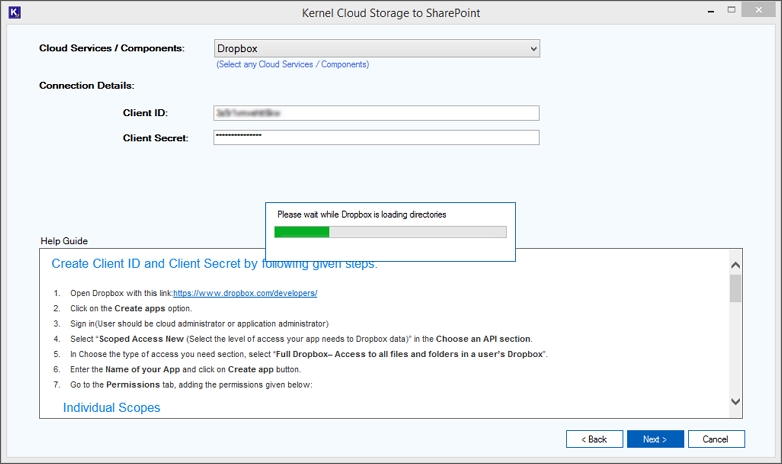
Step 6: The tool will show a prompt with the message, “Do you want to save credential?” Select Yes if you want to escape from the hassle of logging in again for the same Dropbox account.
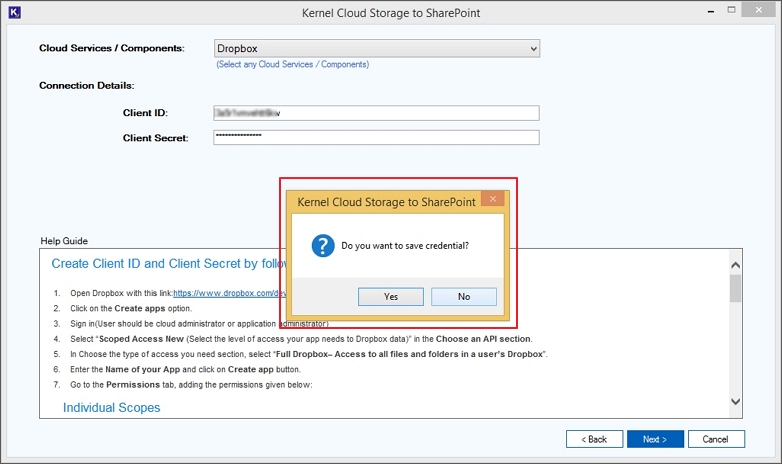
Step 7: Now on the Directories: Member/ Team Folder screen, you can check the box saying Select All to select all directories of the Dropbox account for migration. You can also use the Search box to locate specific members or team folders you're looking for.
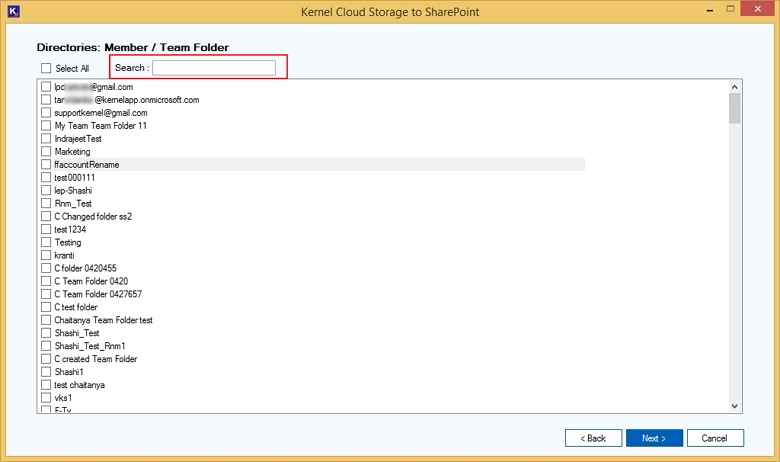
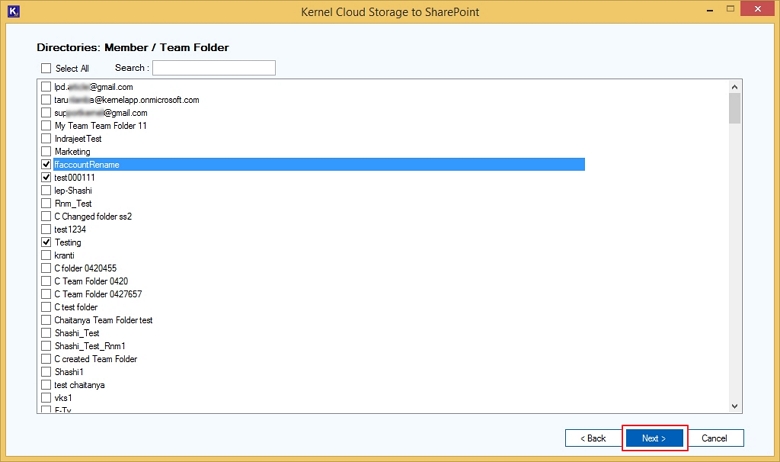
Step 8: Select the desired directories from the list and then click Next.
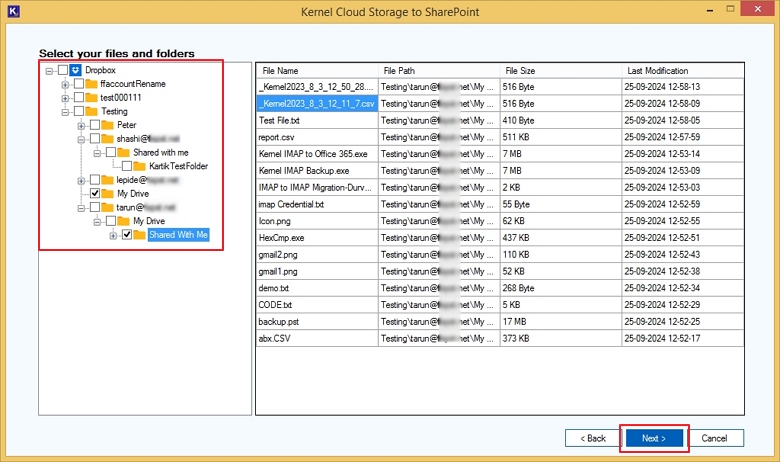
Step 9: You are now on the screen that allows you to Select your files and folders. Click on the + icon to expand the parent folders and then select sub folders and files to migrate data from Dropbox to SharePoint.
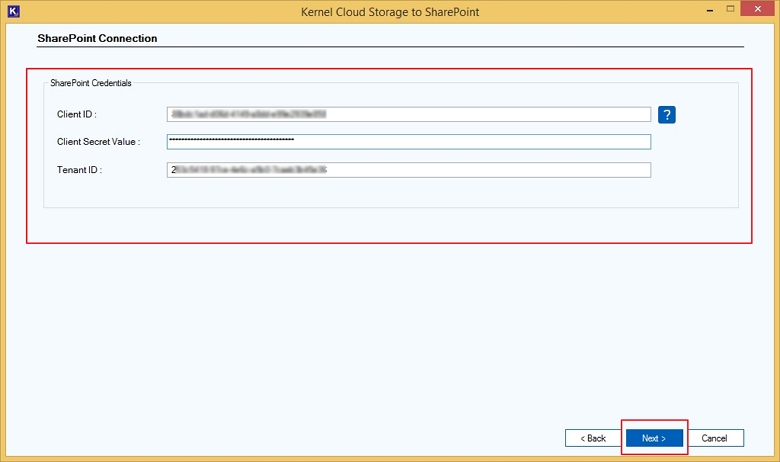
Step 10: On the SharePoint Connection page, provide the SharePoint Credentials as asked: Client ID, Client Secret Value, and Tenant ID.
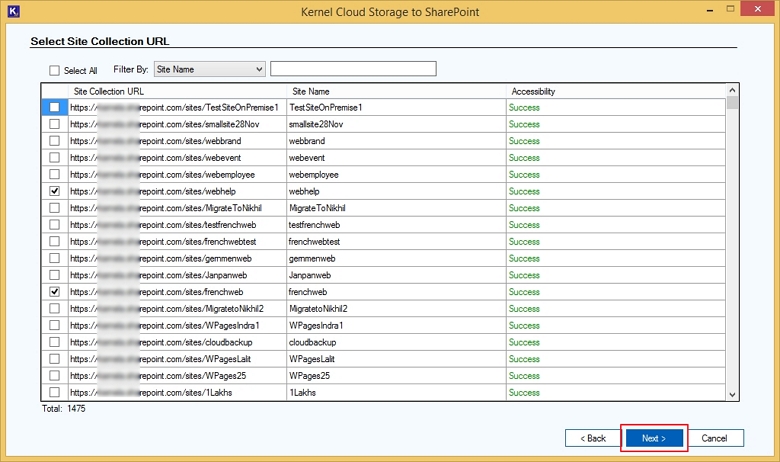
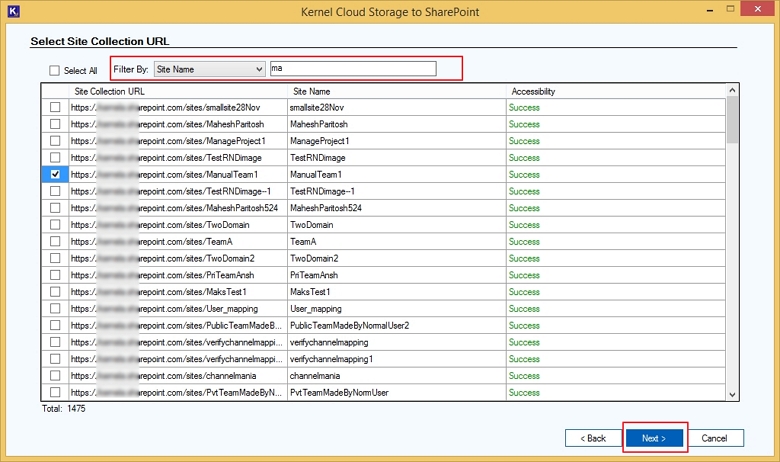
Step 11: From the long list of site URLs, select the destination site where you want to migrate the data from Dropbox. Once selected, click Next.
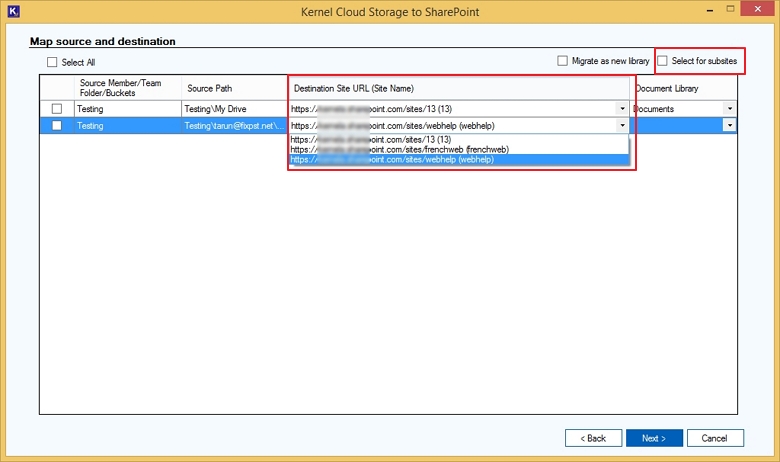
Step 12: In the next step, map the source with the destination according to the options given on the screen. Select the Source Member/ Team Folder and use the dropdown to select Destination Site URL (Site Name) to migrate. If you want to take the data to a subsite, mark the checkbox Select for Subsites.
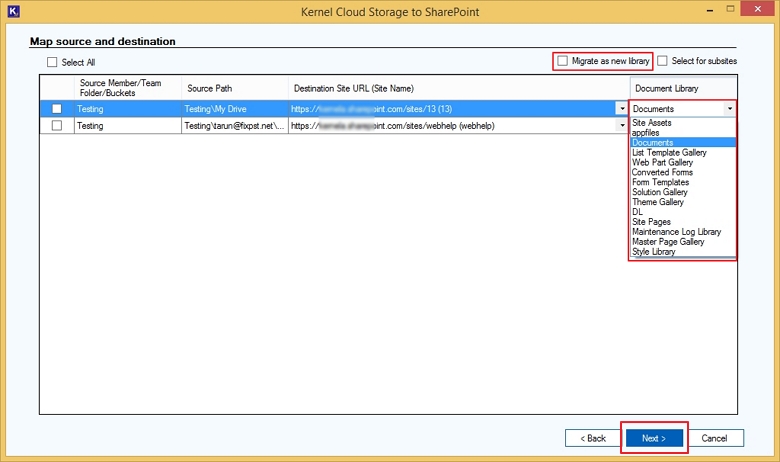
Step 13: Under Document Library, select the library from the dropdown to move your data to. You can also mark the checkbox Migrate as new library to move the data into a new document library.
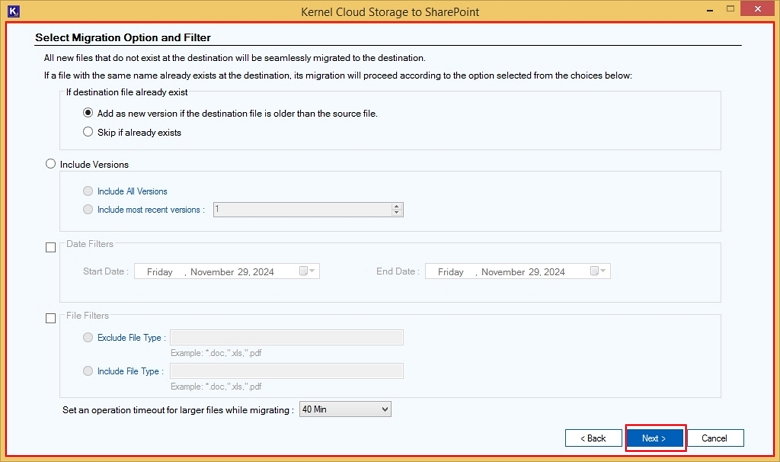
Step 14: If you are looking to do more precise and selective Dropbox to SharePoint migration, apply filters from the available range as follows:
- If destination file already exists: If the destination already has a file that you’re trying to migrate perform the following actions.
- Add as new version if the destination file is older than the source file
- Skip if already exists
- Include versions: Select to mention if you want all versions of the file or want the most recent versions (specify count) of it.
- Include All Versions
- Include most recent versions
- Date Filters: Specify a date range for which you want to extract data from Dropbox to SharePoint.
- Start Date
- End Date
- File Filters: Mention the file types if you want to include or exclude certain from the migration.
- Exclude File Type
- Include File Type
- Set an operation timeout for larger files while migrating
After applying the required filters, click on Next.
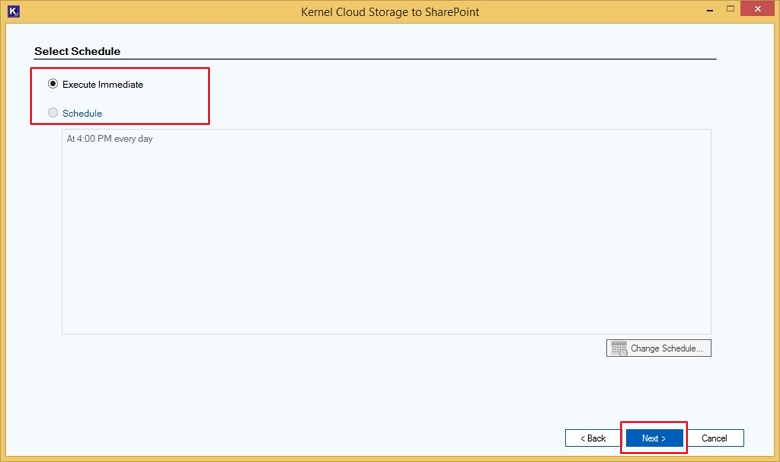
Step 15: Automate the process by scheduling the process using the Schedule feature or click Execute Immediate to run process instantly.
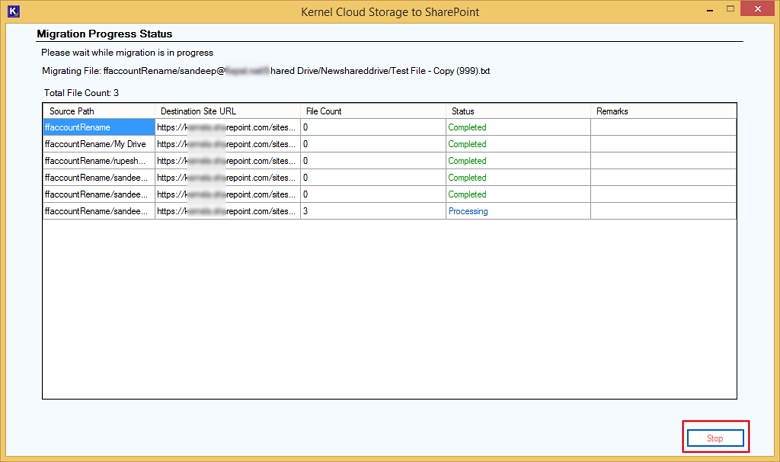
Step 16: This will begin the process, and you can see the complete Migration Progress Status in real time. You can click on Stop button to abort the process before completion.
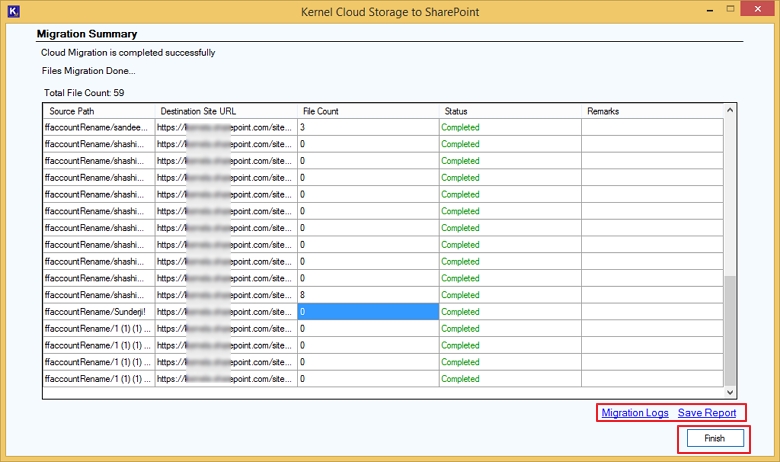
Step 17: Once the process is completed, click OK on the pop-up saying “Migration completed. Please save the report to CSV.”
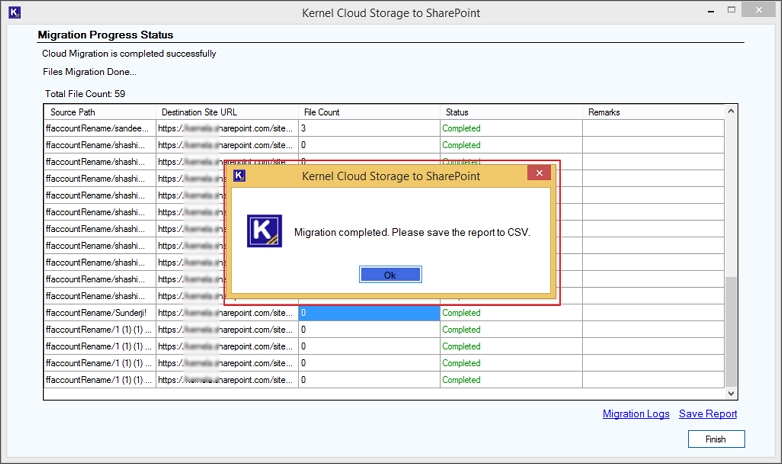
Step 18: You can check Migration Logs and even save migration report to CSV using the Save Report option.
