Read time 6 minutes
Xvid is not a video file format; it is a video codec library used to decompress videos so they can be saved on the disk. It is an open-source format widely used for streaming and sharing video files in high visual quality. Xvid-encoded video file supports mobile devices, computers, and tablets with a compatible video player. It is a recommended codec library due to its compressed size and magnificent quality.
Beyond its proficiency, Xvid files also get corrupted/damaged and become inaccessible to the video player. So, we’ll see some vital reasons for the Xvid corruption and methods to repair Xvid files.
Reasons for corruption in Xvid files
If you are facing corruption in Xvid files, you should know the reasons for its occurrence. If you know why it happened, you can try to avoid it in the future. The reasons are:
- Malware attacks: Malware attacks are the reason for most corruption cases. The Xvid file is no exception; malware attacks can damage and corrupt these files.
- Sudden power outage: A sudden power outage while Xvid video is playing on your system may lead to corruption.
- Compressing video files: There are times when we all are running out of space in our systems. In such situations, we try to do whatever it takes to make space. Once such a stunt compresses a video file for that extra space, this situation may sometimes lead to corruption in the video file.
How to fix corruption in Xvid files?
As we know a bit about the Xvid files and the reasons for corruption, let’s now proceed to understand the procedure to repair Xvid file.
Method 1. Download/install the Xvid codec pack
Outdated or damaged Xvid codecs lead to many issues in media players and become unplayable. So, it requires downloading the correct Xvid codecs from a reliable source to your system. It is available online but ensure you do not download malware viruses instead of Xvid codecs.
Method 2. Change the Xvid file into another video format
If the above method doesn’t work, changing the Xvid file extension using VLC Media Player might be a solution. Here. It is a free utility that converts the Xvid file extensions into another video format. Follow the steps below in VLC Media Player:
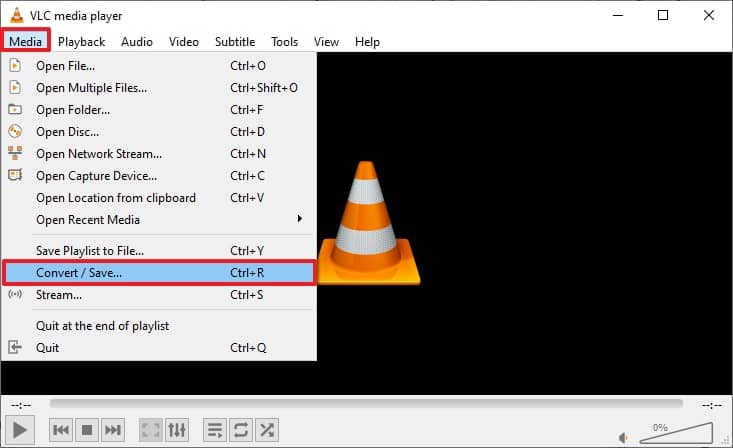
- Open VLC Media Player, click the Media tab, and choose Convert/Save.
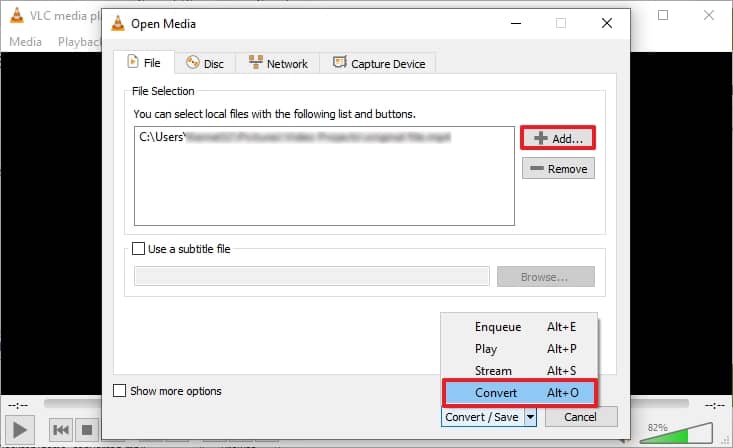
- Click on the Add button to choose your Xvid file from the File Explorer and click on Convert.
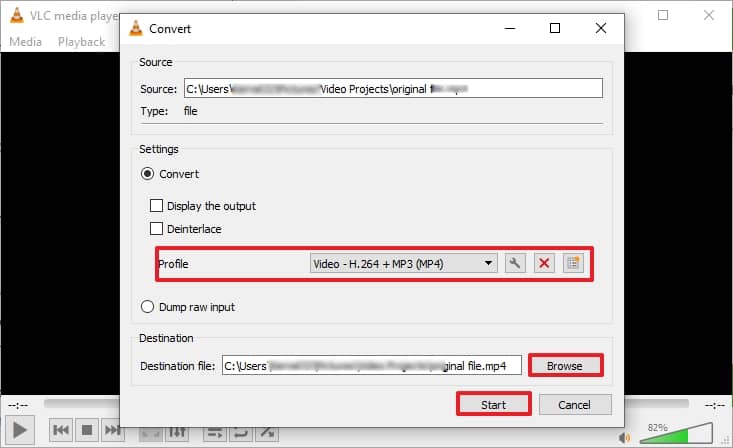
- Choose your video format from the Profile dropdown in the Setting section, provide the saving location, and click Start.
Your desired video format file will be saved at the location you provided. Now, play the video file whether it is playable or not.
Method 3. Repair Xvid file corruption with VLC media player
VLC Media Player is a handy tool; it plays media for you and helps with many other functions. One such feature is fixing the corruption in a video file. However, the power of VLC is limited, and it can only fix minor corruptions in video files. So, if corruption is minor in your video file, you can try the below-mentioned steps:
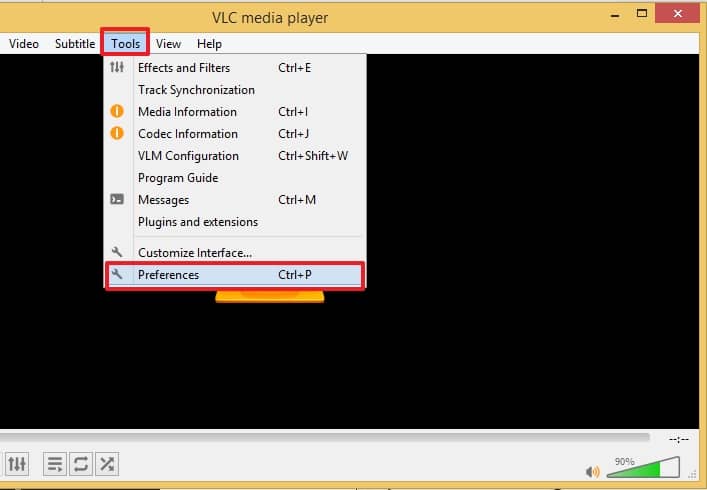
- Open your video in VLC Media Player, click on the Tools, and select Preferences from the menu.
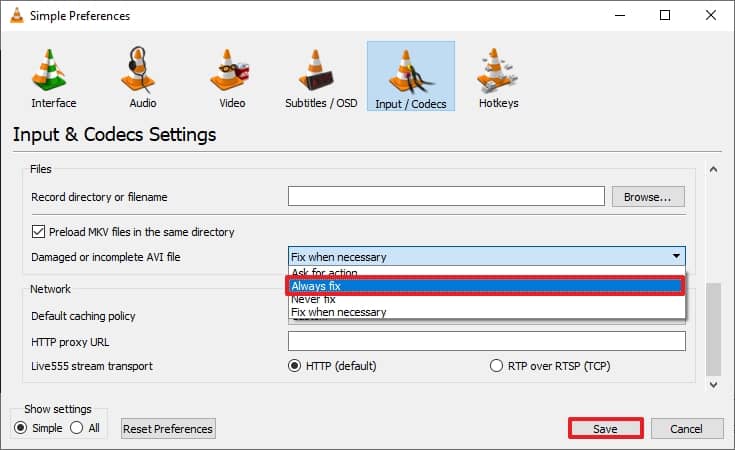
- Select Input / Codecs from the categories and go to the Files section. Select Always fix in the Damaged or incomplete AVI file and click Save.
Once done, you can try to play the video. If corruption was minor, it should work fine. If corruption is severe, you might face the same issues again. Another drawback with the VLC Media player is that you can only process one file simultaneously. If the above process fails you, your Xvid file is severely corrupted. So, it is recommended to repair Xvid files with an automated professional tool.
Repair Xvid file corruption collectively using an advanced utility
If you have limited time only and don’t want to try manual methods, try this. Kernel Video Repair is the best and the guaranteed solution to your Xvid file problem. This video repair tool can fix minor to severe levels of corruption in many popular video formats. Here, we are trying to fix the Xvid file with it. This tool can also work with MP4, MOV, MPEG, MJPEG, MTS, M4V, MKV, AVI, AVCHD, WEBM, ASF, WMV, FLV, DIVX, 3G2, TS, 3GP, F4V file formats. This tool not only repairs corrupted files but also deals with broken, inaccessible, and damaged video files.
Some other interactive features of this tool are:
- You can simultaneously process one or multiple files without restricting the video length and file size.
- The tool supports Windows versions and has a very interactive and user-friendly interface.
- This tool is easy to operate, even for beginners and non-techies.
Conclusion
In this article, we have discussed the corruption in the Xvid files and their common causes. We’ve also seen effective methods to access and repair Xvid files. However, relying on the Kernel Video Repair tool is recommended if the manual procedure fails or you want to skip the bulky, risky, and time-consuming processes. So, download the tool now to repair Xvid files and make them accessible.