Read time 8 minutes
Secure Digital Card (SD Card) is small and thin but a high capacity memory card, which has storage capacity in the range of 1MB to 4GB. SD cards are used in small portable devices like digital cameras, camcorders, audio players, mobile phones, etc. to enhance their memory. They are designed to support various files like image files, audio files, video files, etc. However, like other storage devices, SD cards are also prone to corruption and data loss.
Reasons for data loss from SD card:
- Accidental files deletion
- Accidental formatting of SD card
- Physical or Logical damage
- Corruption of SD card
Practices which can harm your SD card:
- Removing card while turning off or on your device.
- Removing card while saving files, pictures, videos or other data.
- Viewing or taking pictures in low battery mode.
- Improperly detaching SD card from the computer.
- Abrupt system shut down while transferring files from SD card to computer and vice-versa.
How to detect a corrupt SD card?
- If you are unable to view files stored on it, even though files are there.
- If you see an error message saying, ‘SD Card is not accessible’ along with a black screen.
- If you are getting an error message saying, ‘memory card error’ or ‘corrupt memory card’ while accessing your stored data.
- The contents if your card is visible in system or device, but you are unable to copy them. Whenever you try to copy anything from your card you get an error message saying, ‘disk is write-protected.’
- When you connect your SD Card to your device, and you are unable to see any content. The system is asking you to format your SD Card.
- If you are unable to make any changes to your SD Card, whether it is copying, deleting or saving any content.
After an SD card gets corrupt, damaged or accidentally formatted, you still have a chance to recover lost data from SD card. If the data loss happened due to the physical damage, then there are hardly any chances of recovery. If data loss happened due to any logical error, then you can follow below-mentioned methods to recover them.
Method 1
Try to Connect your SD Card to another device rather than the one which is showing error. Sometimes due to incompatibility and other driver related issues, SD Card shows errors. These errors can be temporary or permanent, but if it is not working with any other device too, then it might be possible that you have a corrupted SD Card.
Method 2
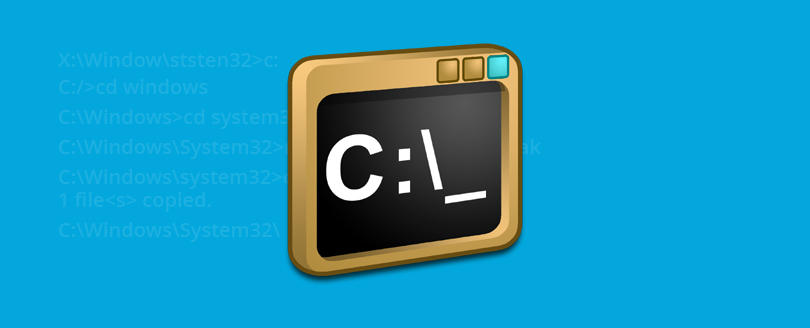
You can try chkdsk command.
- For this, you first need to go to the My Computer section. Search your SD Card under “Device with removable storage” section and check what is the drive letter assigned to it.
- Once you know the drive letter, click on the Start button and type ‘cmd’ in the search bar. From the menu, right click on cmd and click on ‘Run as Administrator.’
- When the command window will open, type chkdsk, write the drive letter for your SD Card, and then put a colon followed by /f. Click Enter.
- Once you have given the command, the chkdsk will search for the possible errors and will try to fix it. Don’t forget to check your assigned drive letter to check if the files are recovered.
Method 3
If you have connected an SD Card to your system through a card reader and your system is unable to read it and doesn’t assign a drive letter, try assigning a drive letter yourself. The system assigns a drive letter to the reader, but sometimes it happens that it still shows the message ‘Please insert the disk into drive E:’ So, in such cases, you need to assign one.
Method 4
If you can’t access files of your SD Card, but it is visible in the folder, then you can try SanDisk in-built solution. For this, you need to right click on the drive letter and select Properties from the menu. In the properties check for the disk space, if the disk space is showing mostly free, then it doesn’t mean that your files are deleted. In this case, you can use the Sandisk in-built solution.
Method 5
You can save your SD Card’s data by installing a Data Recovery Tool, just like Kernel’s Windows Data Recovery Tool. With the help of it, you can recover the lost data from removable USB drives, SD Cards, Hard drives, and more. It can effectively recover all sort of deleted files and folders, containing media, documents, emails, etc. It is compatible with all Windows platforms and comes in the trial version.
For this, you need to install the software and follow below-mentioned steps:
- Click on your preferable scan method, like Quick Scan.

- Select the Drive from the list and click on Next.

- On the next Window, it will show you the information about your drive. Click Next.

- On the next Window, you will see that the process has started and if you want to stop it click on Stop any time before it completes.

- Select the folders you want to recover and click on Recover.

- Select the path for your file, where you want to save all the recovered data and click on Ok.

- The recovery process will start, you can stop it any time if you want. After the completion, click on Ok.

Conclusion
Backup has always been the precautionary step to recover data after SD card formatting. Therefore, check if you have a backup of the data stored on SD card. If it is there, then you can reload files into SD card from that.
The files that are accidentally deleted are transferred to Recycle Bin. So, do not forget to check the recycle bin once. If your SD card has got corrupted and you are prompted to format the card, then the only solution for you to recover data from recycle bin is the use of the software. You can install the software on Windows 11, Windows 10, Windows 8.0, Windows 7, Windows Vista, Windows XP, Windows 2003, Windows 2000, Windows 98, Windows 95, and Windows NT.


