Related Posts
Office 365 (Microsoft 365) to on-premise Exchange Server Migration

Written By
Sandeep Saxena
Updated On
October 05, 2023
Read time 4 minutes
We will be discussing the not-so-frequent migration process, Office 365 to on-premises Exchange in this blog.
In some conditions, organization will have to move from Office 365 cloud to on-premises Exchange. The reason can be anything like compliance requirements, a requirement for a hybrid deployment, etc.
Certain factors need to be taken care of while performing cloud to on-premises Exchange migration.
If someone asks for the best solution to migrate from one Exchange environment to another, then the answer should be a solution which performs the migration task smoothly without any risks. We have some native solutions to move Office 365 to on-premise Exchange like using eDiscovery feature in Office 365 which export mailboxes from Office 365 to PST file using eDiscovery Export PST tool.
Another manual way is used when the user has an already running hybrid environment. Users can move mailboxes batch through CSV file in Exchange Admin Center of Office 365.
Native methods are usually complex and are not suitable for non-technical users. For the PST export method, there are PST corruption risks involved in it which leads to inaccessibility and data losses. And for environments which do not have hybrid deployment, it becomes a difficult task to move mailboxes in bulk.
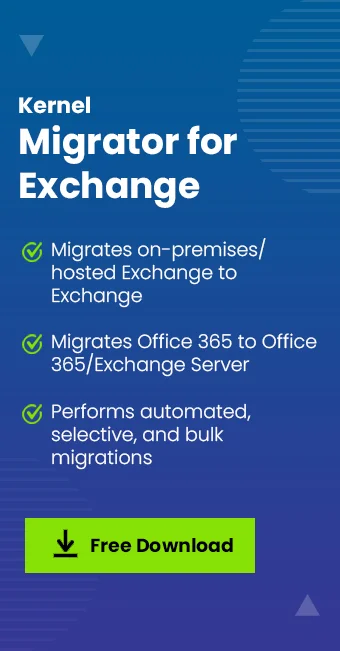
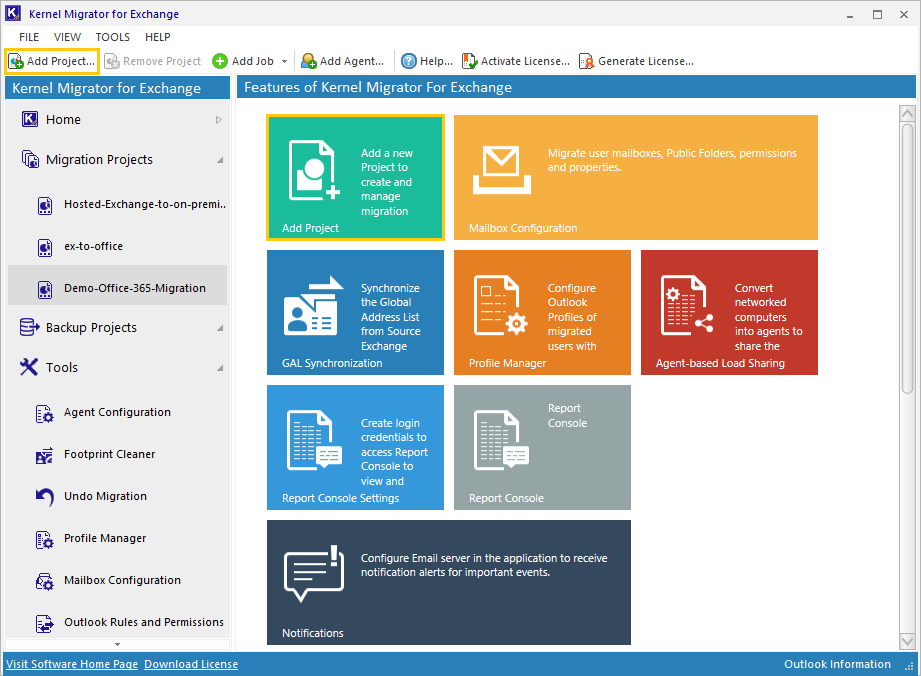
We introduce all the users a very safe, smooth and efficient migrator tool Kernel Migration for Exchange which offers smooth Office 365 to on-premises migration. Get the idea of how simply you can migrate with this Exchange Migration tool going through the steps given below:
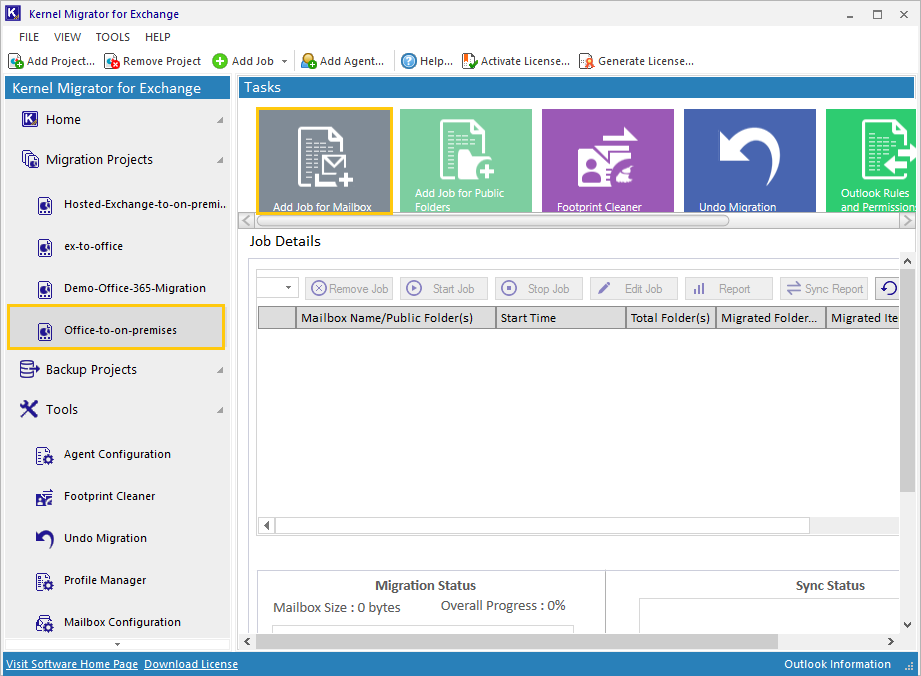
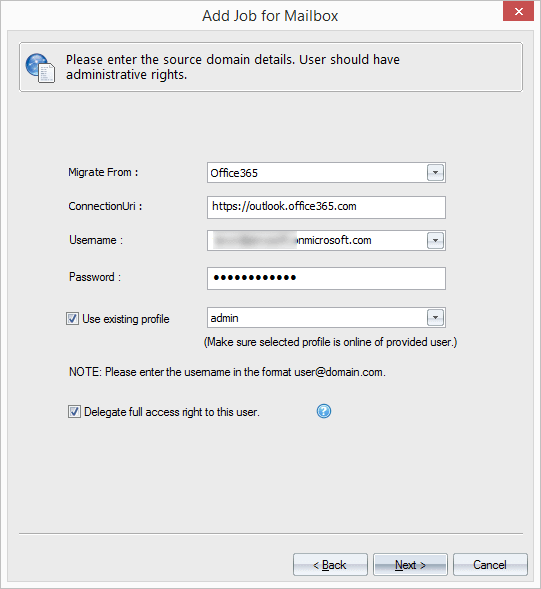
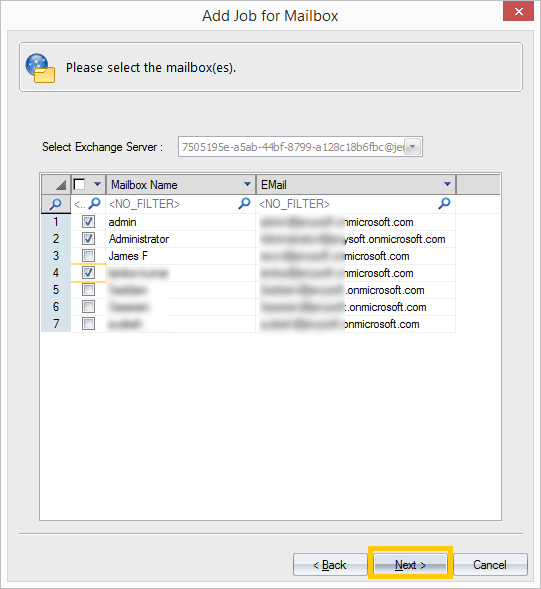
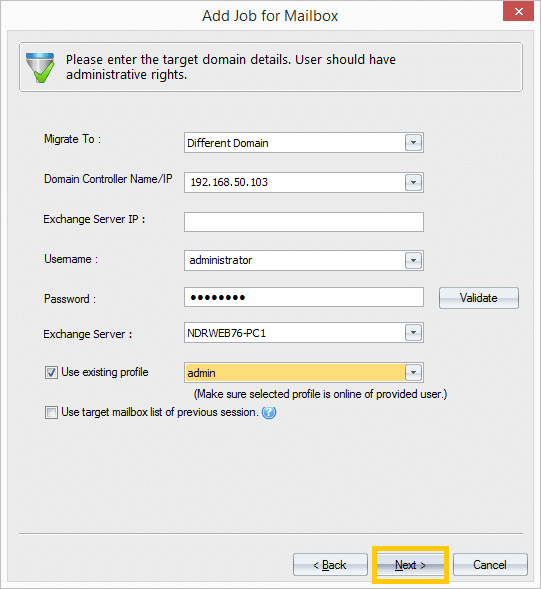
In the next steps, the software allows you to filter your data with the Message type, date range and folder filters. You can also map the source and target mailboxes manually, automatically or using CSV file. Also, you can configure options for managing bad items and synchronization, notification settings, report console, etc. After this the tool shows job summary; confirm it and then the migration will start. You will be notified with the status all the time.
The migration with this tool is suitable for all Office 365 plans and on-premises Exchange versions including the latest Exchange 2019. Not only this, you can rely on this tool for all sort of migrations of Exchange and Office 365 like migration between Office 365 tenants and more. Try the free demo version and then make your mind on purchasing the full version. Thus, your need of convenient and secure Office 365 to on-premise migration is solved, we guess!