

Read time 7 minutes
User mailboxes in Exchange are associated with real users, with one mailbox for each. Each mailbox has an associated Active Directory account that gives the user access to the mailbox for sending and receiving email messages and create tasks and appointments.
So, when administrators create a new user mailbox in Exchange, they also create a corresponding Active Directory user at the same time. Now, there are multiple methods to create user mailboxes in Exchange.
In this article, we will discuss the methods to create a new user mailbox in Exchange. But, there are some points that you need to know before creating user mailboxes in Exchange.
Things to know before creating a user mailbox in Exchange Server
- You need assigned permissions from administrator to perform this procedure. You can check the Recipient Provisioning Permissions to know what permissions you need.
- The overall time to complete this procedure will be between 2 to 5 minutes.
Manual methods to create a new user mailbox
There are generally two ways to create user mailboxes in Exchange – using EAC and Exchange Management Shell. Let’s have a look at both these methods:
Method 1: Using Exchange Admin Console (EAC)
To create a new user mailbox, follow the below steps:
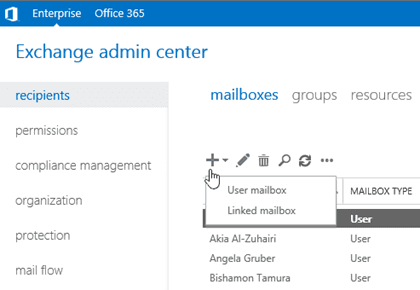
- In the EAC, go to Recipients and select Mailboxes.
- You’ll see a (+) sign, click it and select User mailbox.
- The New user mailbox page will appear on the screen. Configure the settings on this page, such as Alias, New User, First name, Initials, Last Name, Display name, Name, Organizational Unit, and User login name.
Note: The options marked with (*) are required to be filled. - Enter the New Password and confirm this password by entering again. Make sure the password length complies with the organization’s standards and requirements.
- Check the box “Require password change on next login” to force users to change the password at the first sign in.
- Click the Save button to create user mailbox and the Active Directory account associated with it. You can configure the following settings for user mailbox by clicking More options.
- Mailbox database: click Browse to select the mailbox database that holds the mailbox.
- Create an on-premises archive mailbox for the user
- Address book policy: it defines an address list for the user
After configuring the user mailbox settings, you can click Save. The user mailbox has been created successfully.

Method 2: Using Exchange Management Shell
Exchange Management Shell is another viable option to create user mailboxes in Exchange Server. It involves using various commands to create a new user mailbox.
Use the below syntax to create a user mailbox with Exchange Management Shell.
The parameters required to create a new user mailbox with the Exchange Management Shell are as follows:
- Name: (Himanshu), the same name will also be added to the display name, as we are not using DisplayName parameter.
- UserPrincipalName: the active directory account name will be as follows himanshug@contoso.com.
- Password: Pa$$word4
- FirstName: Himanshu
- LastName: Goyal
- The alias value will be himanshug as we aren’t using the Alias parameter.
Apart from these, there are some optional parameters as well.
These are the easiest methods to create a new user mailbox in the Exchange environment. After creating the new user mailbox, you can verify whether it’s created or not by going to EAC or EMS.
How to create a new user mailbox at the time of migration?
During Exchange migrations, administrators will have to create new user mailboxes in the destination Exchange Server. Kernel for Exchange Server is an efficient tool that allows you to create a new user mailbox in a live Exchange environment. However, you’ll need to install Exchange Management tools on your system to create a new mailbox with Exchange mailbox recovery software. Also, you’ll need an administrator right to perform this procedure.
Note: The software doesn’t allow creating user mailboxes in Office 365. You can create a user mailbox in any Exchange Server version even if it is not added as a destination in the tool.
Now, follow the below steps to create a user mailbox with Exchange Recovery tool.
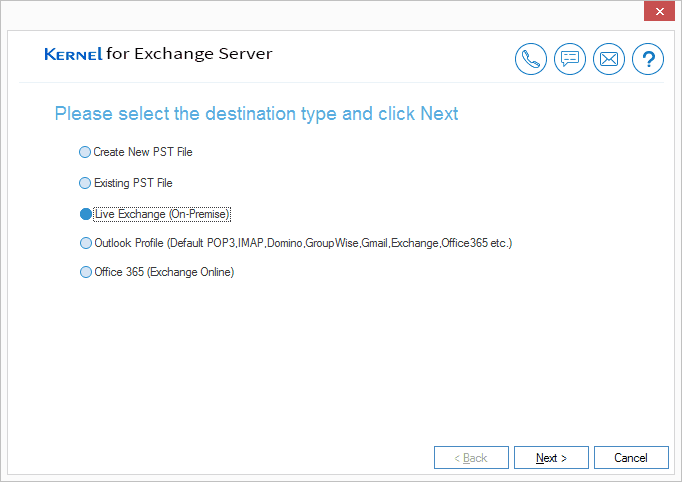
- Open the tool and add Live Exchange as a destination by clicking Add Destination.
- Once Live Exchange is added, click anywhere in the Destination list.
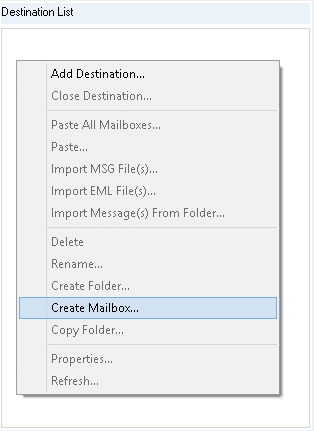
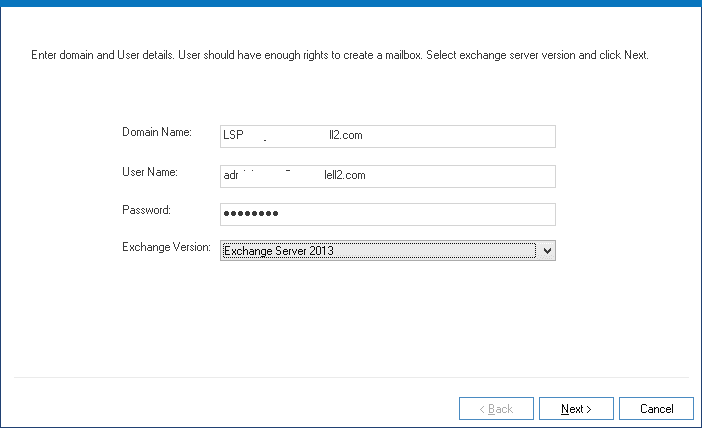
- Select Create Mailbox option. The following dialog box will appear on the screen. Enter the credentials for the required fields and click Next.
- In the new wizard, you’ll find multiple options like creating a mailbox with a new user or an existing user. Also, you can use the CSV for creating the mailboxes in bulk.
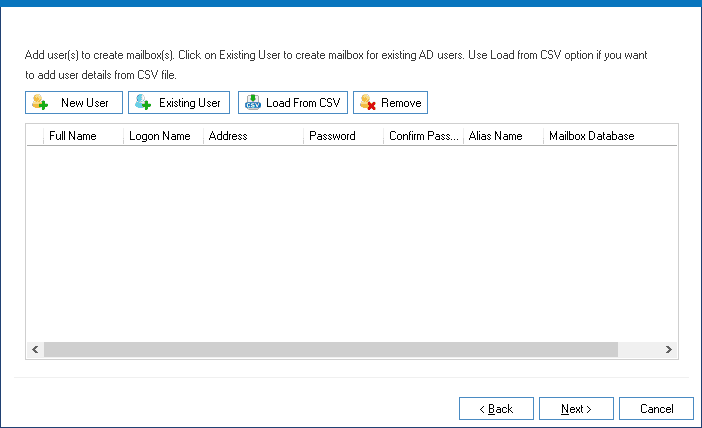
- Click New User for creating a new mailbox with a new user. The following dialog box will appear on the screen.
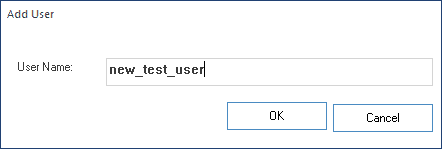
- Enter the details for the new user mailbox and click OK. You’ll get back to the previous dialog box. You can add multiple mailboxes using the same technique.
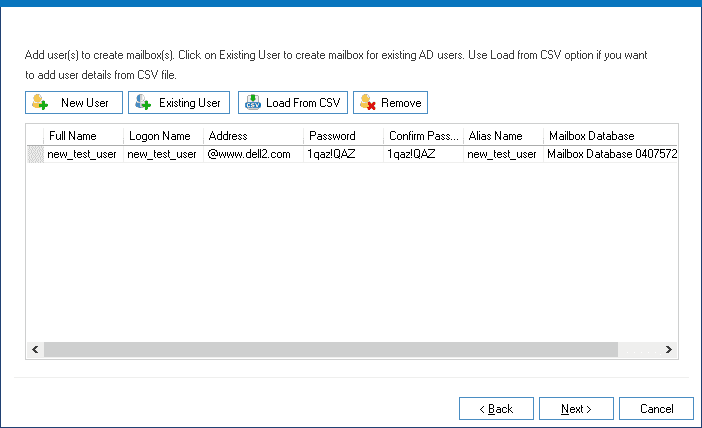
Note: By default, a preconfigured password will appear for the new user. It’s strongly recommended to change the passwords to follow the regulatory compliances. - After adding new users, you’ll return to Create mailbox wizard. Click Next to start creating user mailboxes.
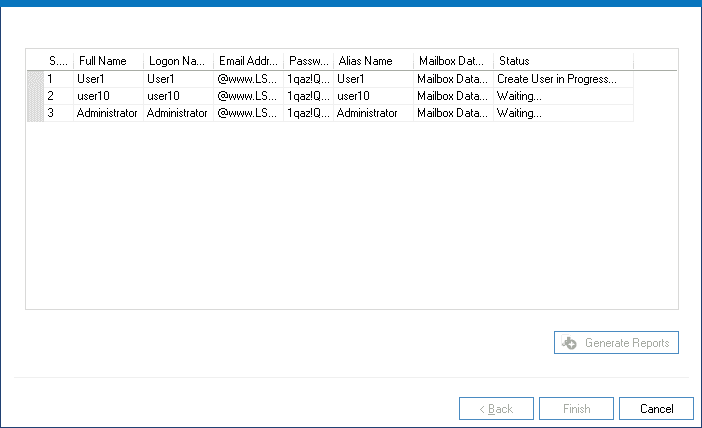
- Once the process is complete, you’ll receive a message on screen displaying:
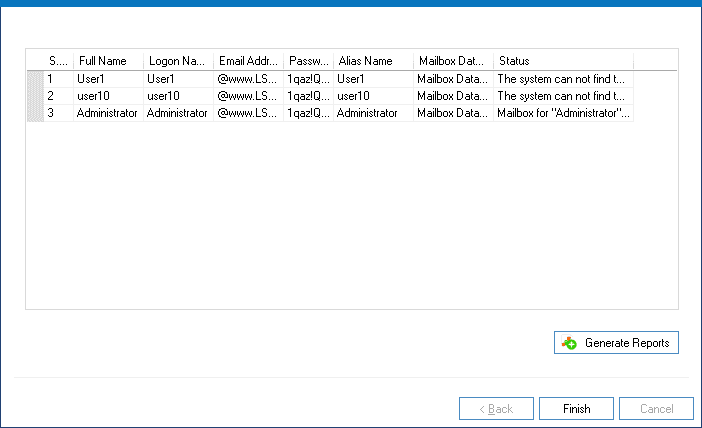
- Click OK to check whether the mailboxes are created or not. The previous wizard displaying new mailboxes will appear on the screen. You can save this report in HTML format by clicking Generate Report.


This is one of the simplest and hassle-free methods to create new user mailboxes in Exchange Server during migration.
Conclusion
Every organization that uses Exchange Server needs to create new user mailboxes for the employees so that they can communicate and collaborate more effectively. Sometimes they have to new mailboxes during an Exchange migration too. So, you can use Exchange Server Recovery – an efficient tool that allows you to create new user mailboxes in bulk.