Read time 7 minutes
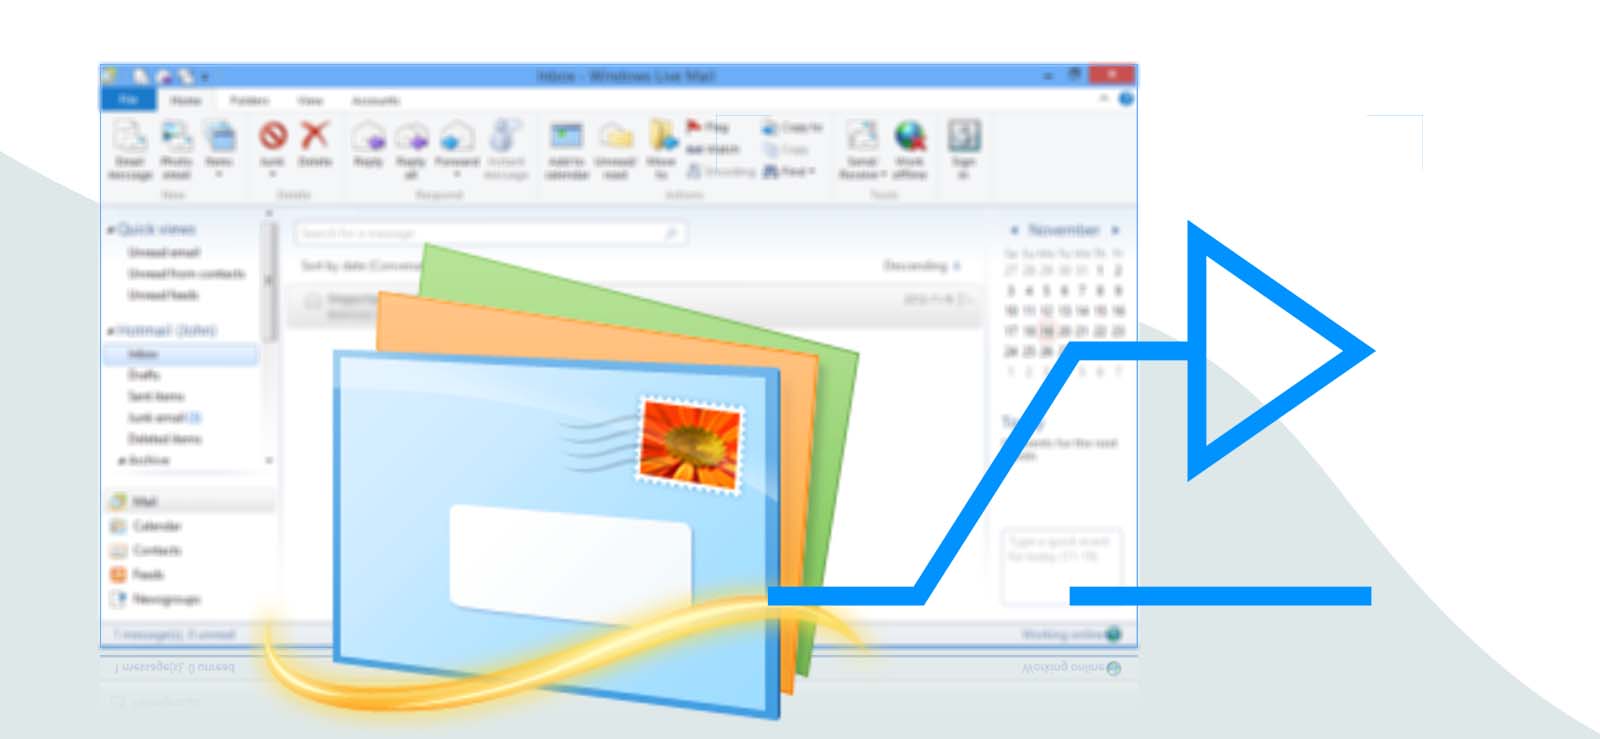
Windows Live Mail is easy to use, and a feature-rich email client used by the organization’s professionals for communication. Emails are essential nowadays for almost everyone. Their personal and formal communications are very much dependent on email clients. However, there may be many instances and lack of Microsoft support, your data may prone to loss.
It is hard to bear if users found their email data of Windows Live mail lost or corrupted. So, keeping a backup is necessary for the safety of data. So, this blog is going to discuss all about how you can save yourself in such situations by creating a backup for the emails in different ways.
Reason to backup Windows Live Mail to external hard drive?
Every email client has a limit to which they can hold emails. It is nothing new that the data on your email client is always vulnerable to loss. There are many situations in which you can lose your essential emails, a few of which are:
- Virus attacks
- Hard disk failures
- Unfortunate accidental deletions
- System formatting
- Corruption
In some of these situations, you may lose your data permanently. So, having a backup of Windows Live Mail data on an external drive is the wisest choice as it makes the data available in multiple locations. Similarly, saving backup in different formats works magic as you have your data safe almost forever.
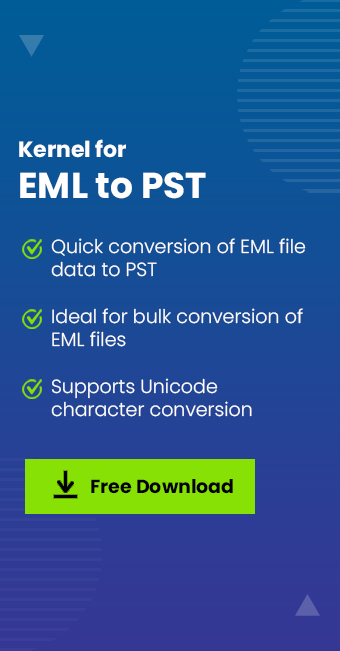
Get Kernel for EML to PST an automated email migration tool to backup Windows Live Mail data on your PC or in an external Hard Drive.
Backup Windows Live Mail to external hard drive manually
You can easily backup Windows Live Mail emails on your system or an external drive by following the below-mentioned steps:
Step 1. Start with creating an empty folder wherever you want to save the backup.
Step 2. Now, open Windows Live Mail and login to your account.
Step 3. As the program opens, click on the Windows Live Mail icon, select Export email, and then Email messages.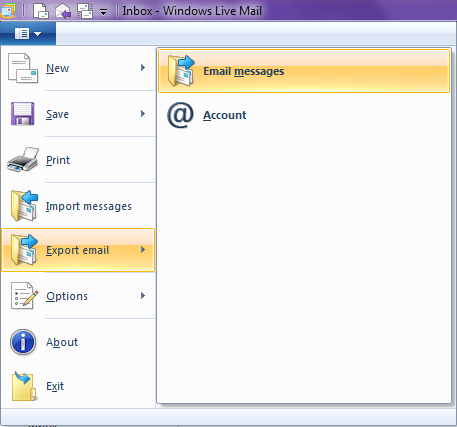
Step 4. Click on Browse and select the folder you have made for backup. Click on the Next button to proceed.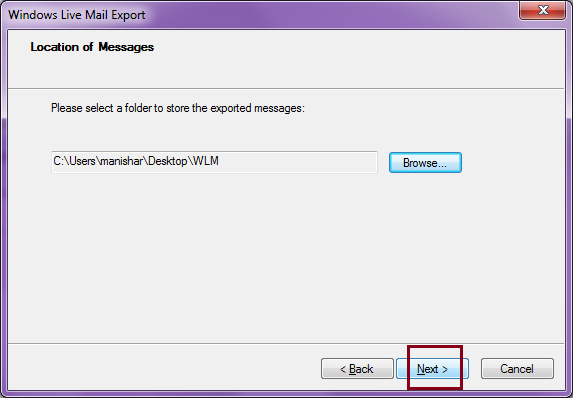
Step 5. Select the required folders to export or select All folders and click on Next.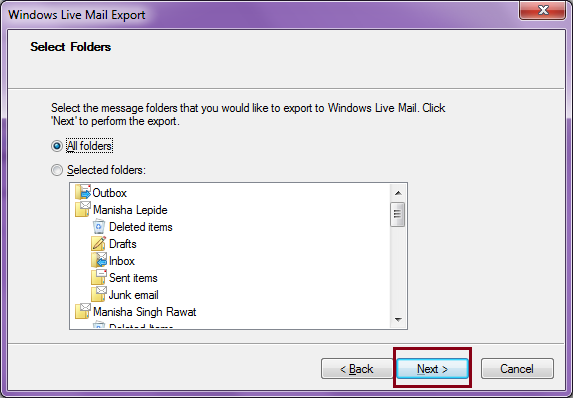
Step 6. Wait for the process to finish.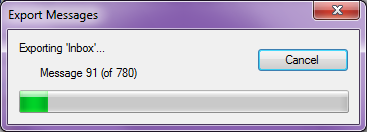
Step 7. Once done, click on the Finish button.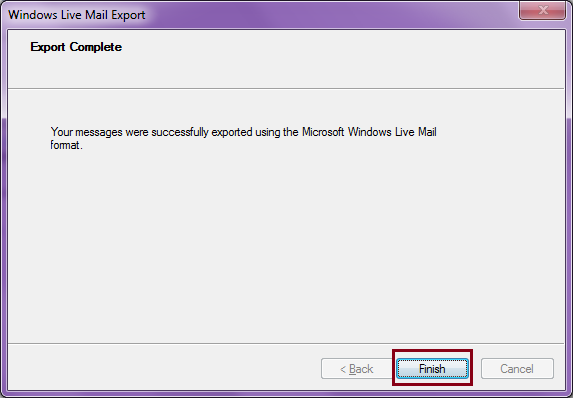
Once you perform all the above steps carefully and successfully, you can check the exported data in your new folder on your external hard drive. All the emails will be saved in the EML format.
Backup Windows Live Mail to external hard drive in an automated way
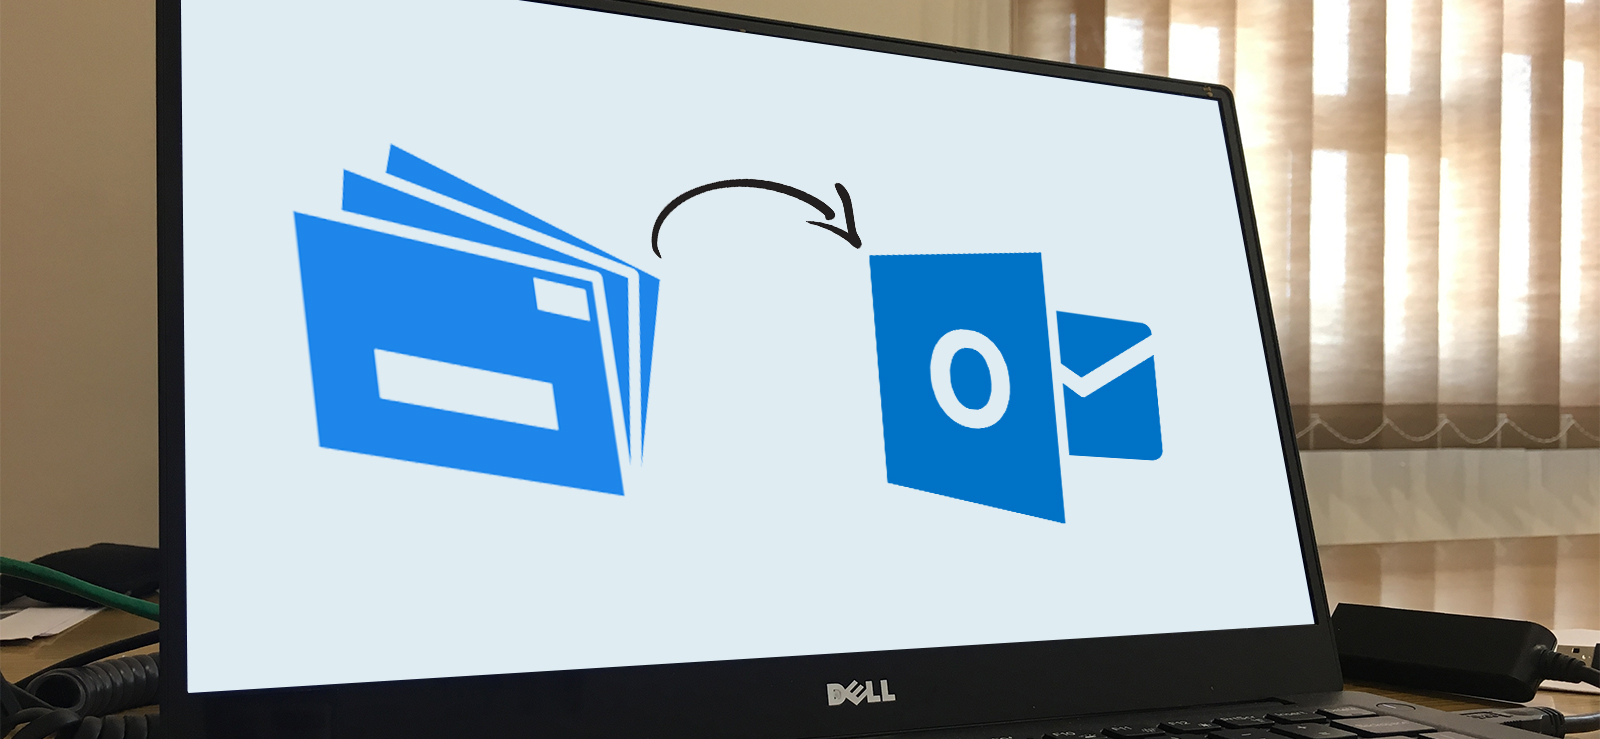
The best way to backup Windows Live Mail to external hard drive is by converting the saved EML files to another format. Using Kernel for EML to PST Converter tool will make your EML file accessible by converting it into PST format. By doing this, you can access your backed-up files on multiple platforms. This tool ensures data integrity and preserves file attributes and original hierarchy during the conversion. Furthermore, it saves oversized EML files in multiple PST files using advanced filters for specific items, and it also converts Unicode characters into PST, MSG, or Office 365 formats.
Below is the simple and user-friendly stepwise procedure of the software. Follow the steps to backup Windows Live Mail data:
Step 1. Download and install the Kernel for EML to PST Converter software.
Step 2. Launch the tool, you will see that your system data file with proper hierarchy is listed on the left side of the screen. Now, all you need to do is locate your EML files where they are saved on the system.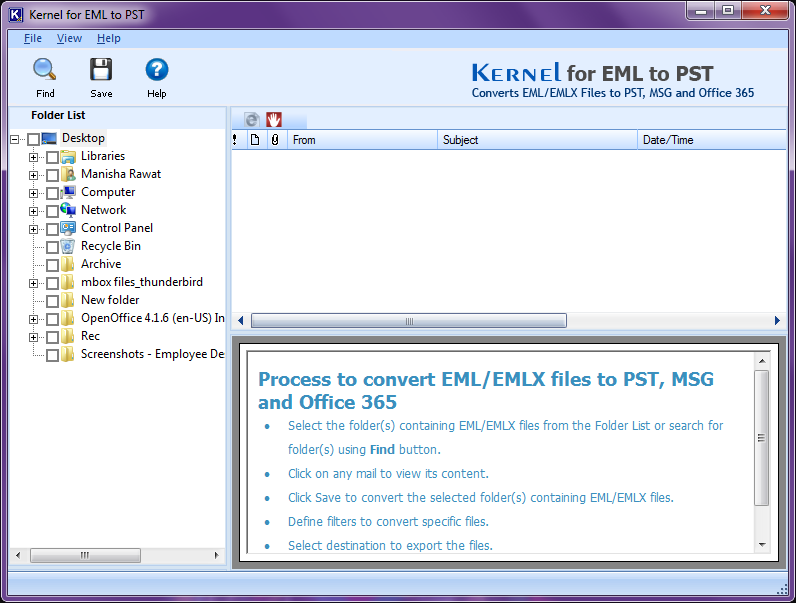
Step 3. Once you have traced the location of the EML files, all the EML files will be displayed in the preview section of the tool. Now, click on the Save button.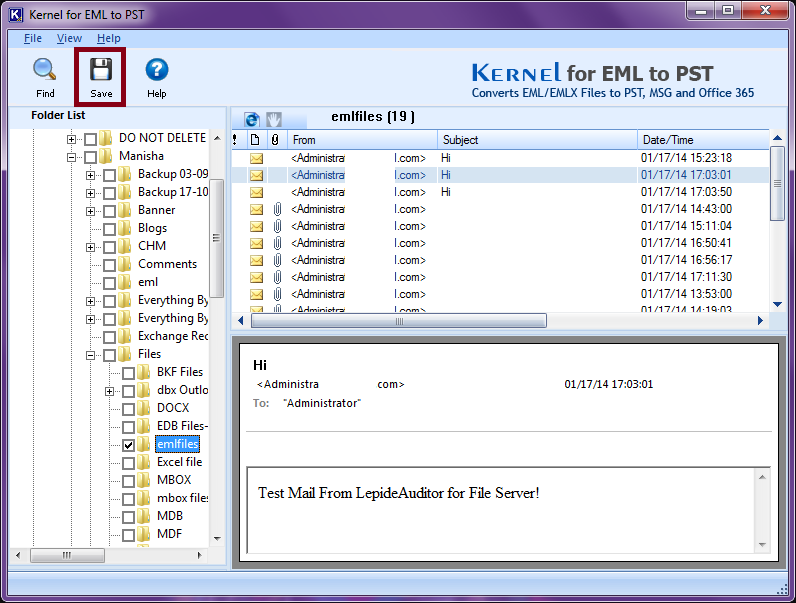
Step 4. The next step is Conversion Options, where you need to define the criteria for the conversion. Here, we are creating the backup and hence need to convert all items, so I simply selected Convert all items. Similarly, you can go for Define Conversion rules and define them one by one as the tool asks for them. Click on Next.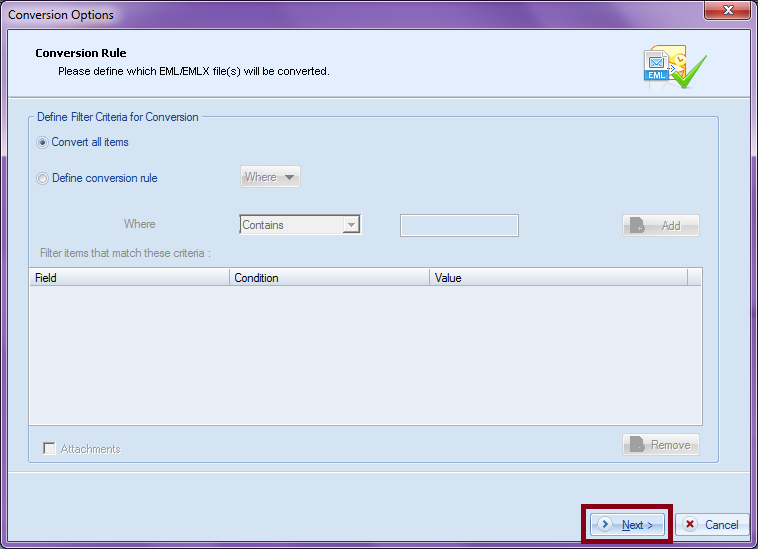
Step 5. At this stage, select the format in which you want to save your EML files. Once selected, click on the Browse button and select the drive location as the saving destination. Click on the Save button to proceed.
Note: You can go for MSG format if that is what you require.
Step 6. The saving process will start, and you will be able to check the progress on the screen. Wait for the saving process to finish.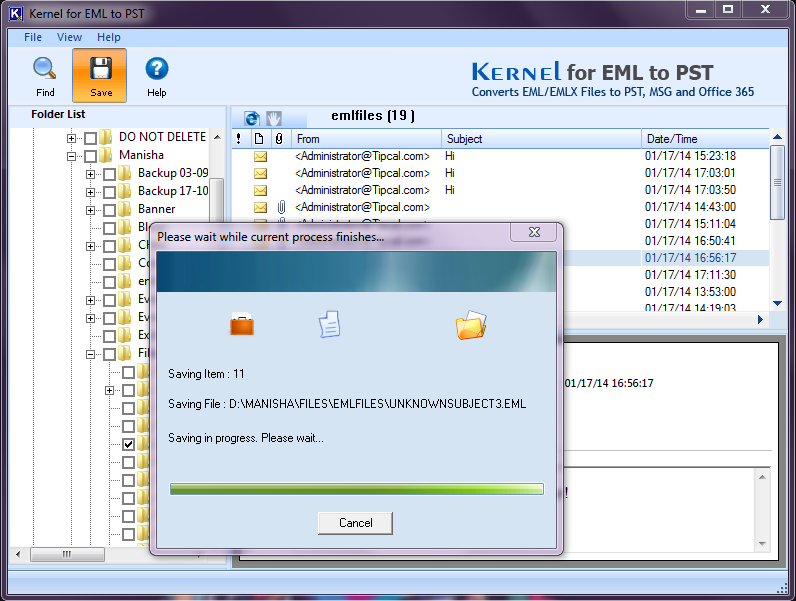
Step 7. Once the saving is done, you will be notified, click on OK, and end the process.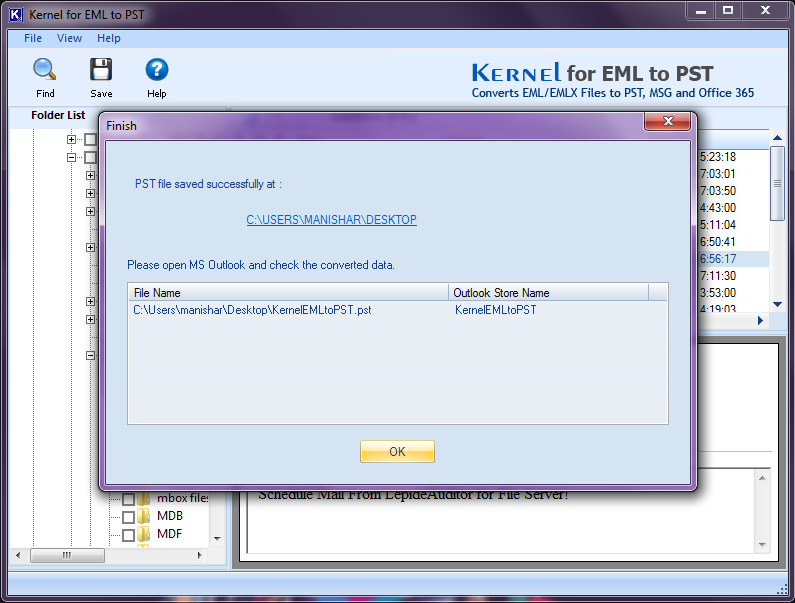
Finally, check the external drive where you saved the file. This is how you can backup Windows Live Mail to external hard drive in PST format.
Conclusion
We have discussed two possible procedures to backup Windows Live Mail to external hard drive. It is challenging to manually back up data from Windows Live Mail because a single mistake can corrupt or cause your data to be lost. However, the automated method ensures complete data safety with several other features while backing up Windows Live Mail. You can also convert multiple EML files into a single PST using this tool in any Windows or Outlook version.