Read time 11 minutes
Hosted Exchange is a suitable solution for a small sized business which has a relatively lesser size of data to manage. It also protects the communication from any threat and the data is instantly accessible. However, when the size of the organization grows, they need to spend more to manage the hosted Exchange data, and the vendor has to remain on its toes to scale the increasing amount of data. In such a case, the on-premises becomes a natural choice for the business owner to migrate the data to the onsite environment. Here, you have the total authority over your data, and you don’t need to wait for the vendor to implement the desired change.
Hosted Exchange to On-Premises Exchange Migration Strategy
However, here comes the challenging part for any Exchange Administrator as there is no pre-defined method to migrate the hosted Exchange mailboxes to on-premises Exchange Server. So, the Administrator has to plan the strategy before starting the migration. Let’s start the step-by-step procedure –
- Analyze your hosted Exchange data – The first step before starting the migration is analyzing your need. Check if you can manage your expanding environment at the hosted Exchange. Although the price increases, it also includes data availability, security, Service Level Agreement (SLA), SOX compliance between the client-vendor and much more. If the services met your requirement, then don’t go for migration. However, remember, that the price of services will increase with each new mailbox because you need to have a Client Access License for each copy of Microsoft Office.
- Manually create the data to a separate text file – When you have decided to move to a dedicated Exchange Server, then your first hurdle is to access the mailboxes from a hosted platform which you do not own. It will not allow you to transfer the data from one Exchange Server to another. You have to manually create each user, contact, distribution lists, and member to a text file.
- Create a forwarding email address and contact address for each user – Create a forwarding email address for each user from a different email domain. It is necessary to create a forwarding email address because it takes a considerable amount of time for MX Records for transfer and email communication should not remain suspended till then. Also, create a contact address for each forwarding email address at the destination. Finally, configure the contact address with the forwarding email address to get the emails.
- Save mailbox data in PST and import it to on-premises Exchange – When you have created all the users, contacts, distribution lists, conference room, meeting room, and all essential mailbox items. You need to fill them with the data, and it is the most straightforward procedure. First, save the mailbox data in a PST file at the Hosted Outlook application, then import the PST file to the onsite Exchange Server profile. After migration, send the instruction to the user to access their account at new Server and also forward their email address from hosted to on on-premises Exchange Server.
Before going to the migration, you should evaluate the weightage that both on-premises and hosted exchange bring to your business. There is a table with the parameter that affect the usage, requirements, and benefits of both platforms –
| On-Premises Exchange | Hosted Exchange | |
|---|---|---|
| Purchase Cost | You need to pay a single amount while purchasing the license. | You can pay the provider on a monthly or annual basis. |
| Maintenance Cost | The additional hardware and software cost are required along with the maintenance support from the IT Administrator. | He provider charges you as per your usage and subscription plan. You can also ask for any change in the environment flexibly. |
| Storage Cost | No additional storage is required once the hardware specification has met the requirement. | You need to ask your provider regarding upgrading the server size limits. |
| Deployment cost | A capital amount to required to deploy and create whole exchange environment. | You are dependent on your service provider that how quickly it can create the environment suitable for your business. |
| IT environment management cost | A dedicated IT team is required to constantly monitor and upgrade the server changes. | You require the minimal task needs to perform at your side as the provider will make sure of availability and security of data. |
| Scalable | Scaling up and down means changing the hardware and software resources. | You need to mention your requirement to the provider, and it will take of all the changes. |
| Administrative requirement | A well-established Exchange server environment will require only to take backup and upgrade based on your need. | You are dependent on the service provider and its team for all the administrative tasks. |
So, this was the whole procedure to migrating the mailbox data from the hosted Exchange to on-premises Exchange. It requires the Administrator to handle each mailbox manually and migrate its data in a PST format to the destination account. This procedure is not the official migration from Microsoft and is ready to face different errors and warnings at each step. This procedure may also leave the unbalanced data means the data from any another mailbox many reaches to a different mailbox. This procedure does not ensure data consistency as well as security. That’s why you should take the assistance of a professional tool which can access the hosted Exchange mailbox and place them to a new on-premises Exchange Server.
Kernel Migration for Exchange Server
Kernel Migration for Exchange Server is a special Exchange migration tool which accesses the mailboxes from each Exchange server (cross-forest migration, intra-forest, hosted, hybrid, on-premises). It lets you select mailbox, apply the filters, schedule the migration, and get a complete report in the end. Let’s go through the step of migration using the software –
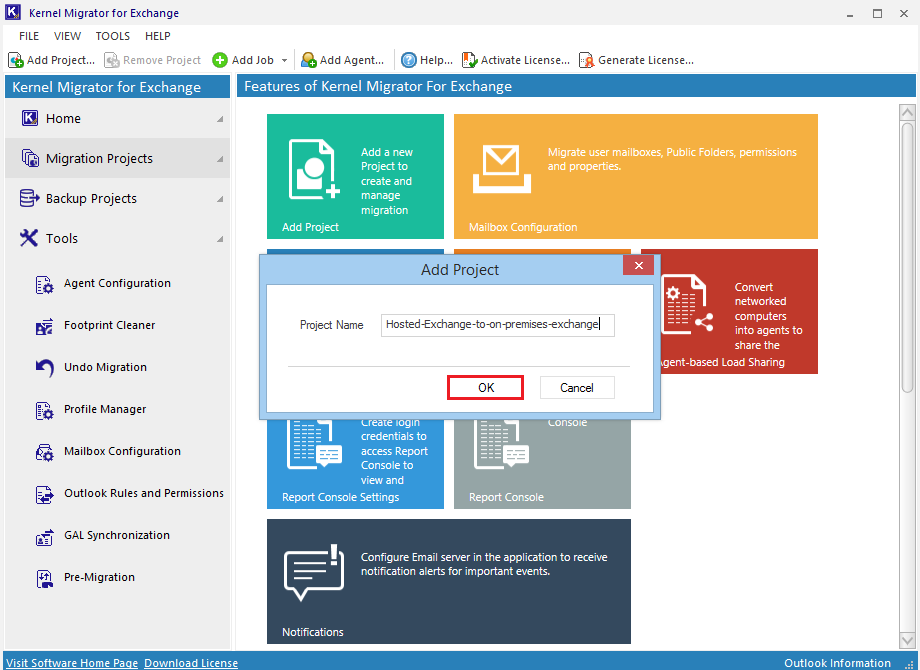
- Start the software and click the option to create a new migration project.
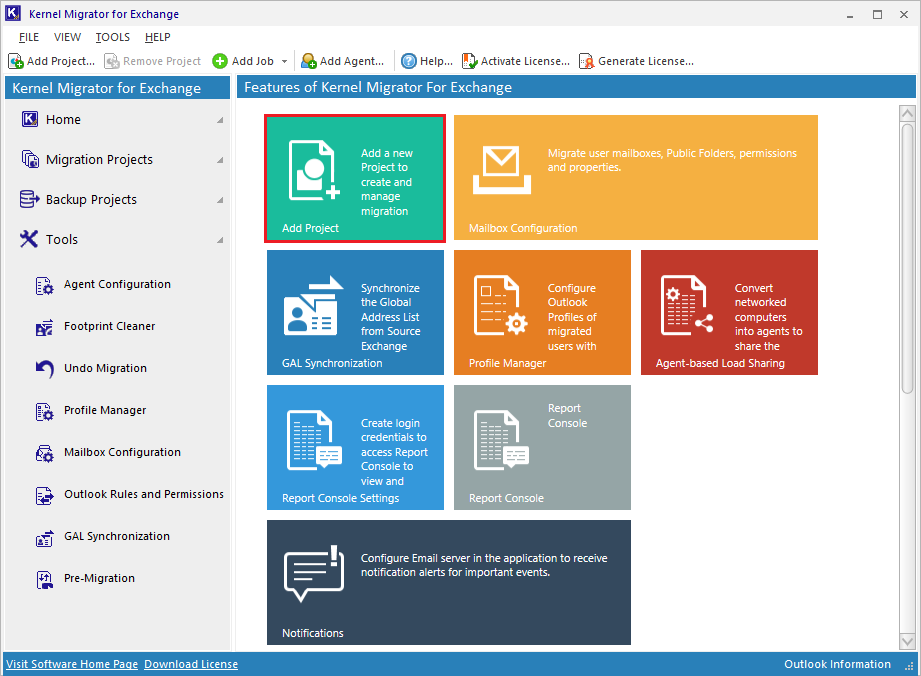
- Input a new Project name. click OK.
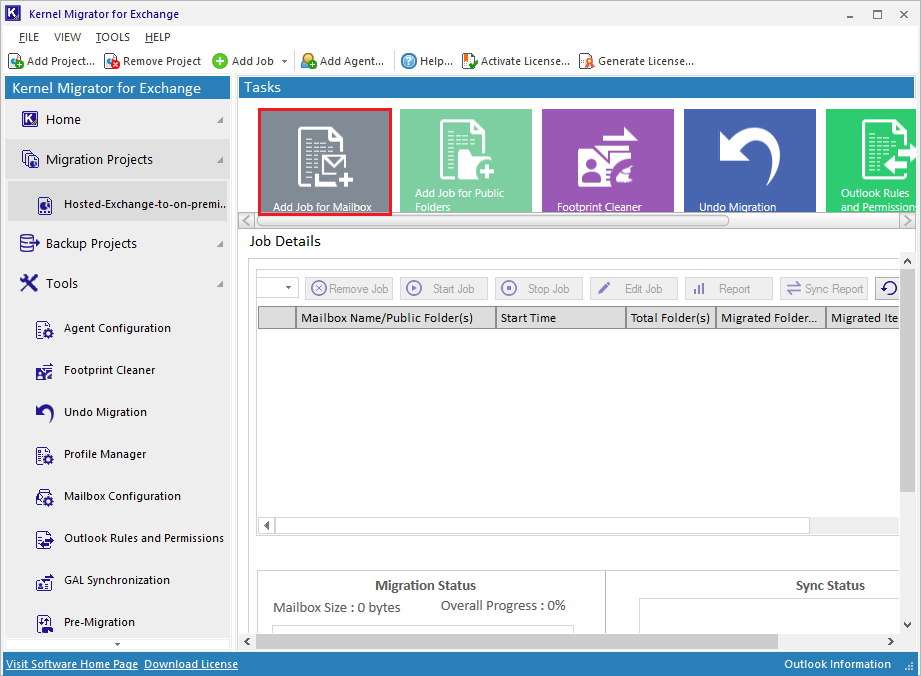
- Create a new job for the mailbox.
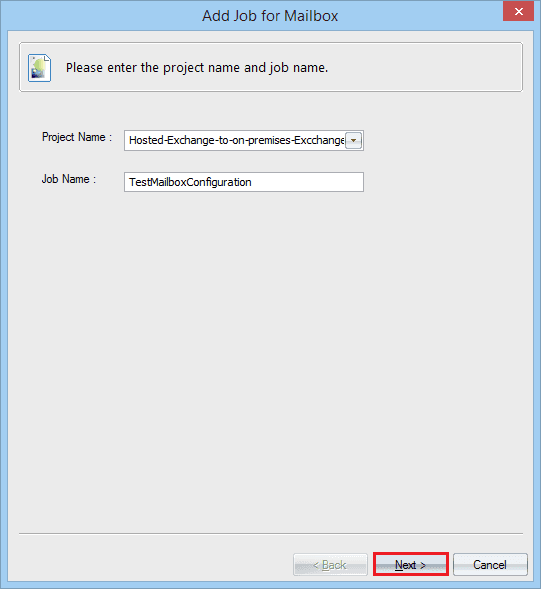
- Select the Project name and then provide a name to the migration job. Click Next.
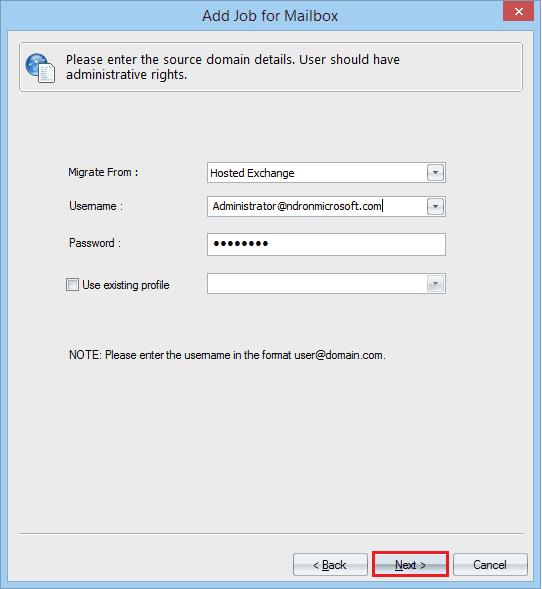
- Select the Hosted Exchange from the drop-down. Provide the username and password. Click Next.
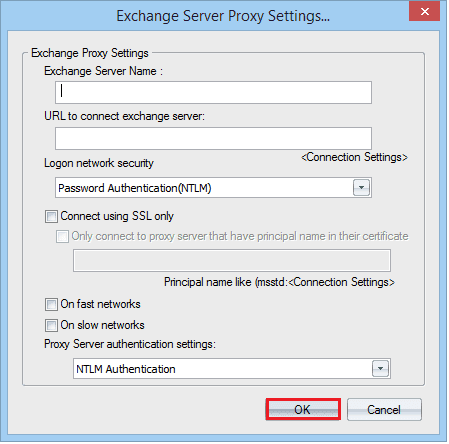
- Provide Exchange Server name, its connecting URL and its log on activity. Then click Next.
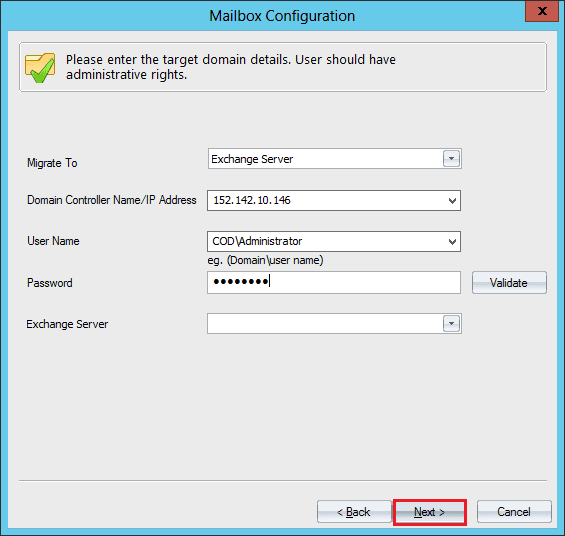
- Select the Exchange Server as the destination. Input its IP address and credentials. Click Next.
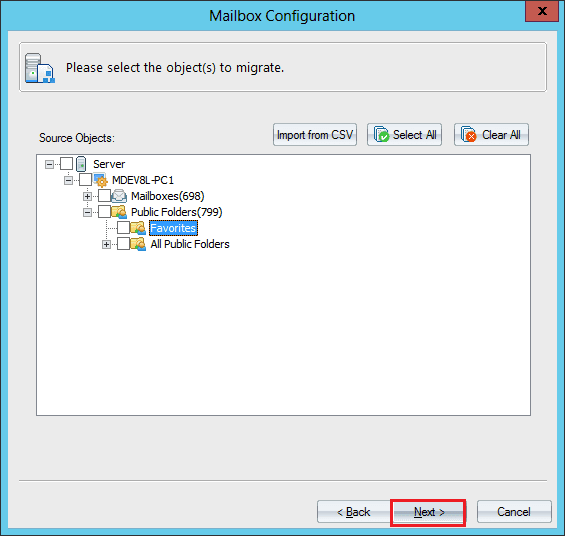
- Select the Mailbox and Public Folder where you want to save the data. Click Next.
- The tool will try to map the source and destination mailboxes. But if it does not find the similar mailbox, then it will show the message.
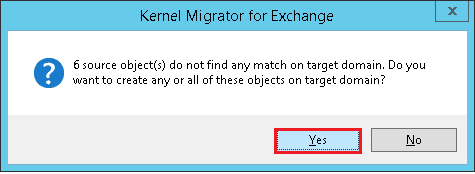 Click Yes if you want to manually create the objects.
 - Manually create the objects in the target Exchange.
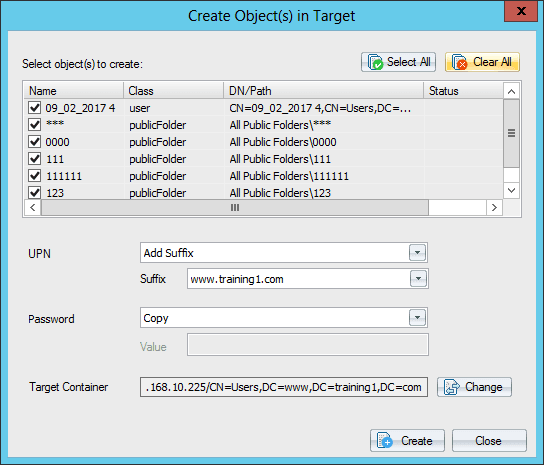
- You can add the suffix to the domain name of the object. The new object will have the same name suffixed by the selected domain name. If you select the copy option, then the destination object will have the same password as source object’s password. Also select the target container for the new objects.

- A message shows that new objects are created. Click OK.

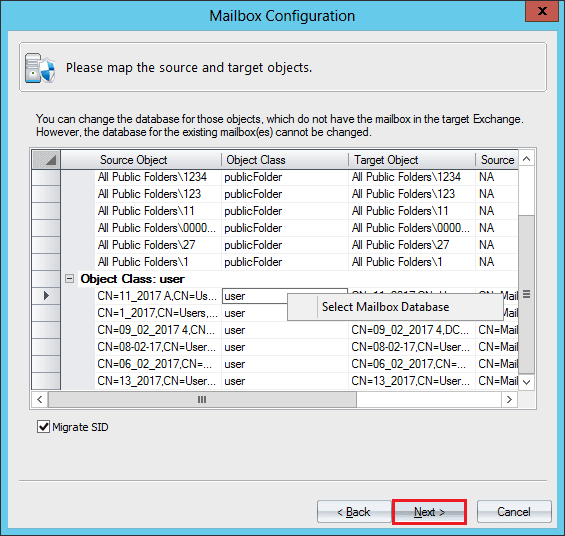
- Map the source and target objects. Click Next.
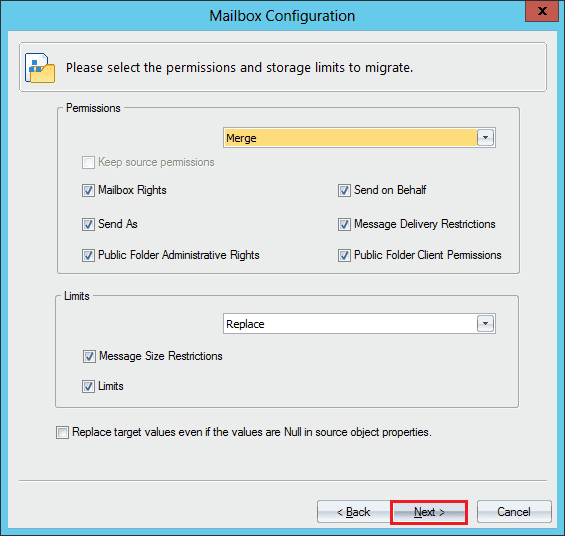
- Select the permissions and storage limits to migrate. Click Next.
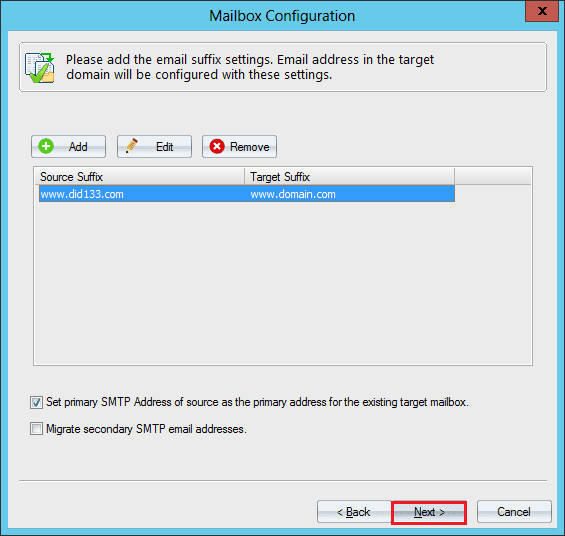
- Map the email suffixes between source and target. Click the Add button.
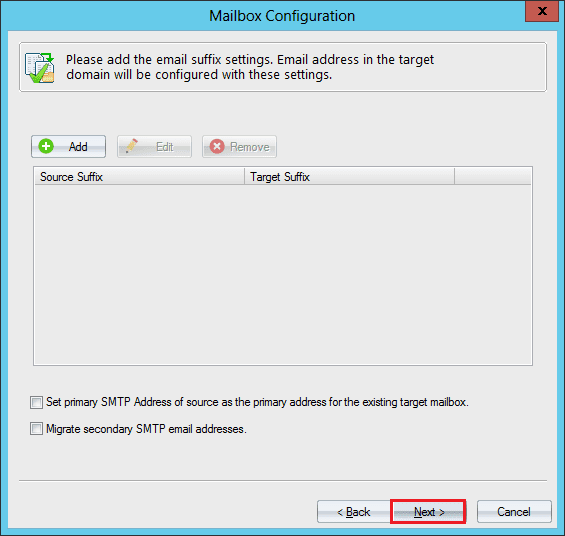
- Select the source email address, and target email address suffix. Click OK.
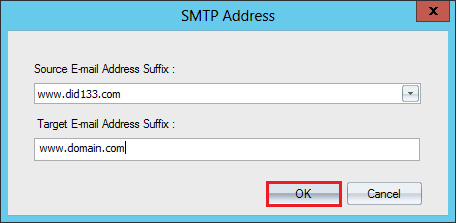
- Click Next.
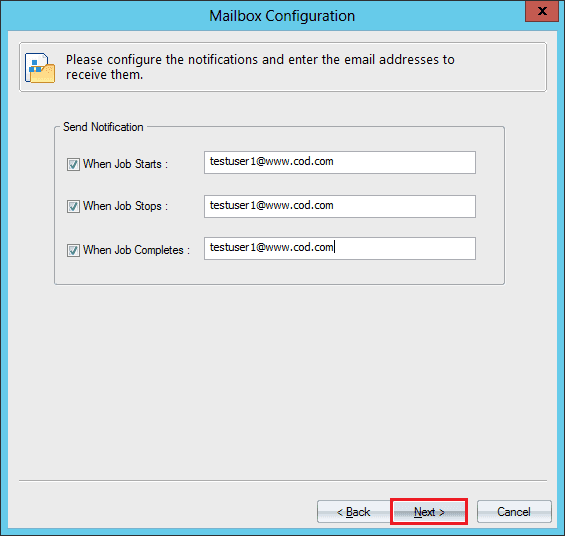
- Input the names of the accounts which will get the notifications at various stages.
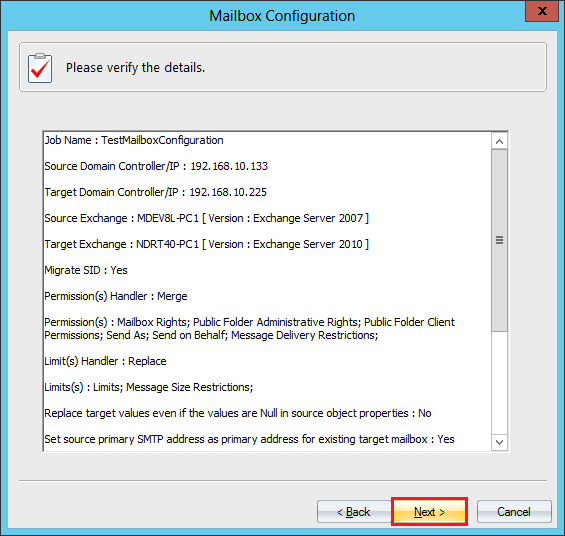
- Verify the details and click Next.
- Schedule the time when you want to start the migration. You can also choose to run the migration immediately. Click Finish.

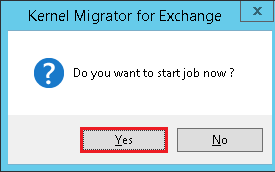
- If you choose to run the migration immediately, then a message will ask you to start the migration. Click Yes.
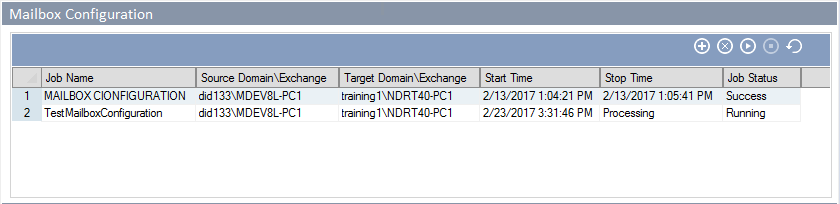
- The Mailbox Configuration tab shows the status of the mailbox migration job.
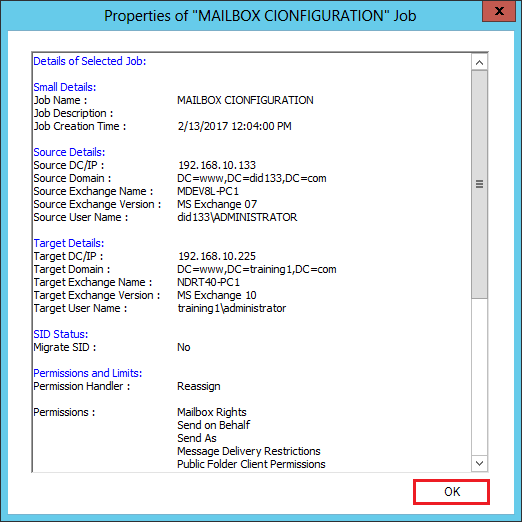
- You can also check the properties of the migration with whole migration job and source and target details. Click OK.
Final Words
Kernel Migration for Exchange handles all your migration related issues and saves you from taking any risk which can delete or corrupt the data. There are multiple permissions which you need from the hosted vendor before starting the migration. The tool will reduce all such activities and swiftly migrate data from the hosted Exchange to on-premises Exchange and also the on-premises to Hosted Exchange migration quickly.