Read time 11 minutes
“Well, I was using my system as usual for my office work, and out of nowhere, an error popped up with a blue screen. The error code was “0xc000021a” I don’t know the reason for this sudden crash, I am also an amateur in such things. Please guide me through this. I need to fix this issue quickly as I am working from home. Are there any chances of data loss after this error? Please help!”
Error code 0xc000021a, commonly known as blue screen of death. This is not a common error but is quite random. This error is common in Windows 8/10, especially after updates. Microsoft has already worked on a number of errors, but many are still a common occurrence. One of such errors is 0xc000021a. In this blog, we are going to discuss this error, why it happens, and how to fix it with the help of multiple solutions suitable to your condition.
One may face this error like:
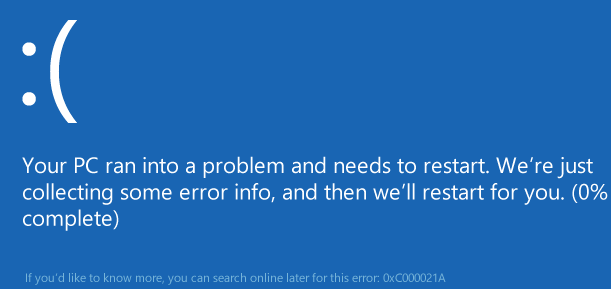
“Your PC ran into a problem and needs to restart. We’re just collecting some error info, and then we’ll restart you. (0% complete)”
What leads to the error 0xc000021a?
Users have complained that they face this error as they update their Windows after update Windows doesn’t just start but shows this error. So, if you are also facing this error, the below-mentioned reasons are the major culprits. Let’s have a look:
- CSRSS File: The first file that leads to this error is csrss.exe. It is a Microsoft server or client file, if this file gets damaged due to an update or for whatsoever reason, you may face this error.
- WINLOGON File: As you may have already understood by its name, this file is necessary for the login and logout operations of Windows. It is an internal process and takes place inside Windows. Any damage that occurred to this file may lead the PC to boot to the Windows login. Conflicting system files or sometimes third-party software may damage winlogon.exe.
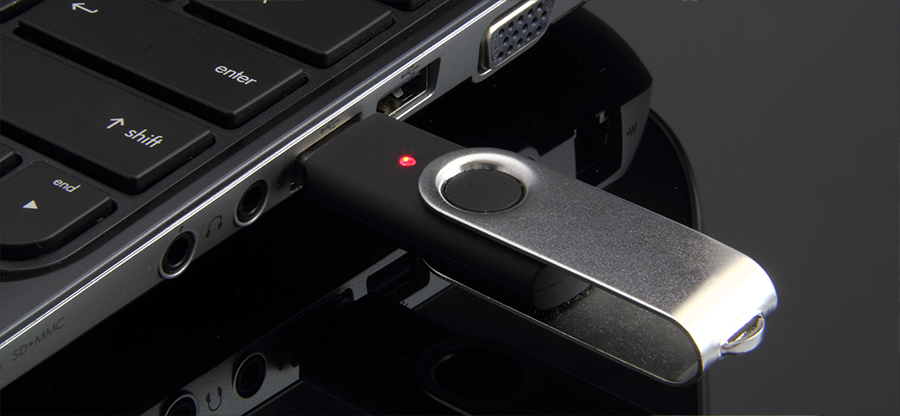
- External Devices: Sometimes, the external devices that are connected to your system may also cause this error. Especially, unhealthy external devices may interrupt or interfere with your Windows and cause this error to occur.
- Incompatible Applications: If you have recently installed any application, then that tool might be the reason why you are facing this error. Any tool that is incompatible with your Windows will lead this error to occur.
- Damaged Windows Registry: If your Windows Registry is damaged or corrupt, then also your system is vulnerable to error 0xc000021a.
- Early Clearance of wbmprox.dll: Sometimes, users clear their wbmprox.dll library way too early than they should clear it. Hence, this error may show up.
- Corruption in Device Drivers: If your device drivers are corrupt, then this error might occur on your system. Also, if the configuration of device drivers is incorrect, you can be a victim of this error.
So, this is how this error may find your address. Now, let’s move forward to how one can fix this error.
How to Fix Error 0xc000021a?
Depending on the various situations, we are going to present the solutions as per the reason for occurrence. So, if you have already figured out why this error is occurring in your system, then you can pick the right solution for you. If you haven’t yet, try all of them one by one and see which one works for you. Let’s get started:
- Remove External Devices
- Uninstall Recently Installed Tools
- Try SFC to Fix Corrupt System Files
- DISM Command
- Try Resetting BIOS
- Reinstall Windows OS
- Boot Windows
- Recover Missing Data
Methods to fix error 0xc000021a
- Remove External Devices: If your external device is the reason why you are facing this error, then it is suggested that you try removing it. Start with removing any type of external device you have attached to your system. Once removed, try restarting your system. If this solves your issue and the error is gone, that means the problem was with your external device.
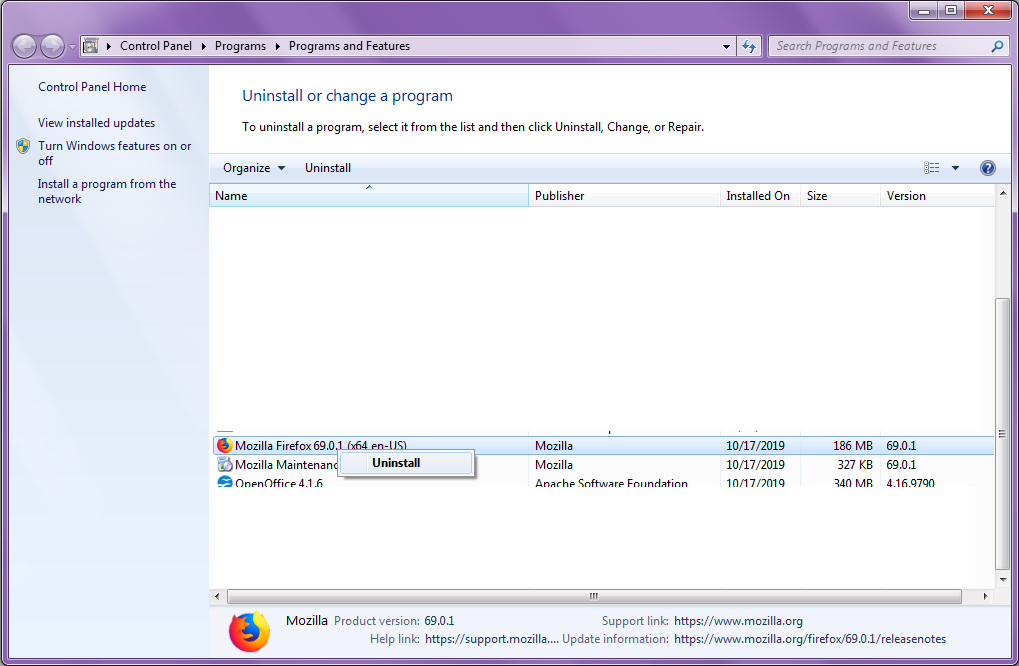
- Uninstall Recently Installed Tools: If you have recently installed some new hardware or software, then try uninstalling them. You might be facing this error due to those newly installed tools. Incompatible tools may interfere with your OS and create issues like this error.But, the issue is that you are facing this error, and you cannot move forward to perform the uninstall. Don’t worry! You can still do it. Even if you are facing this issue, you can boot into the Safe mode. Once entering safe mode, go to the Control Panel, select Program & Features option, and uninstall all the tools you want to remove.
- Try SFC to Fix Corrupt System Files: Running SFC command will fix the issue with the damaged system files. SFC stands for System File Checker and is an inbuilt feature in Windows OS. Even for this method, you first have to boot into the Safe mode. Once done, just open the Command Prompt window and run the SFC command. Follow the below-mentioned steps for the same:
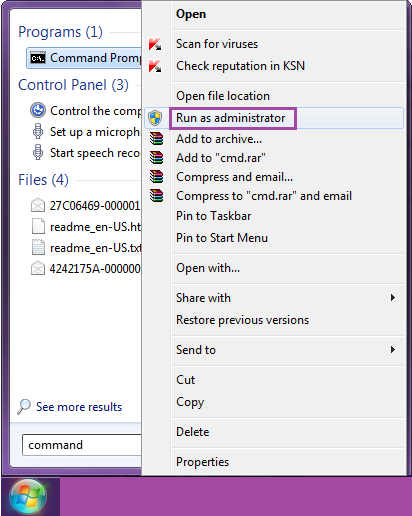
- Click on the Start button and type Command.
- As you type this, a few options will pop-up. From those options, make a right-click on the Command Prompt option and then click on the Run as administrator option.

- As the Administrator Window shows up, type sfc /scannow and hit Enter.
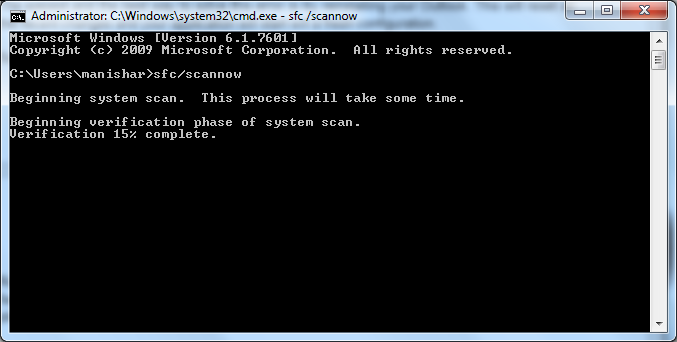 After performing this, wait for some time, and once the process is over, your issue should be fixed.
- DISM Command: You can try using the DISM command in Safe mode. So, now just follow the below-mentioned steps:
- Click on the Start button and type Command, then make a right-click on the Command Prompt option and select Run as Administrator.
- Now in the Administrator Command Prompt type DISM /Online /Cleanup-Image /RestoreHealth. Hit Enter once done.
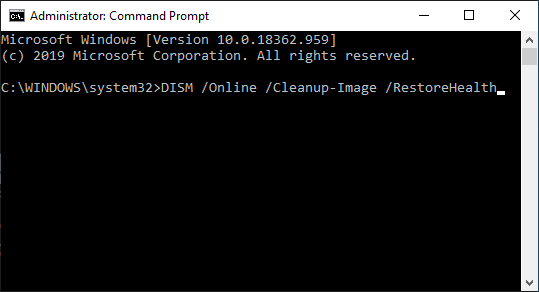 After you hit the Enter button, wait until the process finishes. Once the process is over, your issue should be fixed.
- Click on the Start button and type Command, then make a right-click on the Command Prompt option and select Run as Administrator.
- Try Resetting BIOS: Resetting BIOS means that you have to detach the CMOS battery from your system’s motherboard for some time. Follow the below-mentioned steps before doing that:
- Start with shutting down your system.
- Once done, remove all the power cables from the sockets to completely stop the electric flow.
- Now proceed to remove the chassis.
- Look for the CMOS battery, once located, remove it from your system.
- Before putting the battery back to its place, wait for a few minutes.
- Now place the battery back to its position and reboot your system.
- Reinstall Windows OS: Reinstalling Windows is one of the result-oriented methods. So, try to reinstall Windows and see if it works for you.
- Boot Windows: Windows comes with a security feature known as the Driver Signature Enforcement feature. This feature may sometimes interfere with the drivers that are not digitally signed to run on Windows 10. So, disabling this feature may work for you in this case. Let’s know how o do it:
- Keep a Windows installation media handy and reboot your system. (Do not forget to set that media as the first boot order in the BIOS page).
- Once rebooted, follow the instructions given on the screen of your system to enter WinRE, which is the Windows Repair Environment.
- Now click on the Troubleshoot option.
- Select Advanced Options.
- Now click on the Startup Settings option.
- Finally, click on the Restart option. Once your system restarts correctly, press the key F7.
- This is the time when you need to select the Disable Driver Signature Enforcement option.
- Recover Missing Data: If you are not able to fix the issue, your data will be lost forever. But you can try Kernel for Windows Data Recovery Software to recover any missing data from your system. This is a powerful automated third-party tool that can recover and restore lost, missing, deleted, and even permanently deleted files and folders from your system and external devices. This tool has a free version with which you can recover and save up to 2GB data for free. Check this free data recovery tool out.
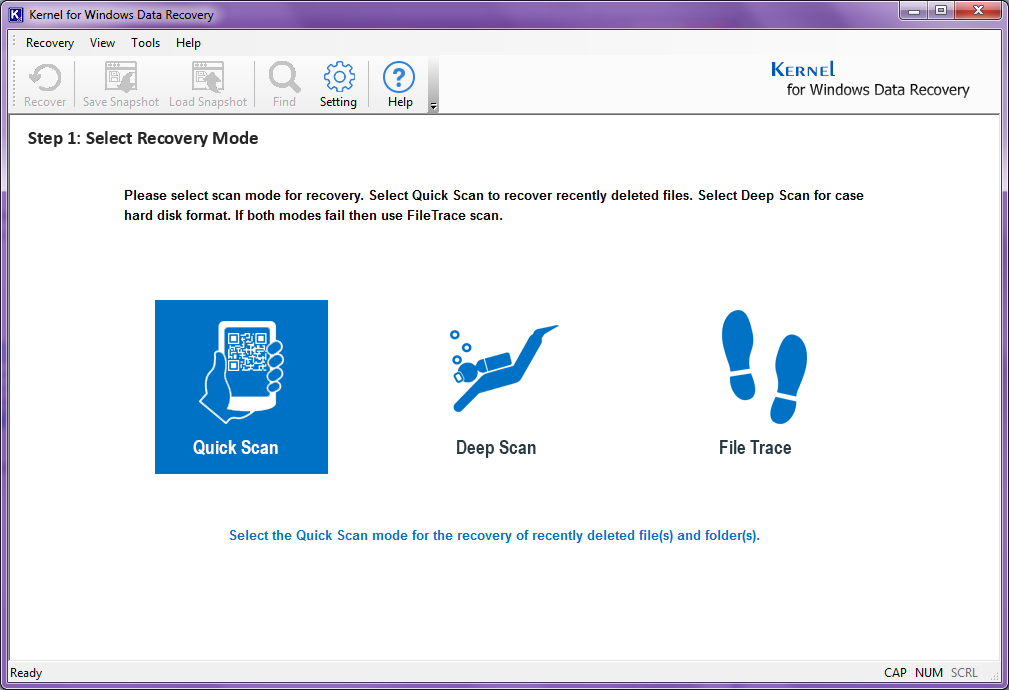
Meanwhile, let’s know how this tool works:- From the home screen of the tool, select Quick Scan. (You can select any mode as per your requirement)
- In the next step, select the drive from which you want to recover your files. Click on Next to proceed.
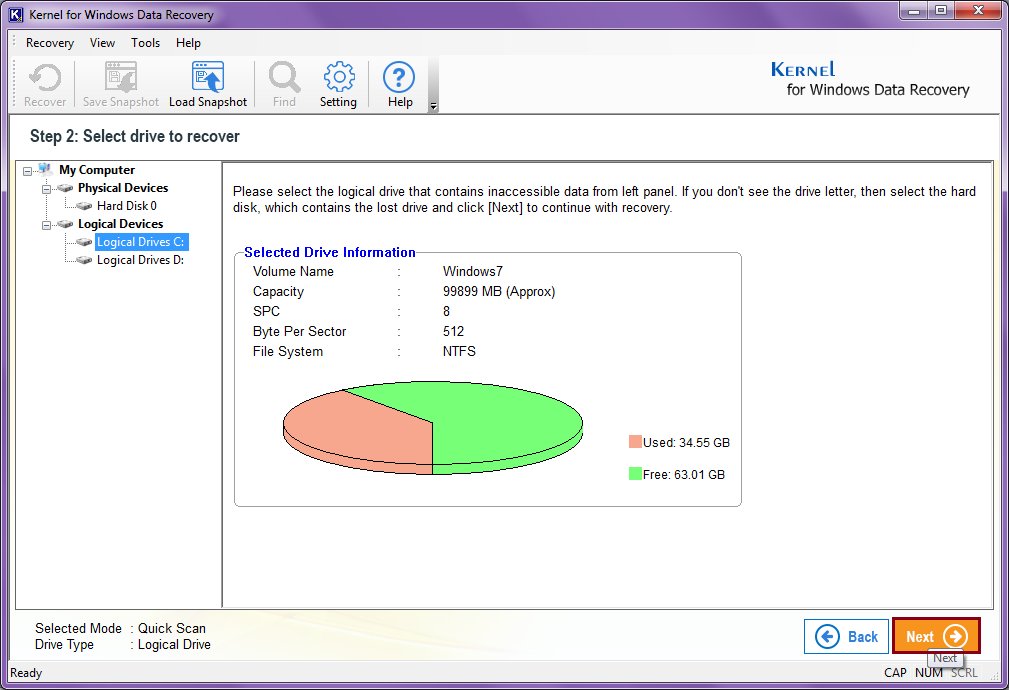
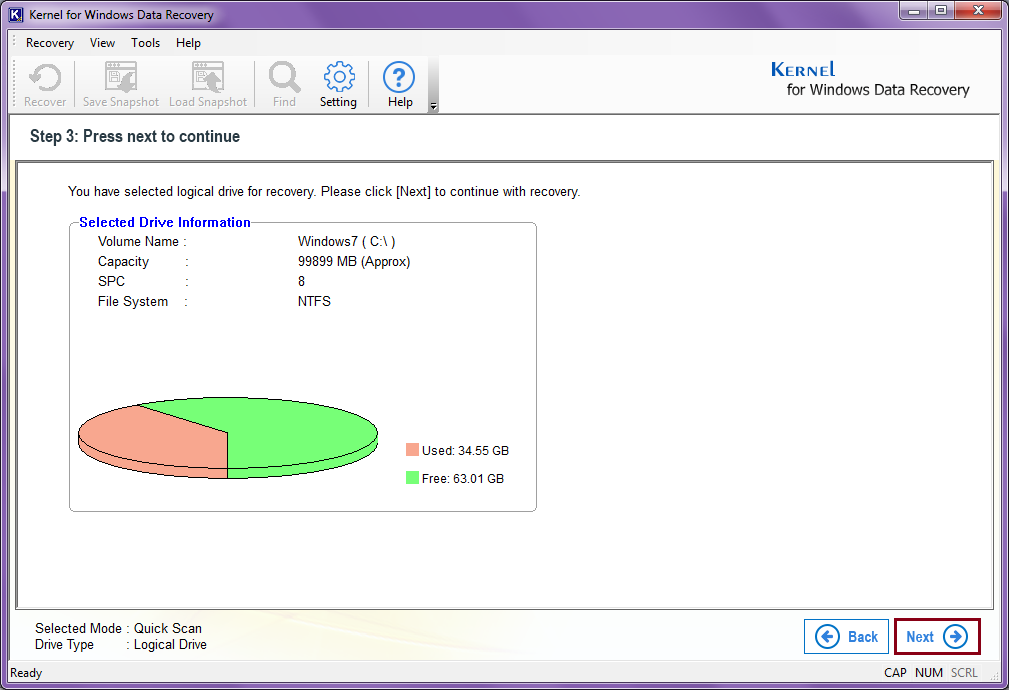
- Next, the tool will provide you the drive information, read it, and proceed by clicking on the Next button.
- Wait for the tool to scan your drive for the missing files. Click on the Stop button anytime to stop the process.

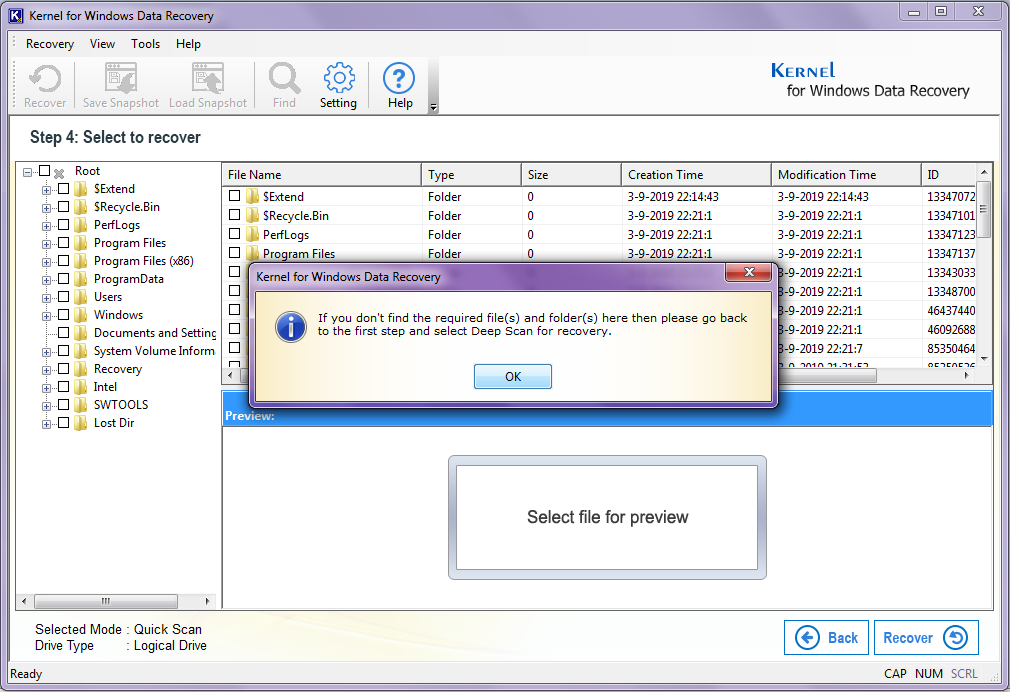
- In this step, the tool will suggest you try any other intense scan mode if you don’t find the missing files.
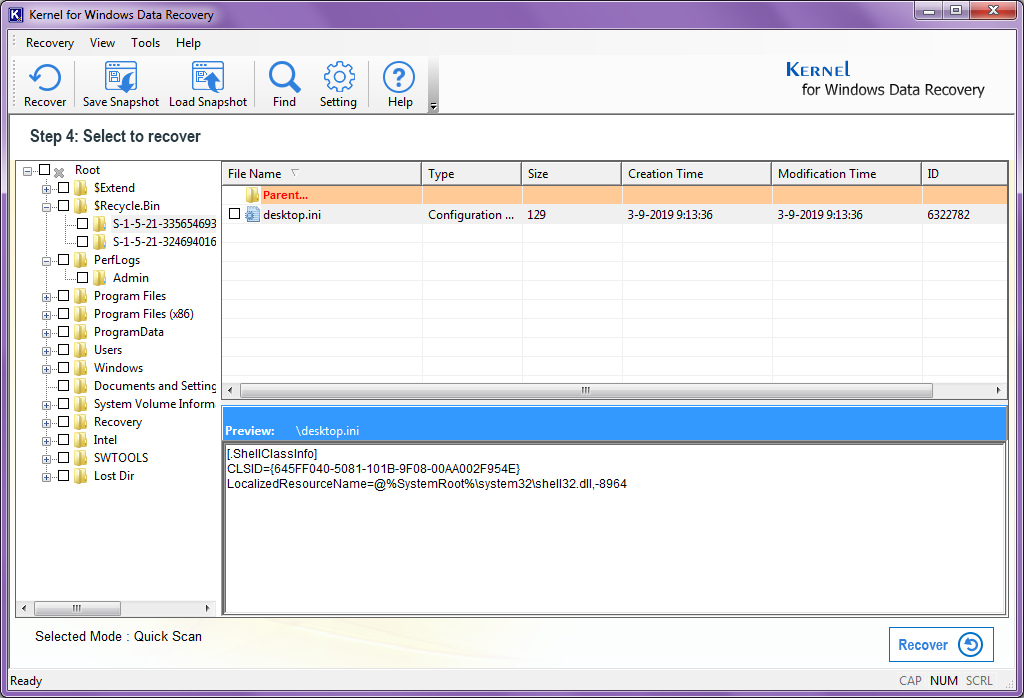
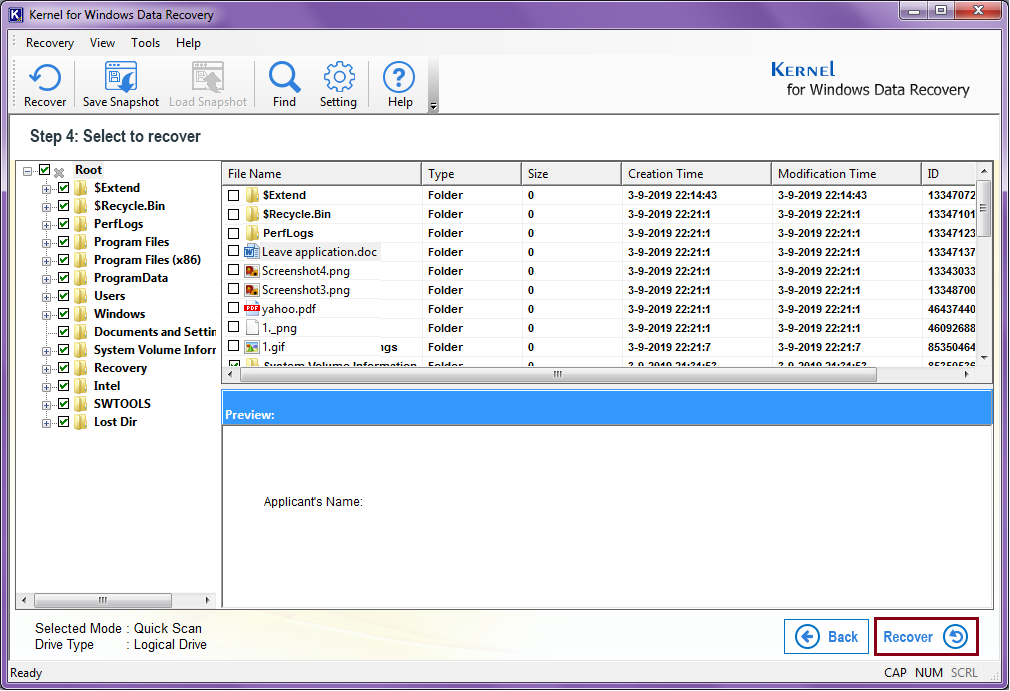
- At this stage, the tool will present all the recovered files on the screen. Select the files you want to restore and have the preview.
- Once satisfied with the preview, click on the Recover option.
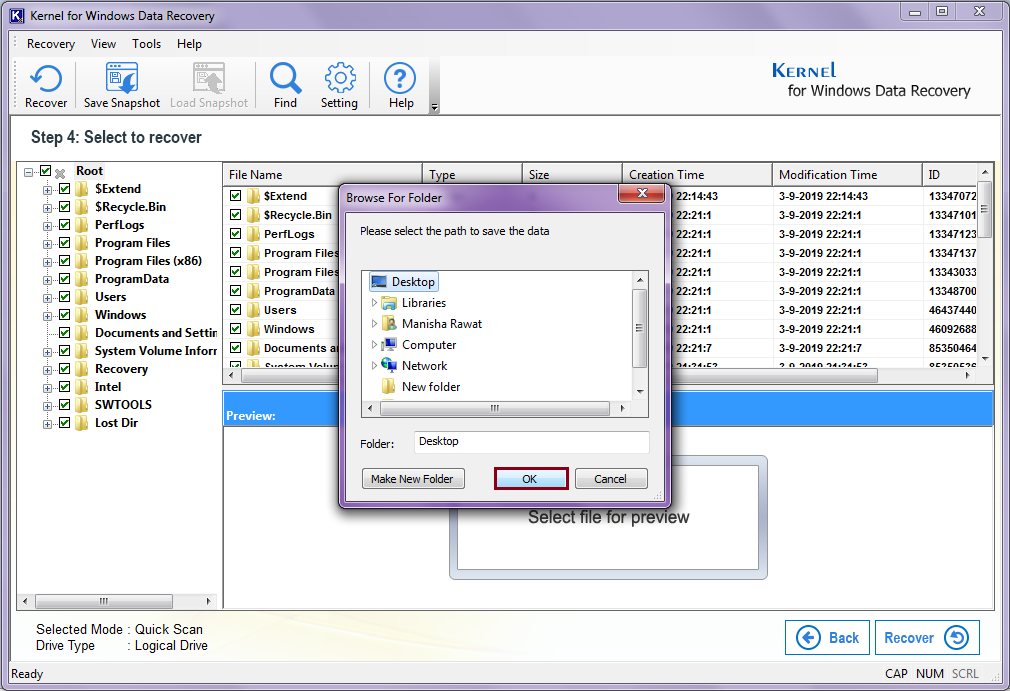
- Now, provide a destination to the files you want to save on your system. Click on OK once done.
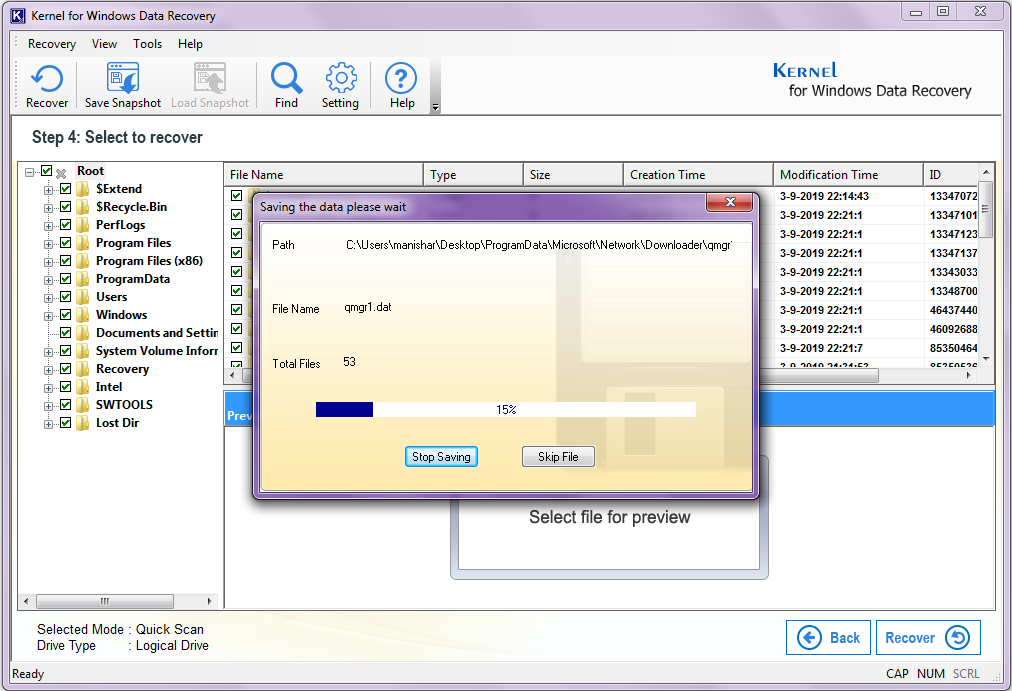
- Wait for the tool to finish the saving process.
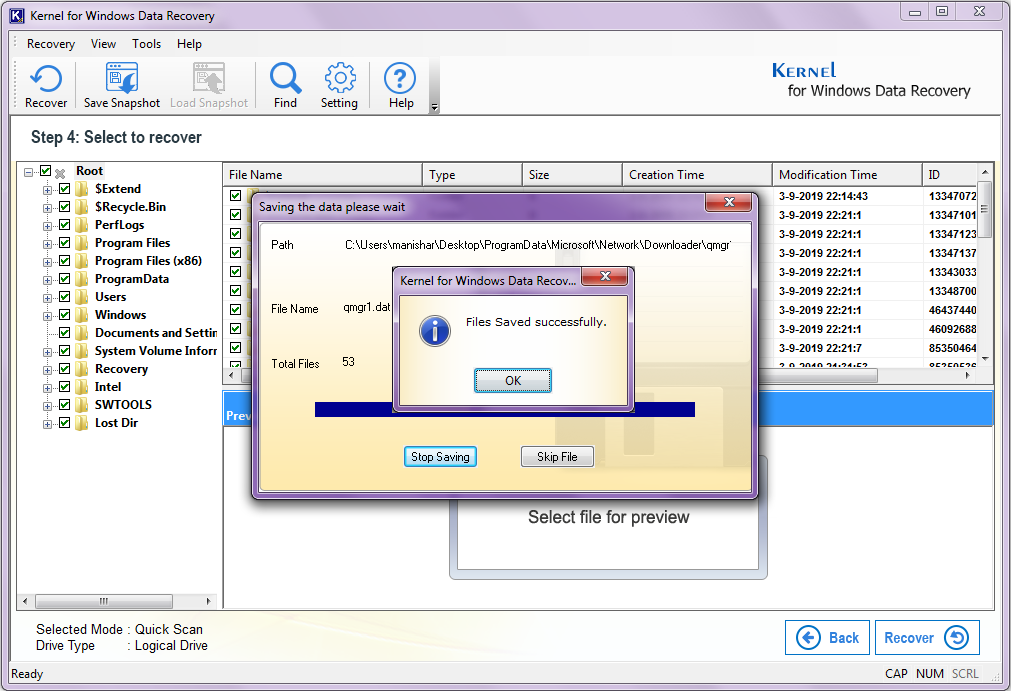
- Once done, click on OK.
- From the home screen of the tool, select Quick Scan. (You can select any mode as per your requirement)
If you are able to boot your system into Windows, your issue is fixed.
If done correctly, this should fix the issue for you.
Conclusion:
In this blog, we discussed the error 0xc000021a, why this error may occur, and how to fix it. We discussed a number of solutions and provided diverse solutions. Finally, we suggested using Kernel for Windows Data Recovery Software to recover and restore missing files. Hope this blog helped you fix the issue.