Read time 6 minutes
Due to Microsoft’s lack of support and security, users of Windows Live Mail face several errors from time to time. However, the “0x8007007A” error in particular generally occurs when you try to send an email from Windows Live Mail with attached OneDrive media files. The latest updates in OneDrive restrict email flow with media attachments due to a conflict between Windows Live Mail and OneDrive. The images loaded from OneDrive cannot be sent to the recipient if attached as an album in the email because of the said conflict.
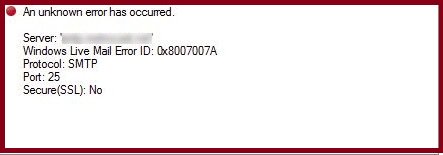
Before resolving this issue, let’s analyze other factors that might be possible for Windows Live Mail 0x8007007A error.
Common causes for Windows Live Mail 0x8007007A error
Recent Microsoft security update is the main culprit of the 0x8007007 error that makes Windows Live Mail inconvenient for users by creating several issues. The other common reasons for these recurring issues are:
- Unstable/weak Internet connectivity.
- Lost/corrupted Windows Live Mail system file.
- Corrupt email attachments
- Misconfigured account settings.
Solutions to fix Windows Live Mail 0x8007007A error
Here, we’ve explained the practical methods to help you resolve Windows Live Mail 0X8007007A error. Moreover, you must first create a backup of your entire data and ensure that you’ve a stable internet connection and try these four manual solutions to fix the Windows Live Mail 0X8007007A error.
Method 1. Remove/delete stuck emails from Windows Live Mail outbox
If you’re unable to send emails from your Windows Live Mail account, there’s a chance that you might be facing the 0x8007007A error and your emails are stuck in the Outbox folder. We’ve given the detailed steps below to resolve this error.
Step 1. Launch Windows Live Mail on your system and navigate to the Outbox Folder.
Step 2. Select all the emails that are stuck in the Outbox and are creating issues.
Step 3. Right-click on them and select the Delete option.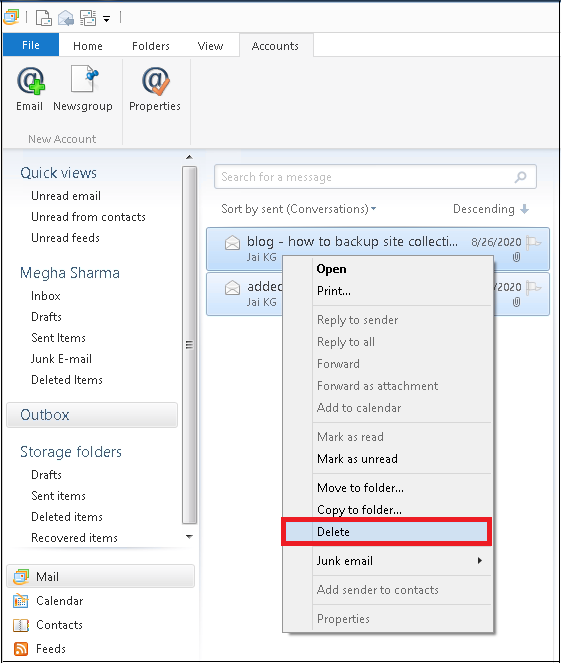
Compose a new email and try sending it again to see if the error has been resolved or not.
Method 2. Try to send media as attachments instead of albums
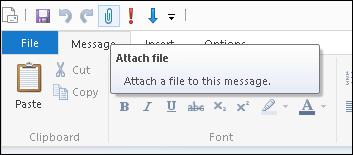
Always attach media files as attachments instead of creating an album while sending an email to the recipient. So, click the attachment icon while composing an email and select the image files to add to the email.
Note: Ensure that the Create photo email from photo attachments option is not selected while composing the email
Method 3. Repair the Windows Live Mail application
If the error persists even after adding image files as attachments, you can assume the issue is in the application itself. There is an inbuilt utility for repairing the Windows Live Mail (Windows Essentials) application. Let’s know more about the process involved here.
Step 1. Firstly, close the Windows Live Mail application in your system.
Step 2. Open the Control Panel and select the Programs and Features option
Step 3. Move to the Windows Essentials program under the Uninstall or Change a program section
Step 4. Click on the Uninstall/Change option and click Yes to confirm.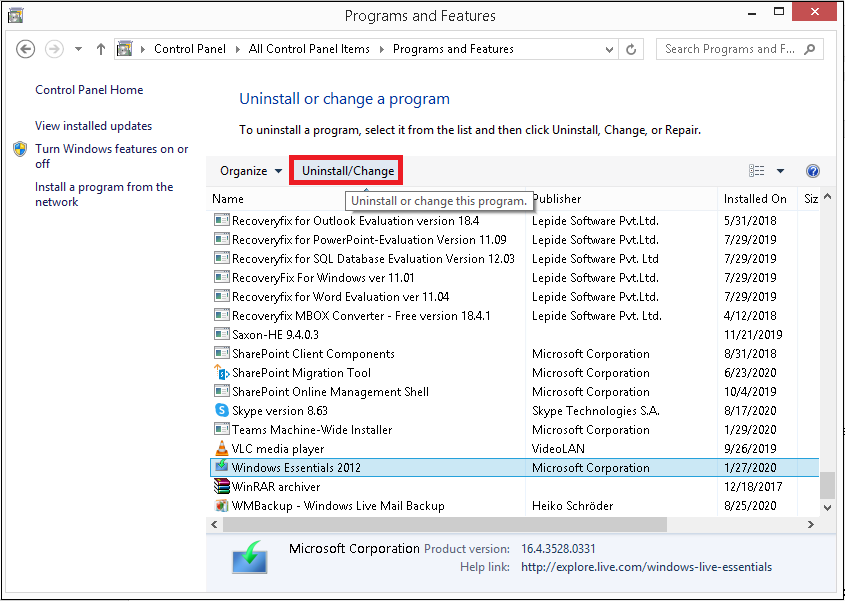
Step 5. A dialog box would appear. Here, click on the option Repair all Windows Live programs.
Let the repair process complete. Once the repair is completed, restart the system. Now, relaunch the Windows Live Mail application and try sending an email now.
Method 4. Delete and reconfigure Windows Live Mail account
In some scenarios, it is suggested to delete the Windows Live Mail account and then reconfigure it to fix the account settings issue.
Steps to delete Windows Live Mail account
Step 1. Open the Windows Live Mail account, go to the account name on the left panel, and right-click on it.
Step 2. Select the Remove account option, click OK to confirm the removal of the account, and wait until the account is removed.
Step 3. To reconfigure the account, click on the Accounts tab and then click on the Email option.
Step 4. Add the email account sign-in detail, select “Make this my default email account,” and click Next.
After proceeding with the instructions, check whether you are still encountering Windows Live Mail 0x8007007A error. However, many users suffer from multiple issues in Windows Live Mail due to lack of support from Microsoft. This drives users to look for Windows Live Mail alternatives.
A reliable solution to fix Windows Live Mail x8007007A error
If the manual methods are unsuccessful in resolving the Windows Live Mail 0x8007007A error, then shifting email clients might be your best option. Microsoft Outlook is one of the best alternatives to Windows Live Mail, owing to its remarkable features and advanced security measures. The easiest way to migrate all your data to Outlook is via a trusted EML to PST Converter tool.
Use Kernel for EML to PST Converter tool to migrate or convert EML/EMLX files in PST, MSG, or Office 365 with a data filter feature. Also, there is a facility to convert bulk EML files and their preview emails with complete details. This tool saves your EML file in existing PST or new PST in the original hierarchy with attachments. The conversion is smooth and quick with this utility.
Conclusion
We’ve described some proven manual solutions to fix Windows Live Mail 0x8007007a and discussed the migration trend from Windows Live Mail to Outlook. Additionally, we’ve recommended Kernel for EML to PST Converter software for smooth and reliable conversion and backup of Windows Live Mail data.