Read time: 4 minutes
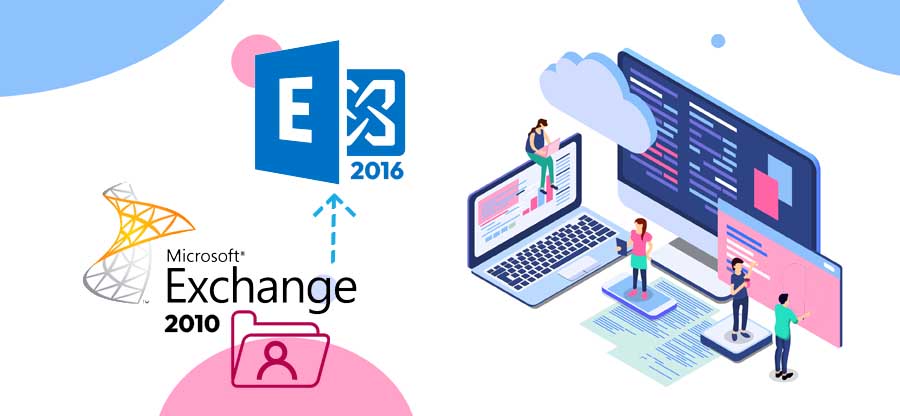
MS Exchange 2019 is available both as an on-premises and cloud-based application. However, cloud-based iteration is currently more efficient and popular. After the successful installation and configuration of Exchange Server 2019 on your premises, it is time to migrate data from the older version to Exchange 2019. Though it is advisable to use a professional tool for Exchange migration, we will go through some manual methods to migrate Exchange Server 2016 to Exchange 2019.
- Ensure you have at least a 64-bit processor.
- 128GB of memory for mailbox and 64 GB for Edge Transport.
- Make disk space of:
- Minimum 30 GB on the drive to install Exchange.
- Minimum 200 MB on the system drive.
- Minimum 500 MB on the drive with message queue database.
- Get a screen resolution of 1024×768 pixels or more.
- Exchange 2019 supports Contiguous, Noncontiguous, Single label domains, and Disjoint as DNS Namespace.
- Paging file value as 25% of installed memory, both minimum and maximum.
- Supports IPv6 only with IPv4 installed and enabled on the server.
Exchange 2016 to 2019 Migration Guides
- Part 1: Important Points to Consider before Installing Exchange Server 2019
- Part 2: Prepare the Environment for Exchange Server 2019 Installation
- Part 3: Exchange Server 2019 – The Complete Installation Process
- Part 4: Configure Exchange Server 2019 Post the Successful Installation
- Part 5: Exchange 2016 to 2019 Migration Step-by-step Guide
Migrate Exchange Server 2016 to 2019
For migration from Exchange Server 2016 to 2010, you require both versions of Exchange in a single network. When both servers are live, it becomes easier to migrate the mailbox database.
- You can start the migration using the Exchange Admin Center. Sign in to it using the admin username and password.

- In the recipients category, go to migration and click on the Add option. Choose Move to a different database.

- Click on the Plus (+) icon to add user mailboxes that you want to migrate.

- Select the mailboxes from Exchange 2016 and click the Add button.

- After selecting mailboxes, click OK.

- The mailboxes are enlisted in the wizard for migration. Click Next.

- Provide a new name to the migration batch and click the Browse option to select the target database.

- Select the database from Exchange 2019 and click Add, then OK.

- Once the target database has been selected. Click Next.

- Use the browse button to select the recipient who will get the report when the batch is completed. Then, click New.

- The migration starts quickly, and you can see the status is syncing. When the migration to Exchange 2019 is complete, the FINALIZED column will show the migrated mailbox numbers.

Post-migration steps to follow
You can’t just leave everything and relax once you migrate mailboxes from Exchange 2016 to 2019. There are responsibilities that you must fulfill as an administrator before allowing the organization to hope on to work with Exchange 2019. Let us look at the activities:
- Spend time ensuring every data, email, mailbox, and setting is migrated.
- Adjust the DNS settings to direct emails to the new Exchange Server 2019.
- Check if users can access their emails through mobile devices without any hassle.
- Regularly monitor the server performance so that if any error pops up, you can resolve it quickly.
- Ensure that security measures, including firewalls, spam filters, and antivirus protection, are applied correctly.
Final Words
The overall process of adopting Exchange Server 2019 is not linear and requires technical expertise and a lot of time to complete the migration. When migrating using the manual methods, there may occur a scenario of downtime causing complications in accessing mailbox. For such instances, Kernel Migration for Exchange is the perfect bridge between two versions of Exchange Servers and migrates selected mailboxes in various batches. Use Exchange Migration software that offers many filters for source data and lets you schedule the migration at a comfortable time.


