Read time: 7 minutes
Every employee gets a professional email account to communicate extensively with their clients and team members. That email ensures the identity of the sender and receiver. But some email accounts have a different purpose to serve. You might have observed some email accounts like complaint@business.com, info@business.com, contact@business.com, etc.
All these email IDs get a lot of emails, and a single person cannot manage such a large amount of email traffic. So, it is required that multiple users work collectively on them. In Exchange Server or Exchange Online, these shared email IDs are known as Shared mailboxes, and several users can receive and send emails from them. The benefit of using a shared mailbox is that when a user replies to a specific email, then the sender will receive the message on behalf of the shared mailbox and not from the user’s mailbox. Experts also recommend to export Office 365 mailboxes to PST including Shared mailboxes to keep all the data secure from any malicious attacks.
Shared mailbox also has a shared calendar where each member can input their appointments. So, if you want to meet with your team member, check the calendar and see when that member is free.
Let’s see the step-by-step process of how to create a shared mailbox in Office 365 and add members to it.
What is a Shared Mailbox in Office 365?
A Shared Mailbox in Microsoft 365 refers to an email account shared among multiple users, allowing them to send, receive and manage all the email traffic from a common email address like info@company.com. These mailboxes are generally created for a team handling the same operations like sales, support, reception desk, etc.
How to create a Shared Mailbox in Office 365
Creating a shared mailbox in Office 365 can be hectic process if you are not following the effective process. So, to create a shared mailbox and add members to it, follow the below methods.
Create a Shared Mailbox in Office 365 Admin Center
Using this simple procedure, you can effortlessly create a Shared Mailbox using the Microsoft 365 Admin Center-
Step-1) Log in to your Office 365 account and go to the Admin section to open the Office 365 Admin Center.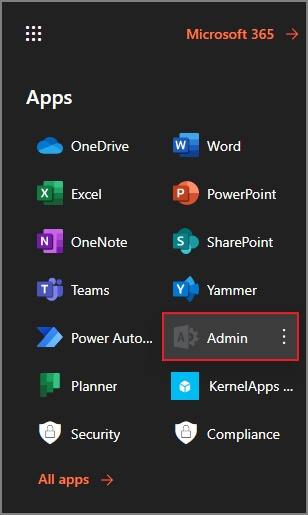
Step-2) In the Teams & Groups category, open the drop-down and click on Shared Mailboxes.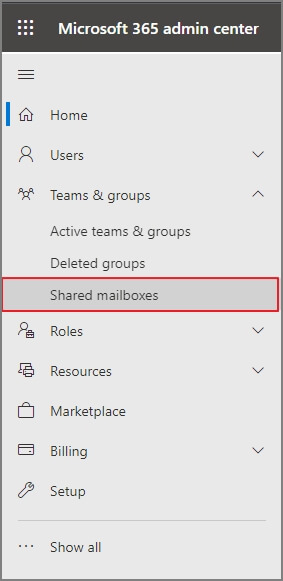
Step-3) On the new page of Shared Mailbox, you can click ‘Add a shared mailbox’ to create a new one.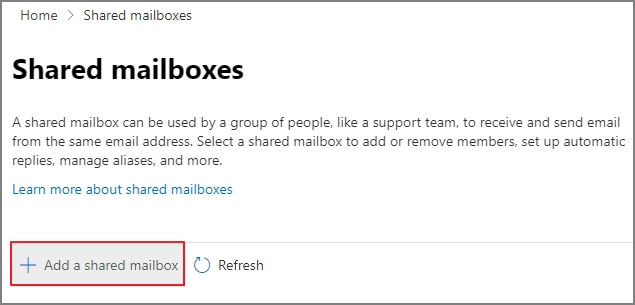
Step-4) Input a unique name for your organization. The Email section will be filled automatically with the group’s exact name. But you can change it too. In the Domains list, you can choose any domain of your business. Then, click Save Changes.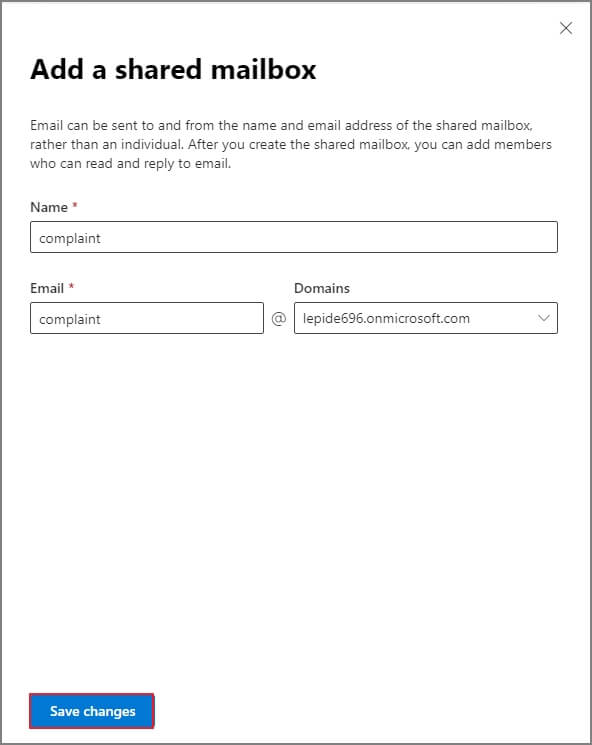
Step-5) Creating the mailbox will take a couple of minutes, and you will get a successful message after its creation. Next, click on ‘Add members to your shared mailbox.’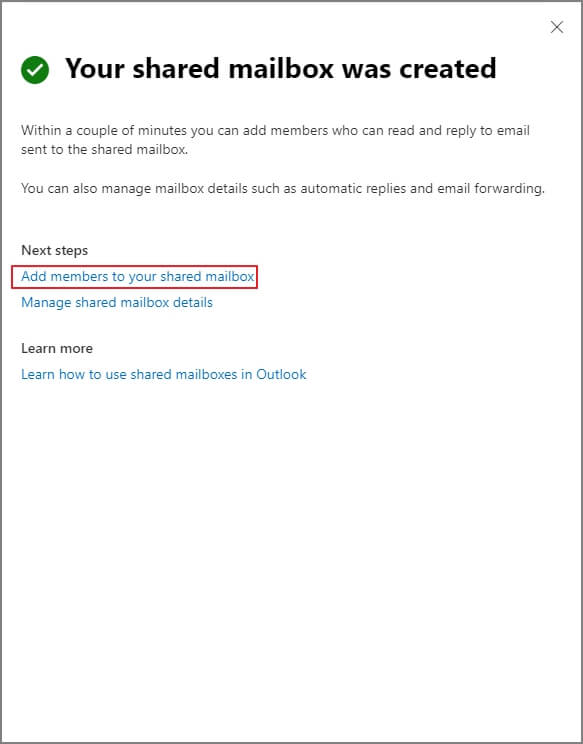
Step-6) Choose the members from the list to add to the shared mailbox. Click Add.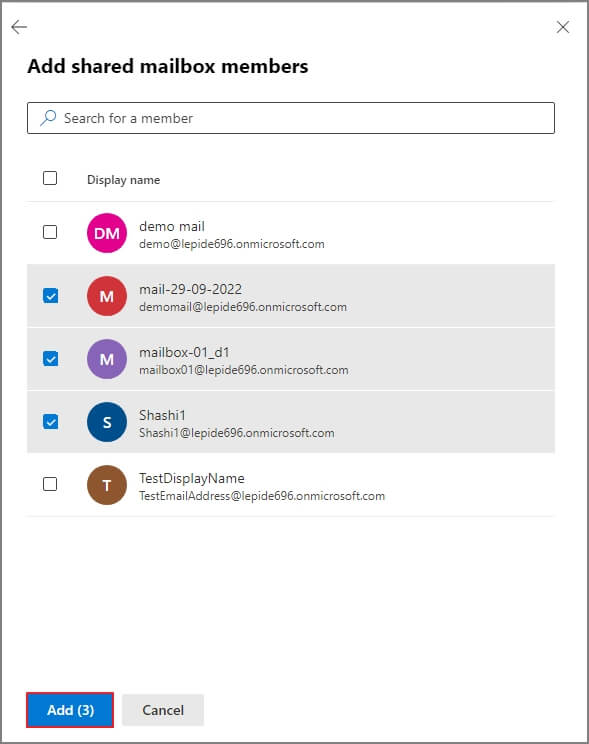
Step-7) When you choose the shared mailbox from the list, then you can check that members are listed there.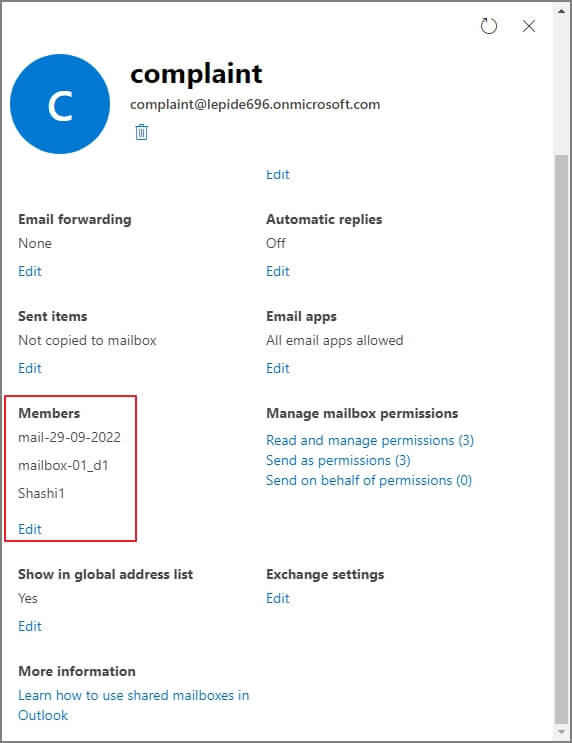
The message also shows that the changes will appear in Outlook and OWA within 60 minutes. So, after 60 minutes you can check your Outlook applications and see a new shared mailbox in it.
How to create a Shared mailbox with Exchange Online PowerShell?
You can create a shared mailbox using the Exchange Online PowerShell by following the process below–
Step 1) First create a mail-enabled security group and provide a proper name.
Step 2) Connect the PowerShell with the Exchange Online.
Step 3) Run the New-Mailbox command.
Add-MailboxPermission -Identity “Human Resource Department” -User HumanResource -AccessRights FullAccess -InheritanceType All
How to create a Shared Mailbox in Exchange Admin Center?
You can create shared mailboxes from Exchange Admin Center also. Follow the steps:
- Login to Exchange Admin Center and follow Recipients>>Shared>>Add.
- Input the data into the fields – Display Name, Email address.
- To provide Full Access or Send As permissions, click Add and choose all the users you want to provide the permission level.
- Finally, click Save option and create a new mailbox.
Different permissions for the shared mailbox
- Full Access: The Full Access permission gives the total control to the user over the shared mailbox. The user can create and edit calendar events, email messages, and contacts.
- Send As: The Send As permission allows the user to impersonate the shared mailbox.
- Send on Behalf: The Send on Behalf permission allows the user to send the email on behalf of the shared mailbox. When anyone gets the reply from the shared mailbox, then it will look like ‘Adam on Behalf of Sales Department..’
Conclusion
Creating a Shared mailbox is straightforward and can be quickly conducted using the Admin Center. Shared mailboxes are often used by individuals working towards the same goal, and without a doubt, they contain some crucial data. It is necessary to back up all its information at regular intervals. When you take a backup of Office 365 mailboxes, you should be cautious that you backup the shared mailbox. Kernel Office 365 Backup and Restore software is one such tool that mainly takes the backup Office 365 mailbox, including shared mailboxes.
Ans: To create a shared calendar in Office 365, follow the below steps:
1- Log in to your Office 365 account and navigate to the calendar app.
2- Click on New Calendar on the left side of the screen.
3- Give the calendar a name and a description, and select a color for it.
4- Under Permissions, choose who you want to share the calendar with. You can select specific people or groups or make it public.
5- Choose the level of permission you want to give to each person or group. You can choose whether they can view the calendar, edit it, or become the owner of the calendar.
6- Click on Create to save the calendar.
Now that you have created the calendar, you can add events and appointments. You and the people you have shared calendar with can view and edit the calendar, depending on the permissions you have assigned.