Read time: 9 minutes
If you’ve recently shifted from a Windows environment to Mac environment, then it may take you some time to get accustomed to the changes. One such change is the difference in the file format used by email clients.
Microsoft Outlook’s PST format isn’t supported by the Mac OS which makes it tricky to access these files. That’s why we’re here to offer some proven methods to import PST file to Apple Mail successfully. Apart from that, we’ll also inform you about certain precautions you must take while performing this conversion process.
Why import PST file to Apple Mail?
- Platform Switch: It’s better to import PST files to make sure all your email data remains accessible and compatible with Apple Mail.
- Advanced Features of Apple Mail: You’ll have access to the extensive list of features offered by Apple Mail and smooth integration with other Mac programs.
- Improved Email Management: Keeping all your mails, attachments, contacts, and other mailbox data in one place makes email management very easy.
- Business Requirements: Employees may need to convert PST files to align with workplace requirements and maintain a smooth workflow.
Simple Ways to import PST file to Mac Mail
You can import your PST file to Mac Mail with two distinct methods given below:
- Import PST to Mac Mail by configuring Gmail in Mac Mail.
- Import PST to Mac Mail via Import feature.
Let’s know more about each method in detail below.
Method 1. Configure Gmail account in Apple Mail
After the latest update of Google, IMAP is automatically enabled in Gmail accounts. Thus, we will proceed with the following steps. First, configure your Gmail account in Outlook and move PST files to the Gmail folder. Then, configure your Gmail account in Apple Mail and shift all the PST files to Apple Mail.
Part 1: Configure the Gmail account in Outlook
Step 1. Open the Control Panel and choose Mail (Microsoft Outlook) from the given options.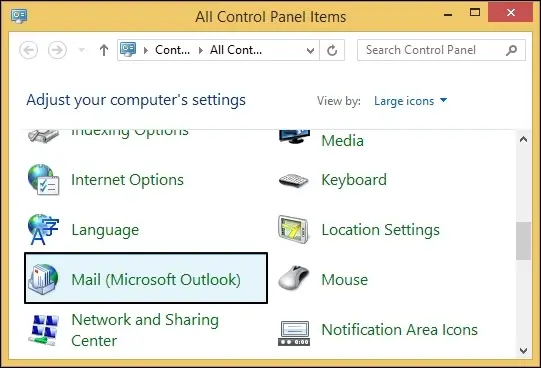
Step 2. In the Mail Setup window, click on Email accounts to open the Account Settings dialogue box.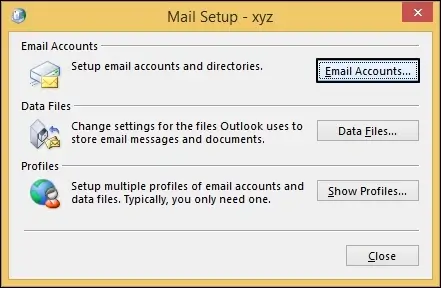
Step 3. Click on the New button and a new dialog box will open.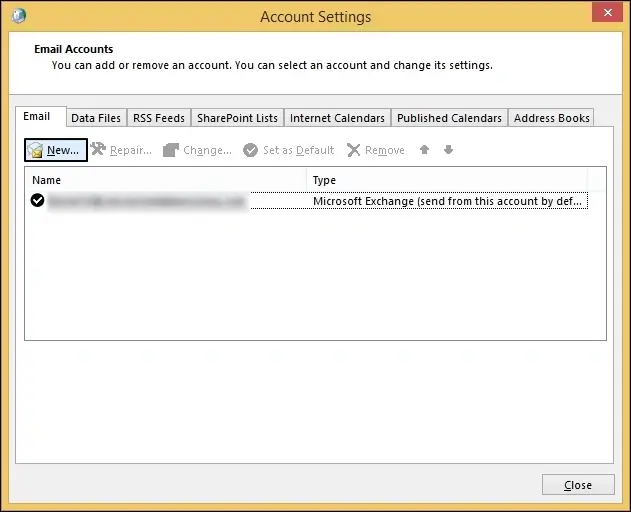
Step 4. In the Add Account dialog box, choose the Manual setup or additional server types option. Then click Next.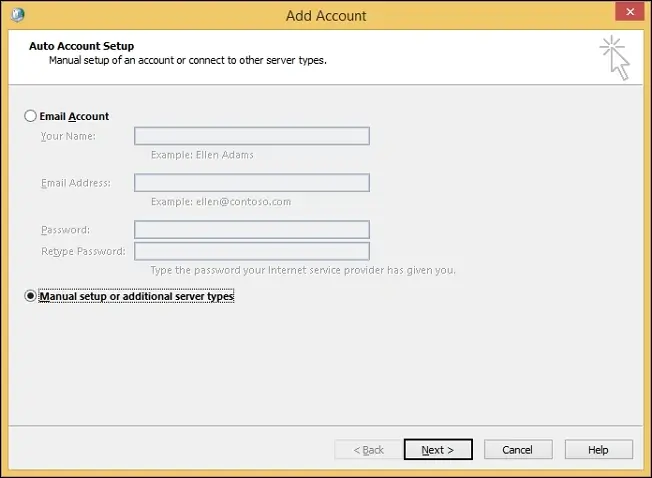
Step 5. Choose the POP or IMAP option and click Next.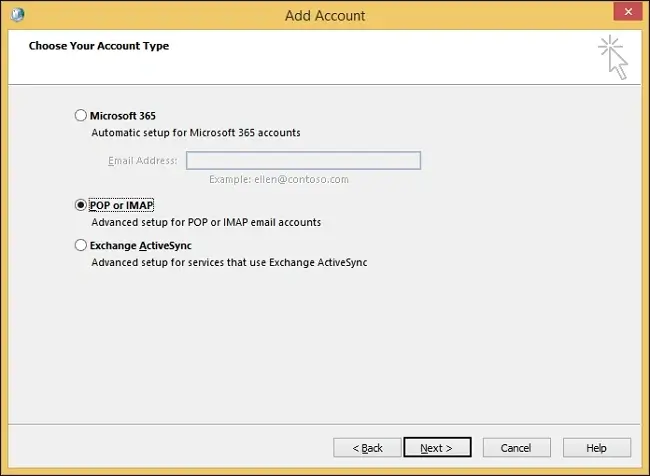
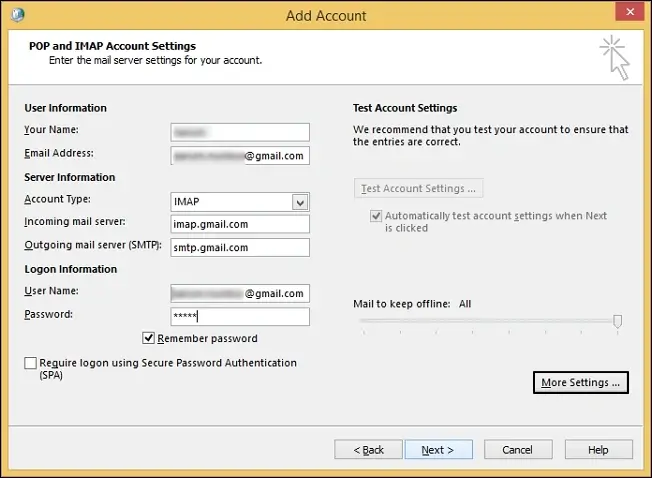
Step 6. Choose the account type as IMAP and enter all the required details like
- a. Name
- b. Email address.
- c. Incoming server- imap.gmail.com
- d. Outgoing server- smtp.gmail.com
- e. Username & Password.
Step 7. Go to the Outgoing Server tab in the Internet Email Settings window. Tick the My outgoing server requires authentication checkbox and click OK.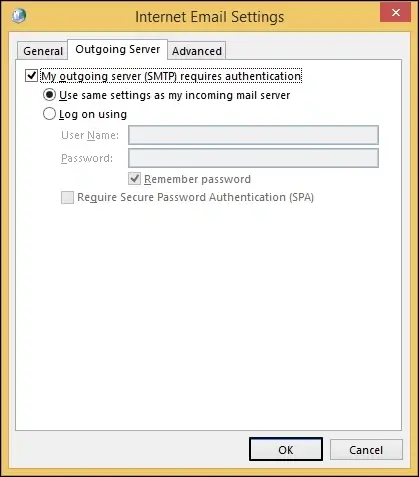
Step 8. Finally, hit Next and click on Finish to end the setup.
Step 9. After successfully configuring your account, drag all the PST files to a folder in Gmail.
Part 2: Configure Gmail account in Apple Mail
Open Apple Mail on your Mac device and go to Mail > Add Account.
Step 1. Select Google from the list of options and click Continue.
Step 2. Enter all details like your name, email address, and account password. Click Continue.
Step 3. Enter all the necessary information in the specific fields and click Done.
Step 4. Now move emails from the Gmail folder to a folder in Apple Mail.
Method 2. Via Outlook for Mac
We’ll perform this method in three phases to successfully import PST file to Apple Mail. In the first phase, we will export all the PST files from Outlook via the Import/Export wizard. Then in the second phase, we’ll use a powerful PST to Apple Mail converter to convert all the files into MBOX format. And finally in the third phase, we’ll be importing the MBOX files in Mac Mail.
Phase 1. Export PST files from Outlook
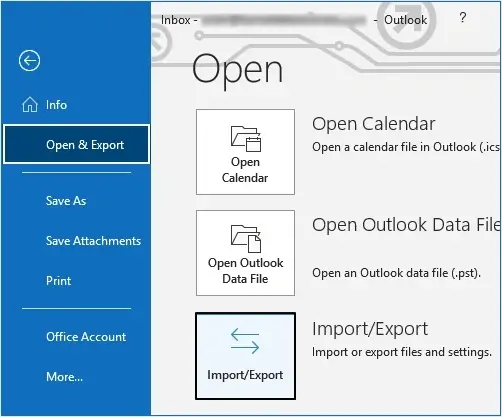
- Open Microsoft Outlook and go to the File tab.
- In the Open & Export section, click on the Import/Export wizard.
- Select Export to a file and click Next.
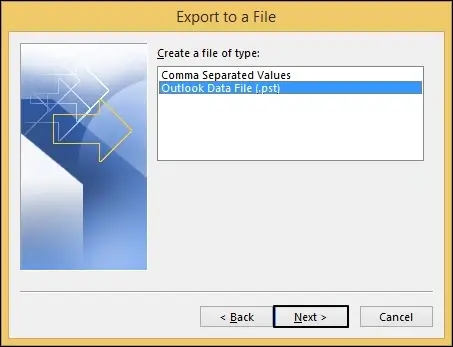
- Choose Outlook Data File (.pst) as the output type and click Next.
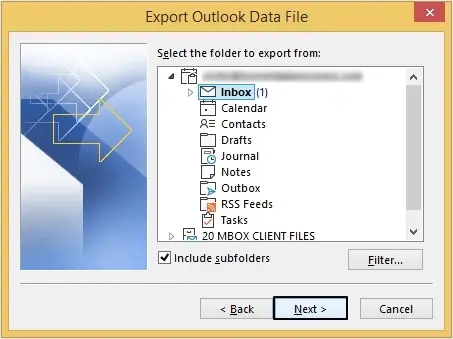
- Choose the folder containing all the PST files. Tick the Include subfolders checkbox if required and click Next.
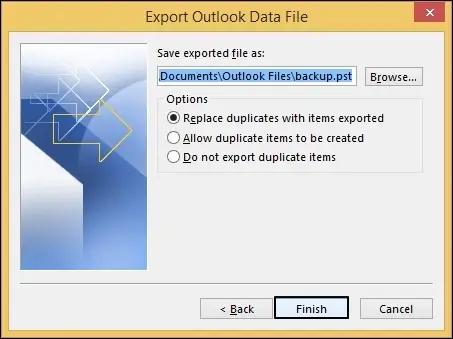
- Browse the saving location and apply filters for duplicate items. Then, click Finish.
Phase 2. Convert PST files to MBOX
Using reliable third-party software is the safest way to convert your PST files to MBOX format. This PST converter is preferred by individuals and professionals alike because of its advanced features. Follow the steps below to use this PST to Apple Mail converter:
- Download and install our PST converter software.
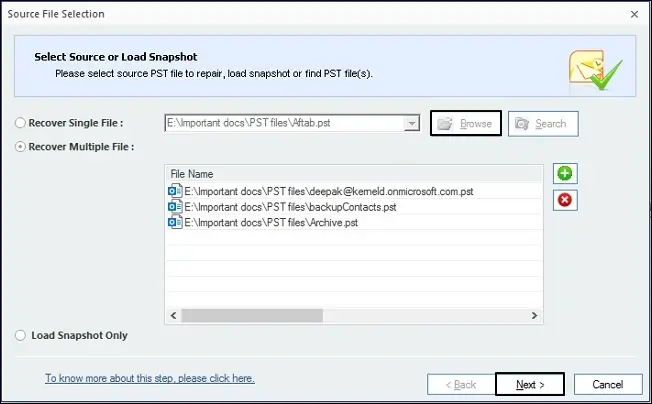
- On the homepage, click on Browse to add PST files to the software and click Next. You can either add single files or multiple files at once.
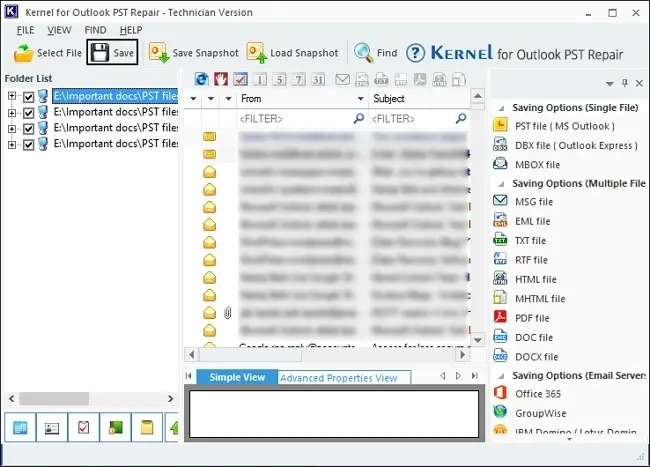
- Preview the content of added PST files and select specific folders that you want to convert. Then click on the Save icon.
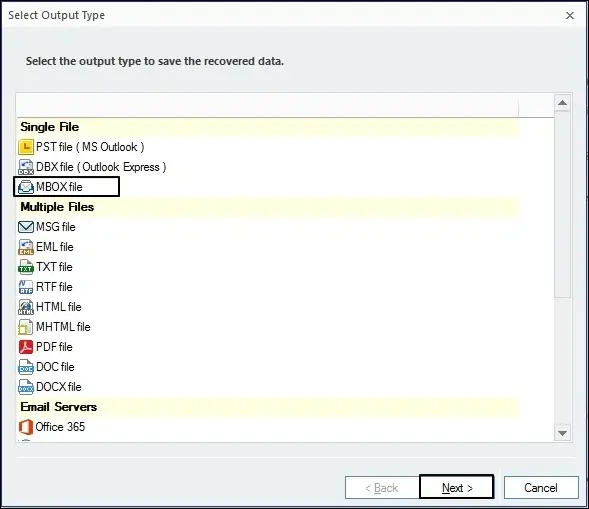
- Choose MBOX as the file output type and click Next.
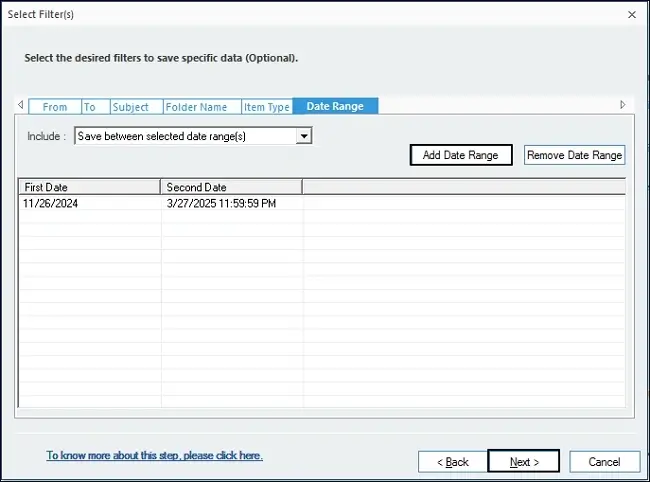
- Apply all the required filters to customize the process according to your requirements and then click Next.
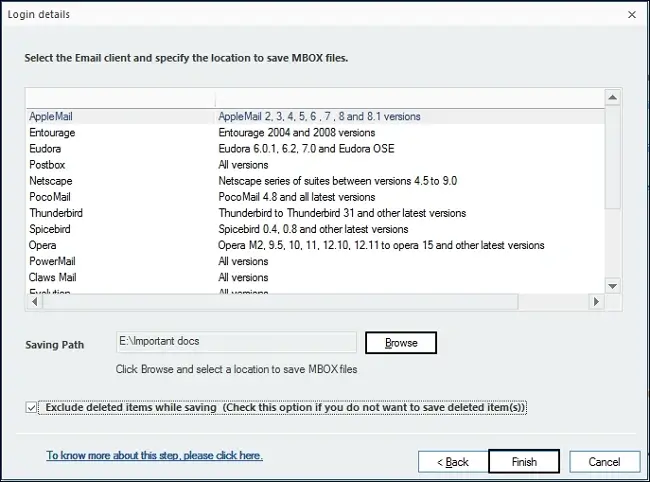
- Select the email client and click on Browse to choose a location where you wish to save your converted files. Hit Finish.
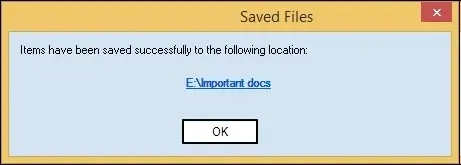
- Your files will get saved to the chosen location successfully and you’ll get the location path on your screen.
Phase 3. Import MBOX files to Apple Mail
- Open Apple Mail on your Mac device and click on the File tab.
- Choose Import Mailboxes option from the list.
- In the newly open wizard, tick the Files in MBOX format checkbox.
- Click on Continue to start the import process of MBOX files.
Conclusion
Shifting from one OS to another OS calls for the transfer of all the data you’ve accumulated till now. Out of everything, shifting mailbox data to another OS is the most challenging task due to file format being incompatible. Thus, we’ve described a few simple methods in detail for a successful migration of PST to Apple Mail.
Frequently asked questions
A. First export all your PST files out of Outlook. Then convert these PST files to MBOX format using reliable software like Kernel PST Converter. Finally import all the MBOX files into Mac Mail.
A. It’s not possible to directly convert PST to Mac Mail due to file format differences between the two OS. However, you can import PST file to Apple Mail by first converting them to MBOX format and then importing them in Apple Mail.