Related Posts


Read time: 5 minutes
An easier way to manage your Exchange Online account is via Exchange Admin Center in Office 365. You can access it on any web browser through the account’s credentials and perform the desired tasks. It is a simple GUI-based approach to create new databases and mailboxes, assign permissions, add members, manage groups, etc. But it is suitable for changes in a single account only. When it comes to more significant changes in multiple accounts, using PowerShell is the correct medium. After connecting the Office 365 account, you can perform all kinds of tasks like message tracking in Exchange Online and to delete user mailboxes in Exchange Online.
In PowerShell, you can run some cmdlets that can affect the entire Exchange Online environment, and several actions can be done through PowerShell only. In Exchange on-premises, there is an Exchange Management Shell wizard where you can run the commands directly; in Exchange Online, you must connect with an account through Windows PowerShell.
In this article, we will showcase the correct method to connect your Windows PowerShell with an Exchange Online account via a series of cmdlets.
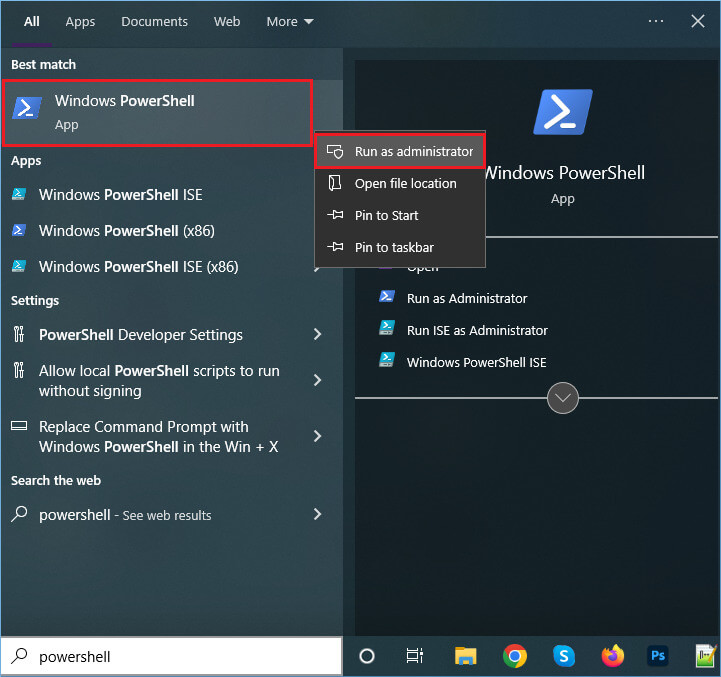
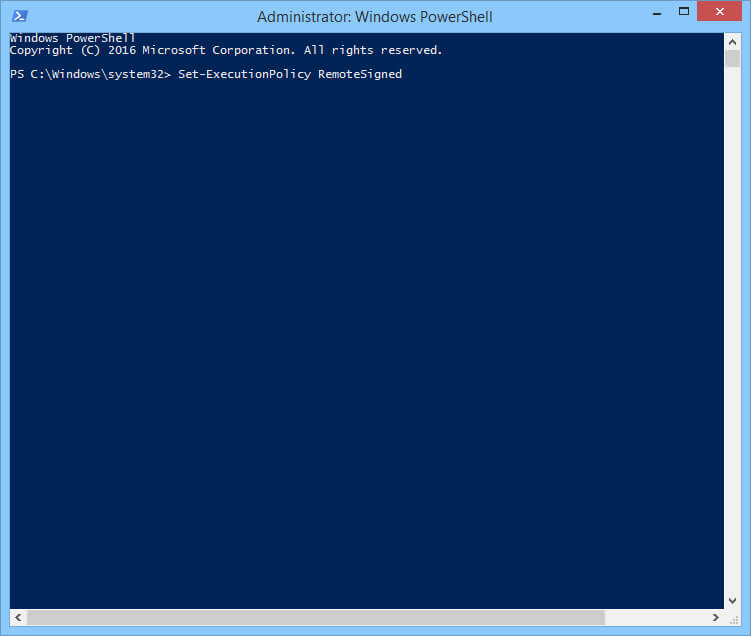
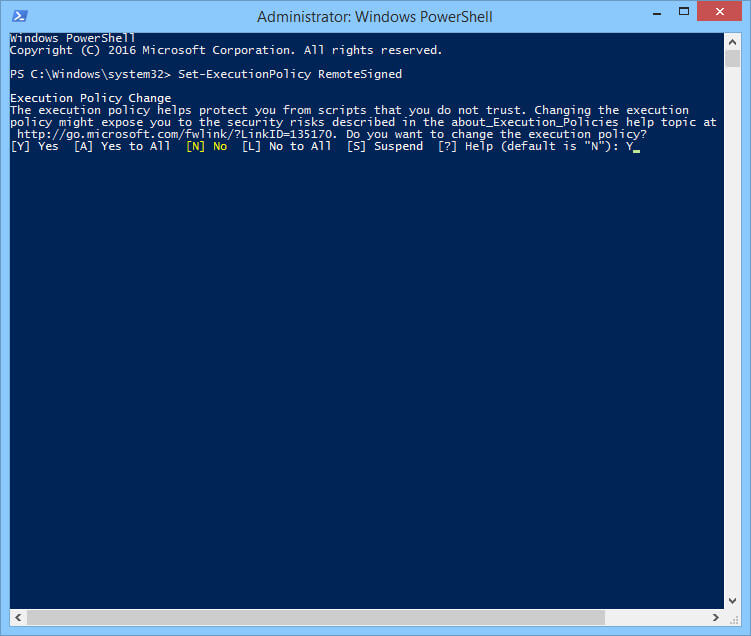
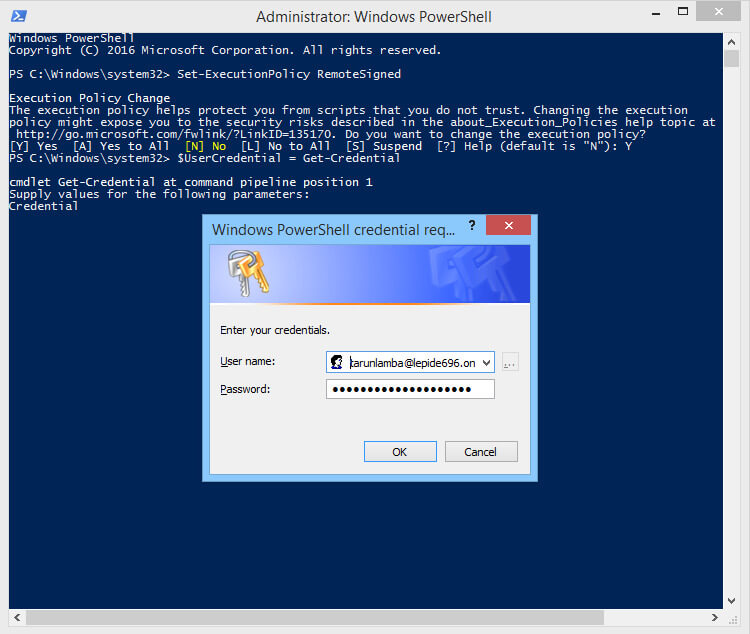
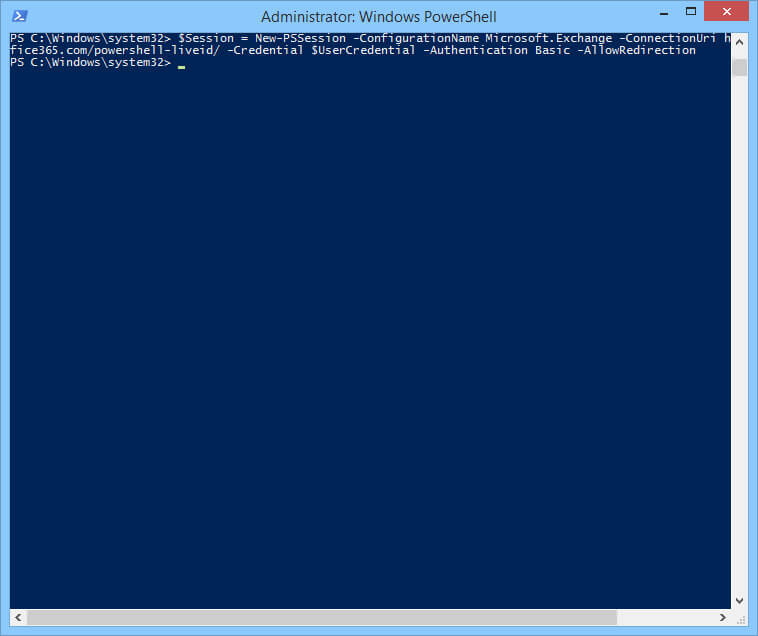
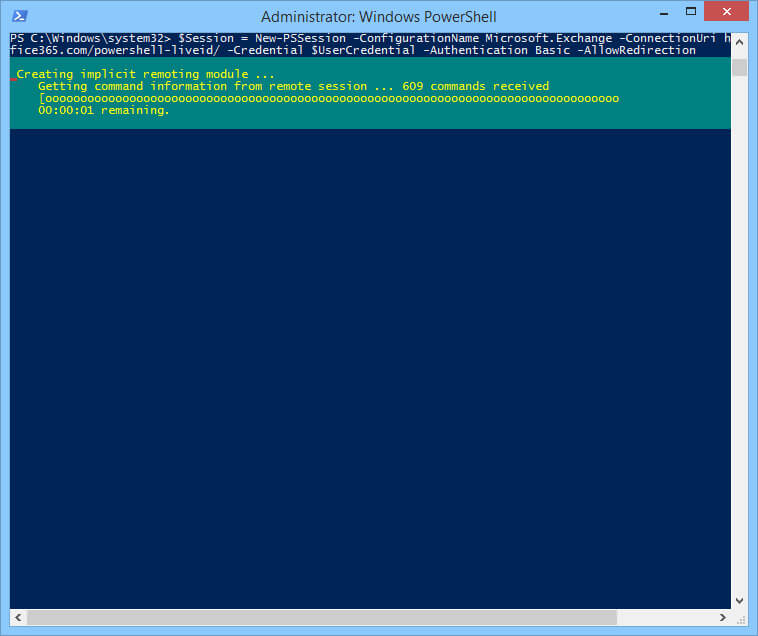
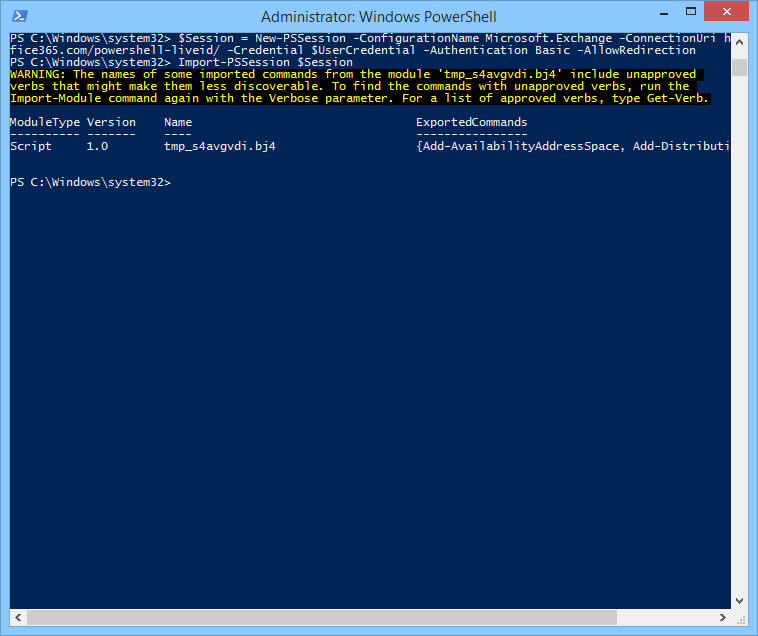
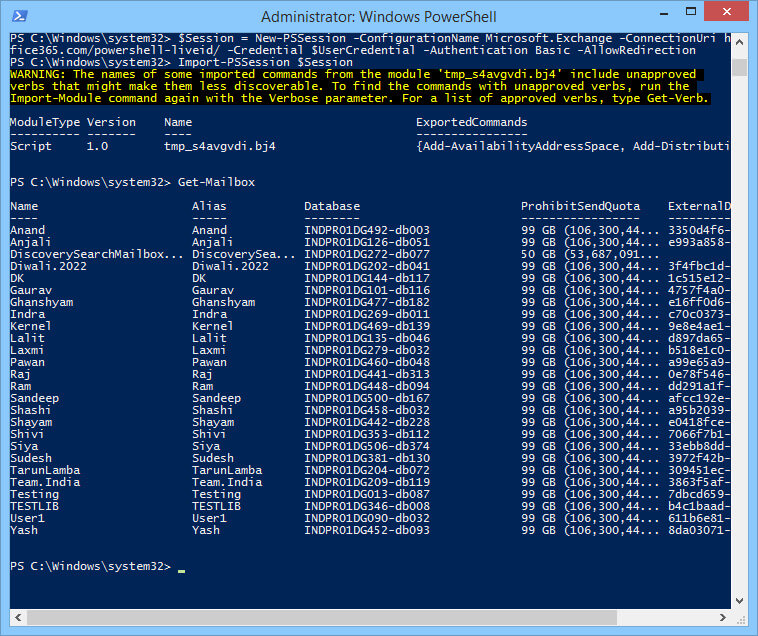
In the manual connection, you create an active session with Exchange Online email address. Follow the below-mentioned steps:
When you have completed the desired task on PowerShell (related to the Exchange Online), you can dismiss the session with the command-
To prevent a situation where all sessions are busy and it is impossible to establish a new remote Exchange Online PowerShell session, it is crucial that you disconnect the remote PowerShell session when you are through using it.
Generally, there are no issues in connecting with the Exchange Online using the given procedure and it is a best practice for Office 365 mailbox management. If you get some kind of error at any step, then you can check the following instructions:
The Exchange Admin Center online interface can be replaced with Exchange Online PowerShell for sophisticated tasks. By using a single command or script, you may perform many operations and activities using Office 365 PowerShell and Exchange Online PowerShell. In today’s blog post, we looked at ab easy way to connect to Exchange Online PowerShell. The three key actions in the approach are creating a remote PowerShell session, authenticating, and importing Exchange Online PowerShell.
Before running any cmdlet on the mailbox data, you should save the Office 365 mailbox data in a backup to overcome any unwanted situation. If some cmdlet is run on the data wrongly, then it can alter the structure or corrupt the data. Sometimes, you have to delete the mailbox and recreate it again. Kernel Export Office 365 to PST software will take the backup of all mailboxes in offline files, and later you can restore it again to live mailboxes.