Read time 7 minutes
Cloud platforms have changed the work environment forever. The services in different cloud platforms are numerous, and the user gets the best facilities from the cloud service providers. And Microsoft and Google are the front runners in providing innovative cloud services. Due to the ease of access, the user continues to save the data in cloud storage. Though both these providers assure cloud data security and availability, it is essential to back up the cloud data. Both Microsoft and Google provide backup features in their cloud applications.
Methods to backup cloud data on your computer
Most people and organizations use the cloud platforms provided by Microsoft or Google. Therefore, we will be focusing on cloud environments from Microsoft and Google. We will go through the process of taking the backup to local or remote computers for each platform one by one.
1. SharePoint Online backup
Microsoft SharePoint Online has established itself as the most preferred platform for collaboration and content management. Several important types of data are saved in SharePoint Online that you should back up. It helps you ensure business continuity in case of some unfortunate events.
Here is the list of data types you need to backup in SharePoint Online.
- Data in Sites and subsites.
- Data in SharePoint Lists.
- Metadata like file type, date, and other information.
- Complete site structure, its architecture, navigation, and branding information.
- The email accounts of Microsoft 365 users accessing SharePoint Online.
The manual backup of saving the Site data is simple, and you can save the documents present in them using the Download option. Save the files to the local drive (to a folder created for the SharePoint Online Backup), and it will be available for restoration in the future.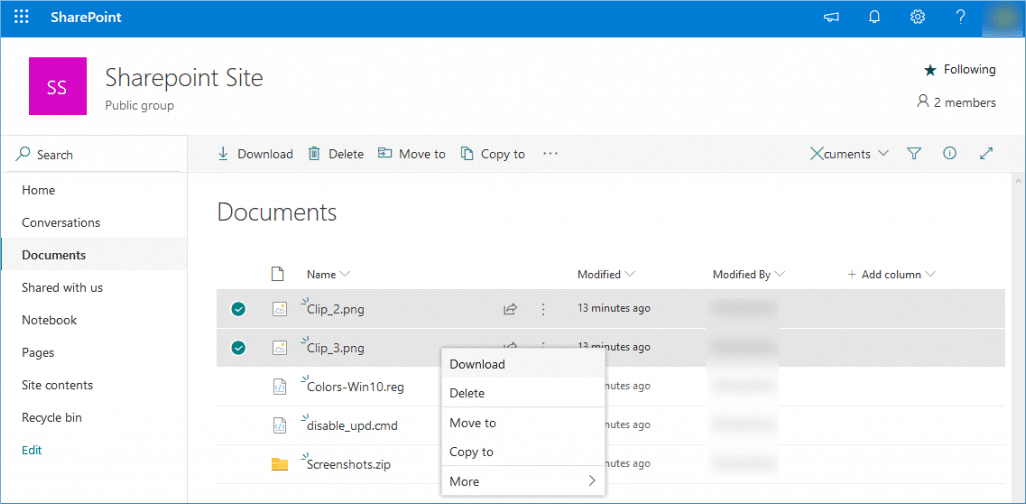
2. Office 365 Public Folder backup
Public folders in Office 365 provide basic collaboration and data sharing facilities. The offline backup of Office 365 public folders can be done through the Outlook application because the public folders are accessible in the Outlook application. It has an Import/Export feature using which you can create the backup file in the PST format for emails.
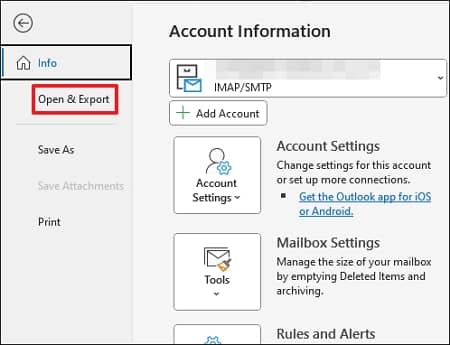
- When you open the Outlook application and click the File option, you can see the Open & Export option.
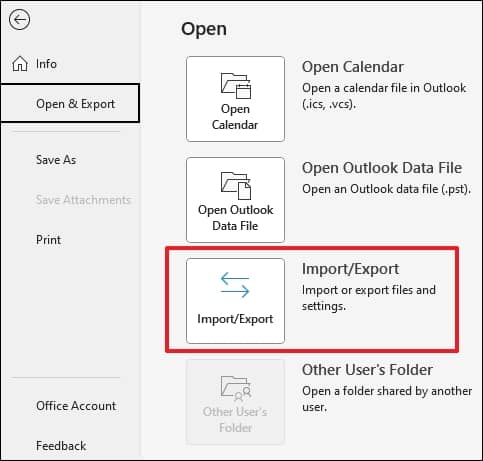
- Choose the Import/Export option.
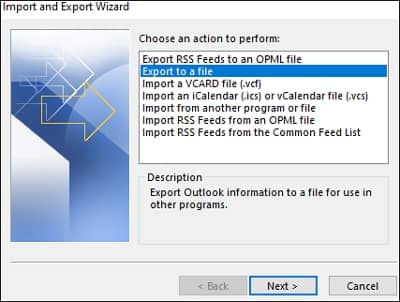
- Choose the option’ Export to a file‘ and click Next.
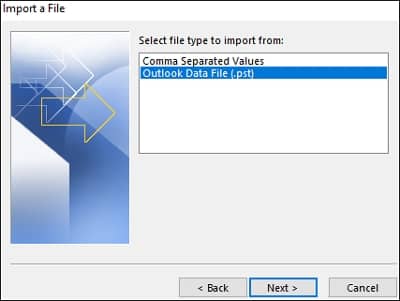
- Select the second option of ‘Outlook Data File (pst)‘ and click Next.
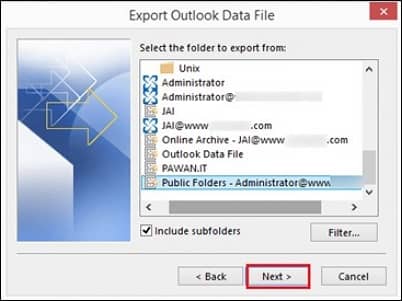
- Select the public folders of the Office 365 account and click Next. You can also use the checkbox to include the subfolders. Then click Next.
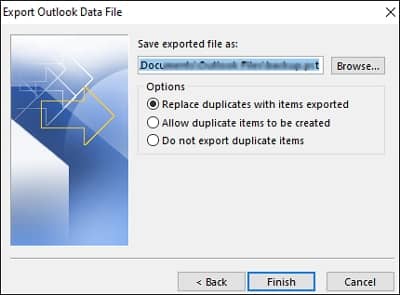
- Use the browse button to save the PST file and choose the options to handle the duplicate items. Click Finish.
3. OneDrive for business backup
OneDrive for Business is an enterprise-level storage platform from Microsoft. OneDrive for Business saves data in the cloud, and Office 365 users get substantial storage space for saving the files in it. SharePoint Online users in Office 365 can save the data and later download it to the computer.
OneDrive for Business users can download the selected files and folders in different ways.
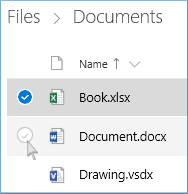
- You can select the individual file using the circular box in front of it.
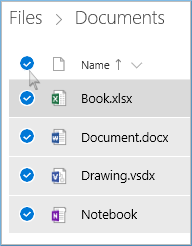
- To select all the files present in the folder, you can use the circular checkbox at the top of the list.
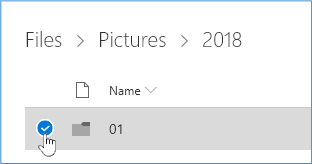
- You can also choose the complete folder.
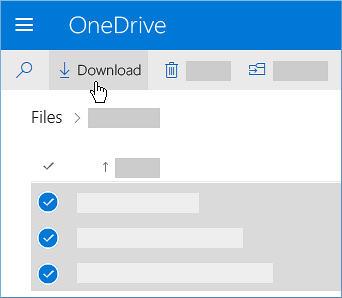
- Now, go to the Download options at the top navigation.
- Browse the folder to save the files and save it.
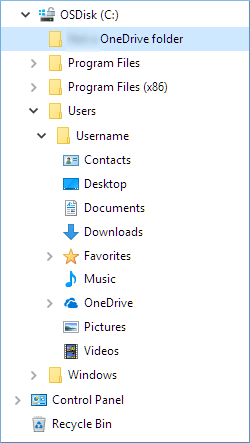
If you select multiple files to download, the system will create a zip file with all the files and folders. If you select the individual files, then only the files will be downloaded.
4. Google Drive backup
Google Drive is the cloud platform that is most popular with the common men. You can access it with a Google account and store different types of data. Like OneDrive for Business, you can also download the content for Google Drive.
- Login to Google Drive URL – www.drive.google.com
- Select the file or folder, then right-click it. Click Download.
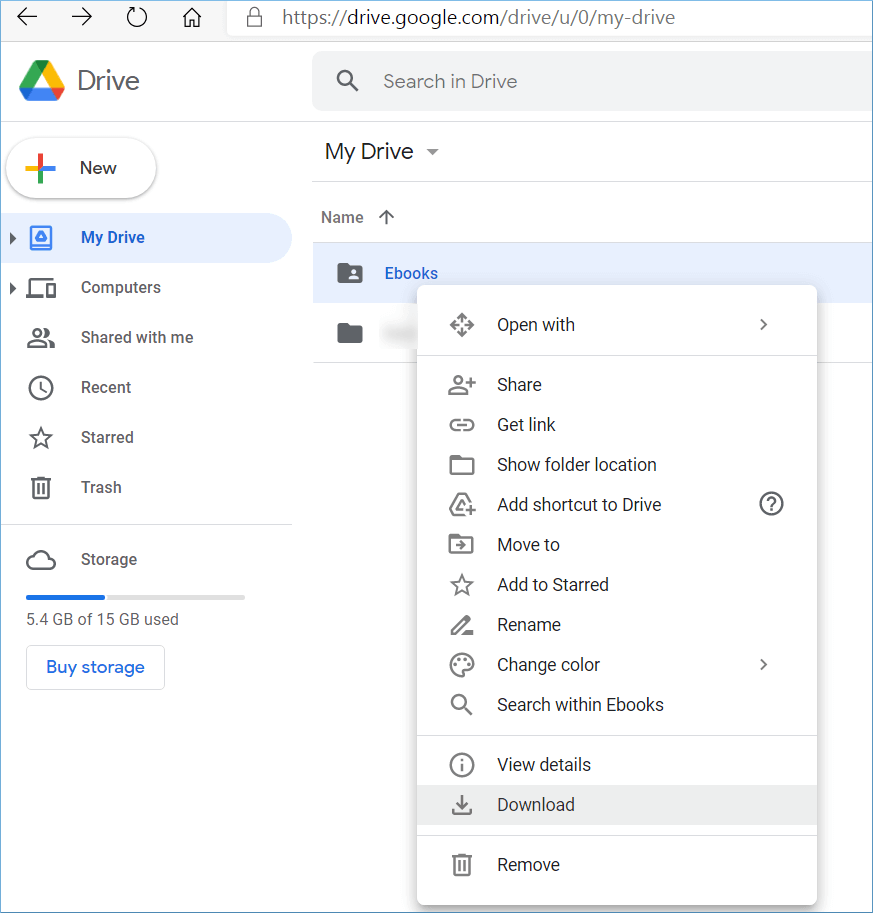
- The download will start immediately, and you can find the data in the default Downloads folder.
How to migrate data from cloud to SharePoint?
Events like company mergers or acquisitions create the need for data migration. Admins have to transfer data from sources like SharePoint, Public Folders, OneDrive, Google Drive, and more to a SharePoint tenant. Some platforms allow for the data transfer but have limitations like size restrictions, inability to migrate multiple files simultaneously, etc.
To ease your worries and overcome restrictions on data migration, we recommend using a sophisticated tool, Kernel Migration for SharePoint. It features advanced filters and allows users to migrate SharePoint permissions, too. You can schedule your migration and perform time-consuming jobs like SharePoint 2010 to 2019 migrations migrations much faster than the traditional manual method.
The SharePoint migration tool ensures complete data integrity and original data hierarchy. The tools transfer every SharePoint component and prevent tasks like customizing SharePoint permissions again post-migration.
The tool serves as a single platform to perform various migrations like:
- SharePoint On-premises to SharePoint Online.
- SharePoint 2013 to 2019.
- Upgrade from SharePoint 2016 to 2019.
- SharePoint tenant to tenant migration and more.
Conclusion
The presence of cloud data allows users to access data even without the internet. This can prevent work discontinuity in case of any network catastrophe. By following the above-discussed procedures, you can save data from multiple cloud storage providers. If you need to migrate your cloud data, employ Kernel Migration for SharePoint. The tool allows for various cloud migrations, including SharePoint, OneDrive, Google Drive, Public Folder, etc.


