Read time 8 minutes
Video has become the modern medium to pose information to masses and let them grasp better of what the information conveys. Digital video content is popular with all segments of audience name it education, entertainment, digital marketing, social sharing, and more. In the past decade, digital content has undergone notable transformation, and broad acceptance for video content has been sighted.
Even though we witness continuous upgrades in technology, everything that we have on our PCs still turn corrupt & damaged, including videos. In 1986, the first digital video came out with Sony D1 format and accounting the time gap since then, now a range of digital video formats – containers, are available which performs better and provides better quality even at high compression.
It is one heck of a situation when video file(s) become corrupt & damaged, and people instantly start looking for the fix on the Internet. In your online search, numerous methods or workarounds would appear on your screen with solid promises, but it’s rare when a method appeases in real.
From other manual methods to fix corrupt or damaged video file(s), FFmpeg is one with a higher level of technical approach, and in this article, we’ll walk through how you can try fixing the non-working multimedia using FFmpeg.

Get Kernel Video Repair tool to repair crashed, broken or corrupt video files of any formats, such as, MP4, MOV, MPEG, MKV, AVI, WMV, FLV, 3GP, F4V, etc.
Before we jump on the video repair part, it is imperative to understand FFmpeg, what it is and what we can use it for?
What is FFmpeg?
FFmpeg is a software project which has libraries and programs for handling video, audio, and rest of the multimedia including streams, published under the GNU Lesser General Public License 2,1+ or GNU General Public License 2+ depending on which options are enabled. The name “FFmpeg” is inspired by the standard video group MPEG in which FF stands for ”Fast-Forward.”
What is FFmpeg used for?
Natively, FFmpeg is designed to be used with command-line avoiding a dedicated GUI, and it can be used for processing videos, audio files, format transcoding, basic editing, video scaling, video post-production effects, and standards compliance – SMPTE, ITU.
FFmpeg includes libavcodec, Lavf – libavformat an audio/video container mux and demux library, and FFmpeg command-line program for transcoding of multimedia files, libavcodec an audio/video codec library which is commonly used by many commercial and free software products.
Things possible with FFmpeg
- Read text with selected voice.
- Add, edit, or delete file metadata.
- Add the logo or configure PiP – Picture in Picture.
- Create digital sound with mathematical expressions.
- Use one or more webcams and stream direct input in a single window.
- Filter multimedia files, encode, decode, transcode, mux, demux, and stream.
- Convert video to stills and stills to video.
- Edit or modify frame rate, bitrate, max file size, etc.
How to repair corrupt video file using FFmpeg
Now that you’ve got the basic about FFmpeg let’s move onto the steps which on implementation can help you repair & recover corrupt or damaged video file, and the only thing necessary before we begin is FFmpeg installed on the system.
The procedure given below is specific and includes two different stages, in first we’ll be converting the video to still images, and in second, we’ll convert it back as the video.
Convert Video to Still Images
Assuming you’ve downloaded the FFmpeg zip package and extracted it somewhere, now place the corrupt or damaged video file in the bin folder.
- Hold the Shift button and select Open command from right-click menu.
- Type the following command in command prompt:
.\ffmpeg.exe -i .\videoname.wmv -an -f image2 filename%03d.jpg
The video is now converted into multiple images – stills, 99,739 stills were created, before moving to the next stage:
Extract Audio
Below command will initiate the audio extraction:
Figure out the exact audio duration:
The output will be something like below though; the numbers would be different depending on the duration of your video file:
“format”: {
“duration”: “3323.603000”
}
}
Now, before we start converting the stills back as the video, we need to calculate the frame rate of output video, so that both the audio & video can match.
For doing so, divide the number of stills by the audio duration number:
In this case, it is 99739 divided by 3323.603 which will be 3.0093, type the command as below:
Convert the Stills Back to a Video
In the final stage, mix the audio & video to construct the repaired video file, type the command below:
You’ve successfully repaired a corrupt video using FFmpeg through the command-line. With FFmpeg, there are multiple approaches which you can use to address the problem of video file corruption. Though FFmpeg is more effective than other manual methods for fixing the video corruption issue, it’s not definite that it’ll come handy for every video issue or error. When there remain no chances of repairing the corrupt or damaged video file, high level of corruption being the reason then, in scenarios like this we’d suggest you go for a unique tool, and Kernel Video Repair is the fine option.
It is an advanced tool which boasts minimal yet intuitive UI with meaningful options.
It is designed to be easily accessible and compatible with Microsoft Windows ecosystem. And there is no restriction on how big the corrupt video file is in size or how many video files you wish to load & repair at once.
The tool is made compatible with various video file containers, for example, MP4, MOV, MPEG, MKV, AVI, WMV, FLV, WEBM, etc. Let us see you how easy it is to use this tool:
- First, download and install the tool on your system. Do it from the website of the tool.
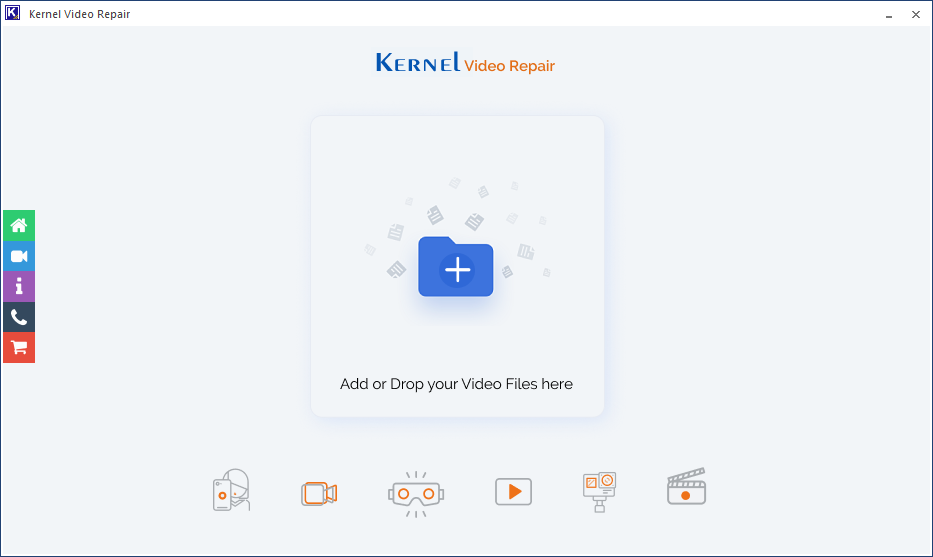
- Run the tool on your system, and look for the Add (+)icon present on the home screen of the tool. Add the corrupt video file(s) you want to repair.
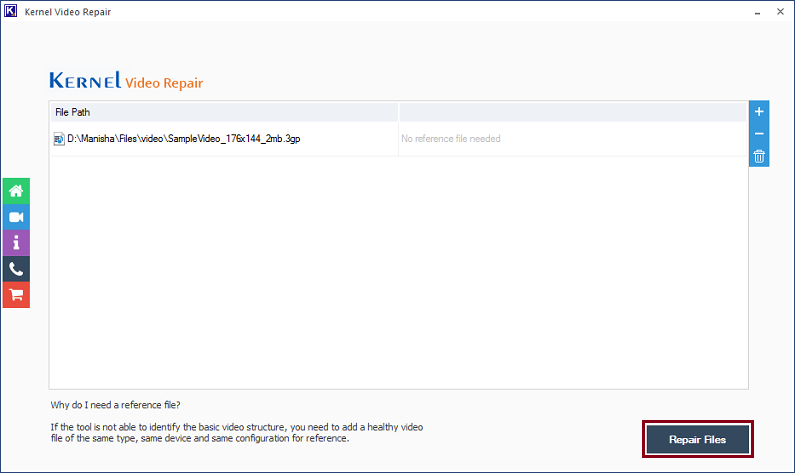
- Once the file(s) are added, check them. You can add or remove video files as per your requirement by clicking on the add (+) or remove (-) icon available on the right upper corner of the tool. Once satisfied, click on the Repair Files option.
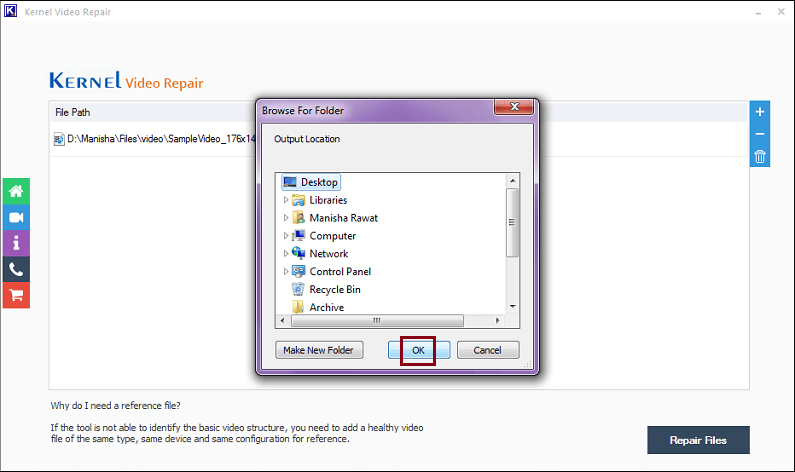
- Provide a destination to save the newly recovered video files. Once done, click on the OK button.
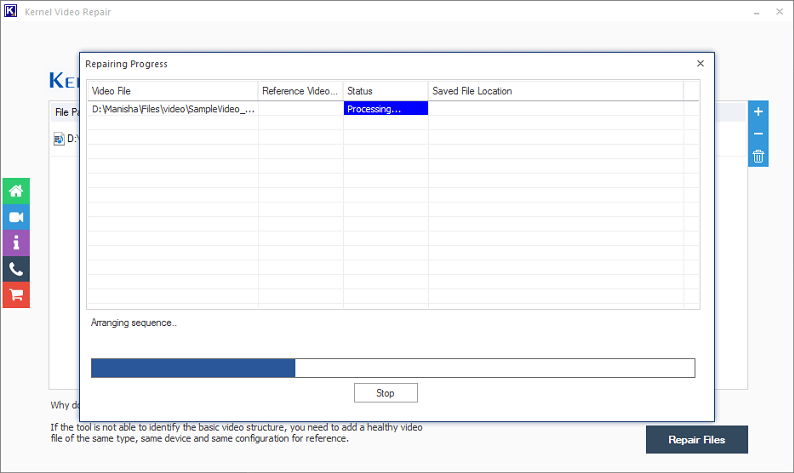
- As you provide the location, the repair process starts. The tool will show you the live progress of repairing. You can anytime stop this repair process, by clicking on the Stop button, if you are not satisfied with the selections you have made.
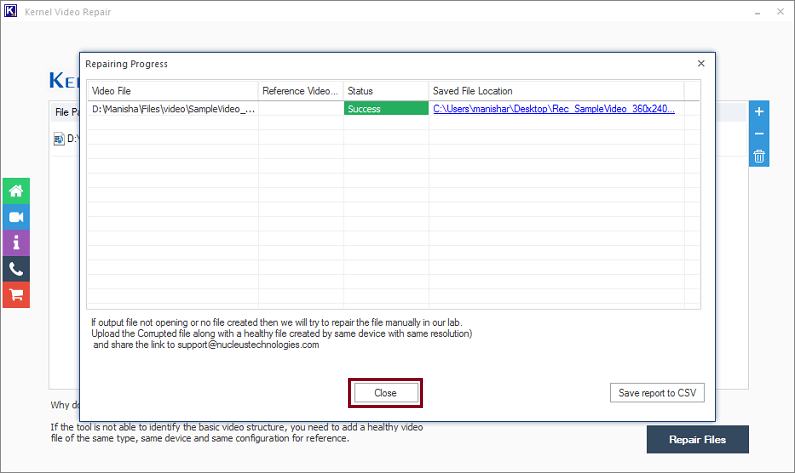
- Once the repair process is over, you can now click on the Close button to finish the process. You can also get the CSV report of the process by clicking on the Save report to CSV option.
Note: You can either add a single or multiple corrupt files to repair with this tool.
Once you finish all of the above mentioned steps successfully with the tool, you will get the healthy video files on your system exactly where you have saved them.
How would you know if a software product is worth the cost and is priced properly as per the standards? Well, there’s no way other than using the product itself. The tool is available to download for trial and once you feel satisfied, you can then proceed towards buying it.
Conclusion
For the usage or application of FFmpeg, technical knowledge and experience become necessary, at-least knowledge regarding command-line is mandatory as it comes shipped with no GUI, whereas Kernel Video Repair tool is accompanied with an intuitive UI with minimal design & simple options.