Read time: 6 minutes
The process of migrating emails from one host to another is a challenging task. It’s not just moving your emails but your contacts and calendar events too. But if you have decided to migrate your emails, you must be very careful at each step of the process to avoid data loss. You may take advice from your service provider when you get stuck at any point. Large businesses can efficiently accomplish email migration or manage hosting services as they have system administrators or IT teams to handle these tasks. But a similar task is quite difficult for small organizations and individuals. To make this process simple and efficient for them, various methods are available that we will discuss in this blog. But before this, it is necessary to mention the reasons behind switching the hosting provider of the users. There might be many reasons behind switching to the new email service provider that is listed below:
- The file format of one hosting provider is not compatible with another. Hence, users look for migrating emails from one host to another.
- Users are not satisfied with the services of their current service provider and looking for a change. For instance, it doesn’t provide a backup option to recover email after losses. Hence, email migration is recommended.
- If your mail account is available on two different servers and you find difficulty in accessing the mails. For this reason, you must migrate your emails to the same server for easy and error-free access.
The IMAP protocol plays a vital role in moving mail from one host to another as it is a communication platform that connects you with your mail server. You might know that emails can easily be accessed directly from the web browser via the browser interface, i.e., webmail. For this, you just need to log into your mail server using webmail, which will connect you with the mail server using the IMAP protocol. Note that you can see your mailboxes only until it remains connected. Once it gets disconnected, it will vanish. If you want to access your mailbox anytime, you need an email client. It will help you access the mail locally.
Methods of migrating emails from one host to another
To migrate your emails from one source to another, you can use manual methods to make this process simpler and more reliable. And if you need to backup IMAP emails, you can try an automated method.
The manual method provides a simple solution for migrating your emails to a new hosting provider. As there are no chances of data loss, you can use this method without worrying about anything. This method includes three significant steps required to perform email migration successfully that are listed below:
- Create an email account with the new host
- First, choose a new email hosting provider and then purchase its account. Ensure that your selected provider supports the IMAP protocol.
- After that, set up your email address for a new hosting provider.
- Make sure you don’t use the duplicate password in your new email address.
Finally, your new email address is created successfully.
Note: These credentials must be stored securely, as they will be required while logging into the browser or setting emails in the email client.
- Re-point your DNS (Domain Name Service)
- After setting up your account with the new provider, now it’s time to re-point your email-related DNS records with the new provider.
- Before performing this step, you must know your DNS host. If you don’t know about it, log in to your domain registrar and find the domain’s nameservers.
- After that, check your existing DNS record by logging into the specific email hosting provider.
- Now, identify all the records and update them with the details of the new service provider where it is required. Like, you may need to change the MX records or CNAME records. This process may take some time to complete. Therefore, you need to wait for a while.
- Once you have done the above steps, you must update the required DNS records. For this, as it
After the successful DNS update, you can easily send emails from your new account to any email address.
- Configure the email account on your premises
It is a straightforward method that requires an email client to set up a new email account on your device. This process usually involves an email client such as Thunderbird or Apple Mail. While performing this method, you must be careful, as a single mistake can cause data loss. To use this method, follow the steps that are listed below:- Input the login credentials that you have just created for the new mail server.
- You must ensure that the correct mail servers are used, i.e., IMAP and SMTP. If you are switching to a prominent email provider like Gmail for Business, it automatically detects the mail servers. If you do not know the name of your new mail server, you can see its Web host Documentation or contact their support team.
- Once your account has been set up, the emails can be sent or received easily.
- You can also use the drag-and-drop option to move the emails from one folder to another.
- Move mails from your old host to the new one
It is an optional task that depends on you whether you want to move your old emails into the new hosting provider or not. Some providers include semi-automated tools to move mail from one host to another. If your service provider doesn’t offer this, you don’t need to worry, as manual migration can also be performed to perform the same. To perform it, you need to follow the below steps:- You can configure both the IMAP accounts (previous & new ones) to appear in the mail client. To move the emails, simply drag and drop your emails from one inbox of the IMAP account to another.
- You should not move your emails in bulk at a time; it may crash the email client. Also, wait for some time while moving the mail, as it may be time to move mails from one server to another. First, the emails are downloaded from the old server to the local disk and then moved from the local disk to the new server.
- Once you have done this, you will see that your emails have been successfully moved to the new server.
Automated method to backup emails
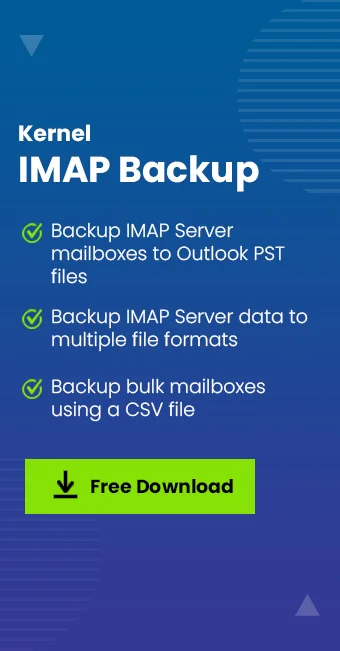
For backing up email data, various top IMAP backup tools are available in the market. You can use such an innovative tool IMAP Backup tool which is capable of backing up email clients such as Gmail, Yahoo, Thunderbird, etc. It is more efficient than other tools as it offers bulk automatic backup of IMAP mailboxes. In addition, you can also save the backup details in CSV files. The backup IMAP data can be converted into various formats such as PST, HTML, DOC, DOCX, PDF, etc.
Wrapping up
This blog has discussed a possible method to migrate your emails from one host to another. You can try it yourself. Although the method is beneficial for email migration, many users prefer to back up emails for security reasons. So, the IMAP email backup tool provides an automated method as it may achieve your desired task efficiently. It is a secure tool that reduces the risk involved in the backup process. These reasons make it a good fit for the users.