Read time 7 minutes
Outlook is a feature-full application used to manage and store emails, contacts, events, tasks and calendars. Outlook helps in staying organized and makes your work easy. Still, there are many Outlook errors related to OST (Offline Storage Table) files. It happens in the latest Outlook version (2019) too.
An Exchange account utilizes an Offline Outlook data file as a storage file on the system (where Outlook is installed) to keep a copy of the Exchange mailboxes. It allows users to access, read, and work on previously downloaded emails, contacts, etc. even without the server connection (offline). The server connection is required only to send emails and download new emails.
Note: This .ost file cannot be ported, but a new one can be created in another system just by configuring the Exchange account there.
Why is Outlook not able to locate the .ost file?
If you are dealing with the inaccessibility of Outlook data due to error “missing .ost file,” then first know why this happens. The most common reasons for this error are:
- Network connection or Outlook configuration issues
- Unexpected shut down of the system or the application
- Hardware failures
- The intervention of third-party add-ins
- Recent Office updates
- Corrupted OST file
Methods to fix missing .ost file
There are various methods available to deal with this error. Let us troubleshoot and fix the issue of “missing .ost file.”
Let us troubleshoot and fix the issue of “missing .ost file.”
- Check the network connection/configuration settings
Ensure that you have a proper and stable internet connection. Also, make sure that the configuration settings are correct.
- Check and replace hardware connections
If the issue has arisen after any recent hardware attachment, then check for such external hardware and remove it if not vital to your system. If any hardware requirement is there, then check for its authenticity and replace it with the new one (in case it is damaged).
- Remove/disable faulty Outlook add-ins
Third-party add-ins can interfere with applications like Microsoft Outlook and its synchronization process. So, try to find and remove the faulty add-ins from your Outlook application.
To disable faulty add-ins in Outlook program, perform these steps in the given order.
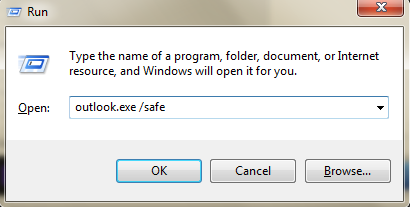
- Run Outlook in safe mode using outlook.exe /safe in the Windows Run box.
- Select the Outlook profile to launch the application further.
- If Outlook is working properly in safe mode, then add-ins are faulty, you need to remove or disable it.
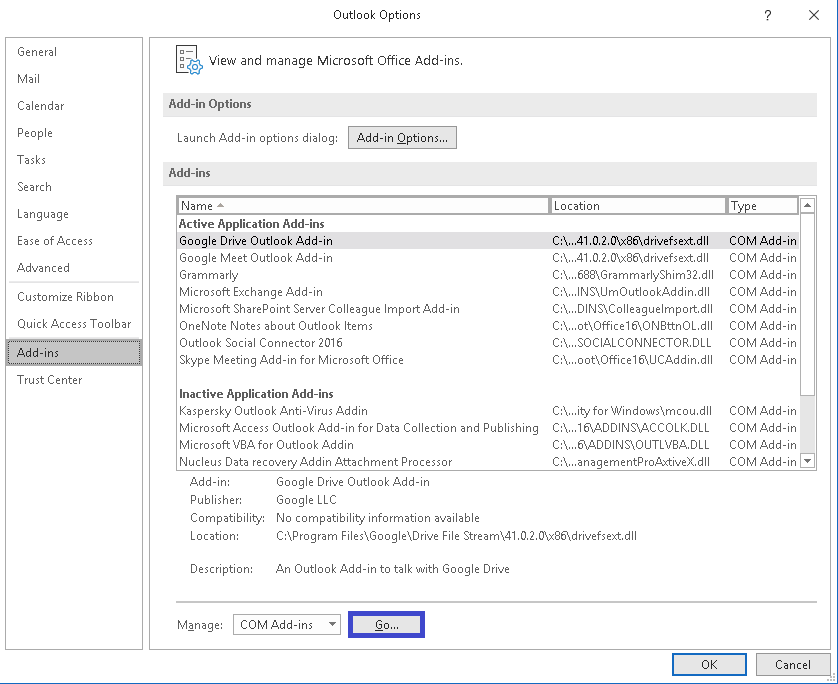
- Open Outlook and navigate to File>Options>Add-ins.
- Under view and manage Microsoft Office Add-ins, select COM Add-ins against Manage option, and then click on Go option.
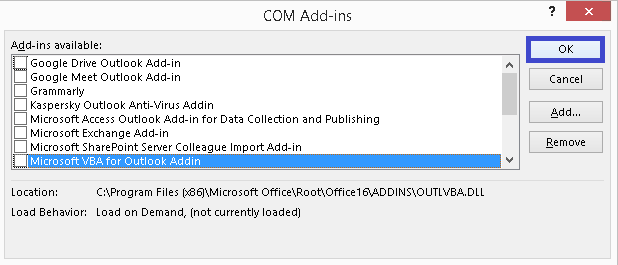
- Now, uncheck all the add-ins and then click OK.
- Exit the Microsoft Outlook application.
- Restart the Outlook 2019 application.
- Run Outlook in safe mode using outlook.exe /safe in the Windows Run box.
- Uninstall recent updates to the Office program
We know that updates are introduced to add the latest features, services, bug fixes, etc. but some updates affect the program adversely.
It is advised to install the previous version of the program again if the Outlook error has occurred after the recent update. After the installation, rerun the Outlook application.
- Repair corrupt Outlook data files
One of the reasons for this issue could be corruption in the .ost file. In that case, repair the corrupt OST file by utilizing the utility scanPST.exe.
This application scans and repairs errors in both the Outlook Data Files (.ost and .pst). It can repair minor corruption errors in the files limited to size up to 2 GB only.
The default location of this utility is – C:\Program Files (x86)\Microsoft Office\root\Office16
And the default location of the Outlook data file is – C:\users\username\Documents\Outlook Files
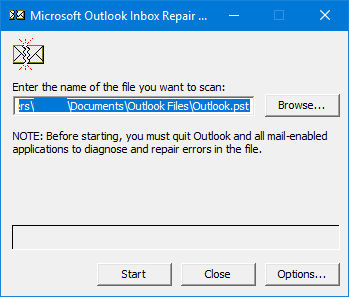
- First take a backup of the Outlook data files as a precautionary measure. Then, go to the default location and double-click on the scanPST.exe to launch it.
- Click on Browse to add the .pst or the .ost file to scan for the errors. Click on Start.
- Once the scanning process is completed, you can view the error and its details.
- Next, click on the Repair option to fix the errors found in your data file.
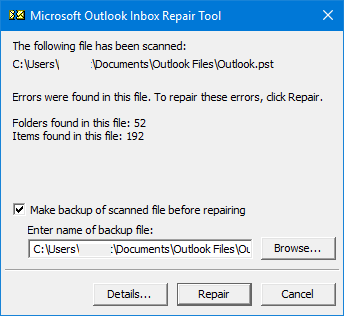
- Exit the application once the repair is completed
- Recreate OST file
Recreate OST file is another way to fix the issues with the Outlook application. The process of recreation of .ost file is like this.
- Close the Microsoft Outlook application.
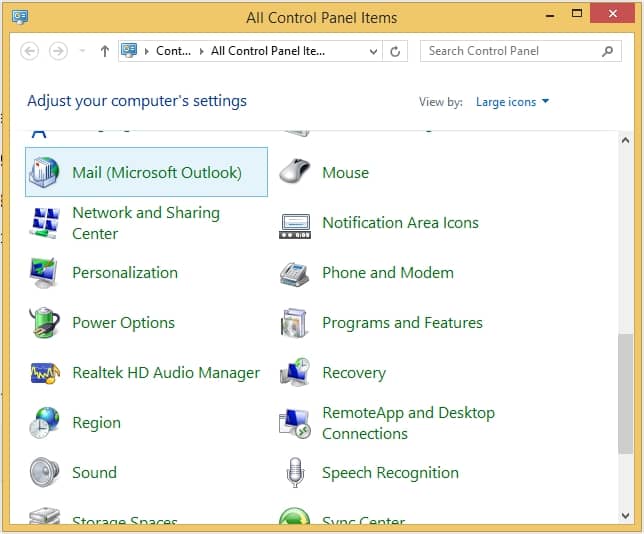
- Open Control Panel and click Mail option.
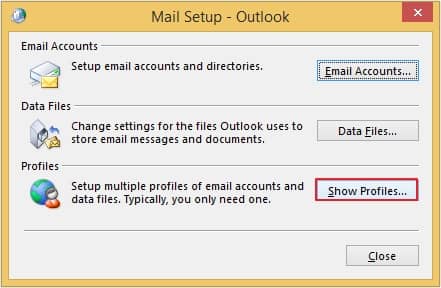
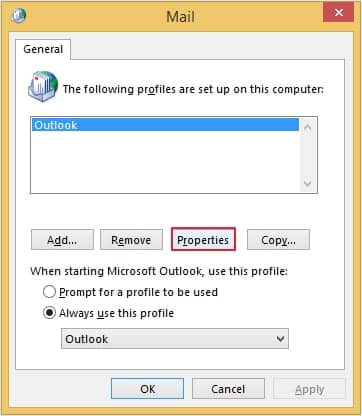
- Then on the Mail Set-up page, click on Show Profiles option.
- Select the Exchange account profile and click on Properties.
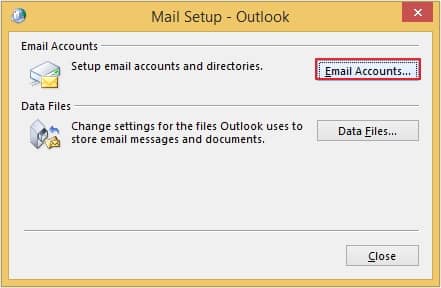
- Click on the Email Accounts tab.
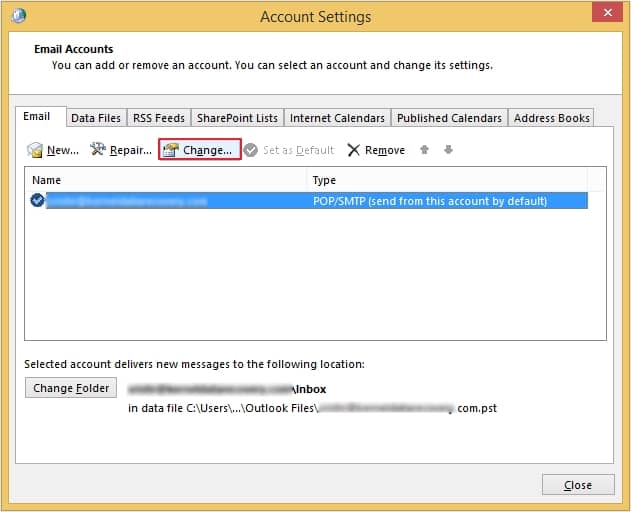
- From the Email tab, select the Exchange account and click on the Change option.
- On the Change Account page, make sure that the Use Cached Exchange Mode option is selected. Then click on the More Settings option.
- Switch to the Advanced tab and click on the Offline Folder File Settings option.
- Move to the File section and enter the .ost file path. Click OK.
- Provide a different .ost file name when prompted and click OK.
- Finally, click on Finish and exit the Mail Set-up.
- Start the Outlook application now. This time a new .ost file with synchronized Exchange mailboxes will be created automatically.
Note:If Outlook works properly after removing all the add-ins, then one or more add-ins were causing the error. To verify the faulty add-in, you can simply enable add-ins one by one and restart the application.
Repair corrupt OST files with an automated tool
If the methods given above fails, then try Kernel for OST to PST tool. This tool is reliable, efficient and can repair highly corrupted .ost files. Also, it helps to recover specific data from .ost mailboxes to .pst file format. In this way, the data is always secure and can be imported to Outlook anytime. It is surely the best way to repair and recover .ost files data.
Conclusion
Facing errors while working with Outlook can be problematic. OST file errors are unexpected and can occur due to multiple reasons, like network issues, faulty add-ins, hardware failures, unexpected shutdowns, corrupt OST and more. You can fix this error with the methods mentioned in this article However, if these methods don’t work, we recommend you use the mentioned third-party tool to recover OST file You can also convert your OST file to PST format to easily access the mailbox data.