Read time 5 minutes
Optimizing IMAP mailbox content is easy – you can go through the folders to check for unnecessary emails, blocked contacts, trash items, tasks, etc. But, when it comes to migrating IMAP mailboxes, it becomes a little complicated for users to manage the overall process. Although you can easily migrate IMAP mailboxes to Office 365 or Exchange with various techniques, not very method is feasible in every situation. So, you need a reliable method that offers easy and quick IMAP migration.
While migrating an IMAP mailbox data from on-premises Exchange Server to Microsoft 365, users need to optimize the IMAP migration performance to ensure a successful migration. Thus, it’s crucial to have some tips in mind that can help you optimize IMAP migration performance.
IMAP to Office 365 migration optimization tips
- Let your Users Know About the Migration
Before executing the manual mailbox migration, it is good to inform your users about migration. Check the below points that you should tell your users:- The emails larger than 35 MB cannot be migrated, so inform users to save larger emails and attachments on their computer or any other device.
- Ask users to remove unnecessary emails from the on-premises mailboxes prior to the migration. It will help in reducing the migration data while improving the migration time.
- Ask users to backup the mailboxes in case of disaster.
- Folders with (/) or slash symbol cannot be migrated, so inform users to rename these folders if they want to migrate them.
- Allow Maximum Connections to your IMAP Server
Usually, every email server and firewall have per-user limits, connection limits, and IP address limits. So, before migrating the mailboxes, ensure that the firewall and IMAP server are configured to have maximum value for the below settings:- Connections to the IMAP server
- Connections from a particular user (especially when you use a CSV file for the migration)
- Connections from a single IP address
Note: If your IMAP server is running with Exchange 2010, 2007, then you will have to increase the connection limits because, by default, they are low.
- Avoid deleting mailboxes and changing their SMTP addresses during migration
While performing the migration, the system might report an error if it could not find a mailbox that has been migrated. So, perform the migration completely, and then delete the migration batch first. After that, you can delete mailboxes or change the SMTP address for an Office 365 or on-premises mailbox that has been migrated. - Modify the DNS Time-to-live Settings on MX Record
Before starting the migration, you need to change the Domain Name System TTL settings to a shorter interval in the current MX record. So, when you change the MX record to point to your Office 365 email organization once all the mailboxes are migrated, the MX record will propagate quickly due to shortened TTL interval. - Use the Administrator Account for Migrating Emails with the CSV File
Using this method, you can avoid synchronization errors that are caused due to changing passwords on the user’s premises. Moreover, it will help you avoid obtaining and changing user passwords. But, if you use this method, you will have to verify that the administrator account has the necessary permissions for accessing the mailboxes that you want to migrate. - Run a Test Migration
Before starting the complete migration, run a few small IMAP migrations to test the migration performance. It will help you to:- Verify the CSV file format
- Test the migration endpoint that is used to connect to IMAP server
- Check whether you can migrate email successfully with administrator credentials
- Verify the optimal number of simultaneous connections to the IMAP server for minimizing the impact on the internet bandwidth
- Check that excluded folders are not migrated to the cloud
- Verify how much time would it take to migrate a batch of users
- Analyze how long would it take to migrate all the mailboxes
Taking these tips into consideration before migrating IMAP mailboxes on Exchange Server to Microsoft 365 will help you have a successful migration. However, reading these tips, you might also get an idea about the limitations of the manual method. Some additional limitations of this process are:
- Migrates only emails and not contacts, calendars, tasks, etc.
- Migrates email of maximum size up to 35MB only
- Migrates maximum 500,00 mailbox items only
- Need to increase connections
- Long staged migration process
- Not for naïve users
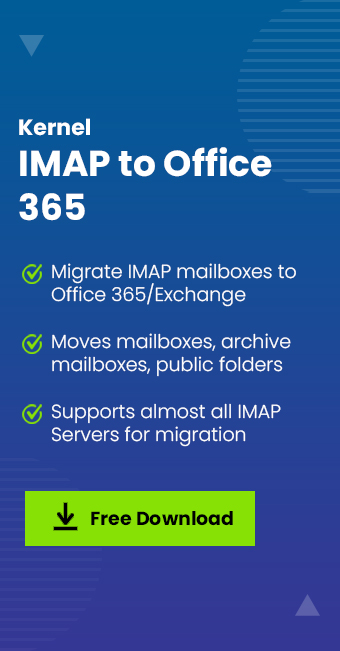
Kernel IMAP to Office 365 is an advanced solution that has various functionalities to provide users a smooth migration process. It allows you to migrate multiple IMAP mailboxes at once. It also facilitates selective data migration, as it gives you the freedom to apply specific filters on your IMAP mailboxes before executing the migration.
Conclusion
Migrating IMAP mailboxes to Office 365 has become an essential requirement for many businesses, as the cloud offers great flexibility, reliability, and security. But, before migrating the mailboxes, it is necessary to optimize the IMAP migration process to ensure a successful migration. In this article, we have covered some essential tips that can be used to optimize the IMAP migration process and after analyzing the associated complications, limitations with the manual process, a professional IMAP to Office 365 migration tool is suggested.