Safeguard the Amazon S3 storage buckets by saving them locally to your system using our Backup software. It uses a secure platform to connect your Amazon S3 account & save data. To conduct the backup, follow the below steps:
Step 1: Download and install Kernel Amazon S3 Backup tool on your system.
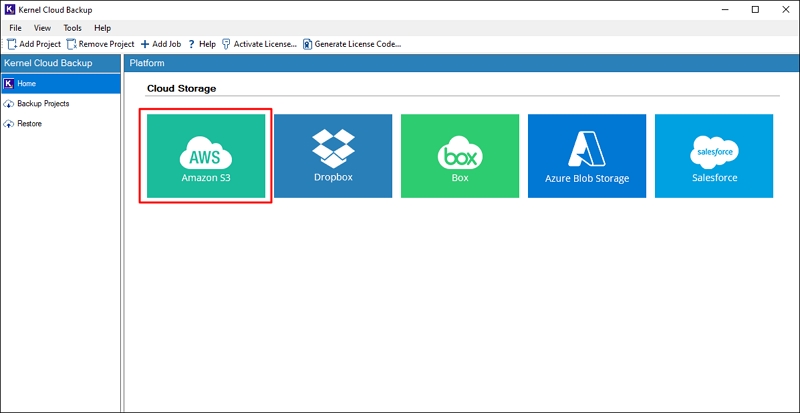
Step 2: Once the tool is opened, click on the Amazon S3 module from the home screen.
Step 3: In the new wizard, provide a Project Name or select an existing project from the dropdown, input a Job Name, and then click Next.

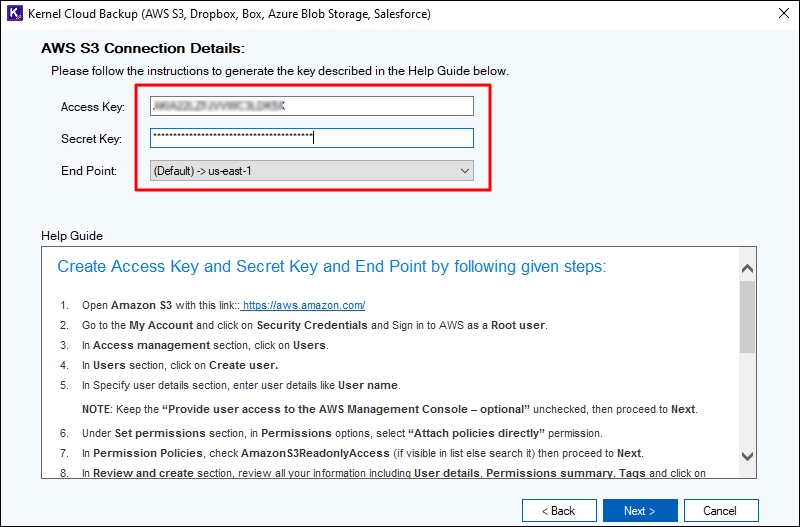
Step 4: In the new wizard, enter the AWS S3 connection details. Provide Access Key, Secret Key, and End Point of your AWS S3 account. Press Enter to continue with the backup:
Step 5: On the pop-up asking, “Do you want to save credential?”, click Yes to skip hassle of again adding the Amazon account for future backups.
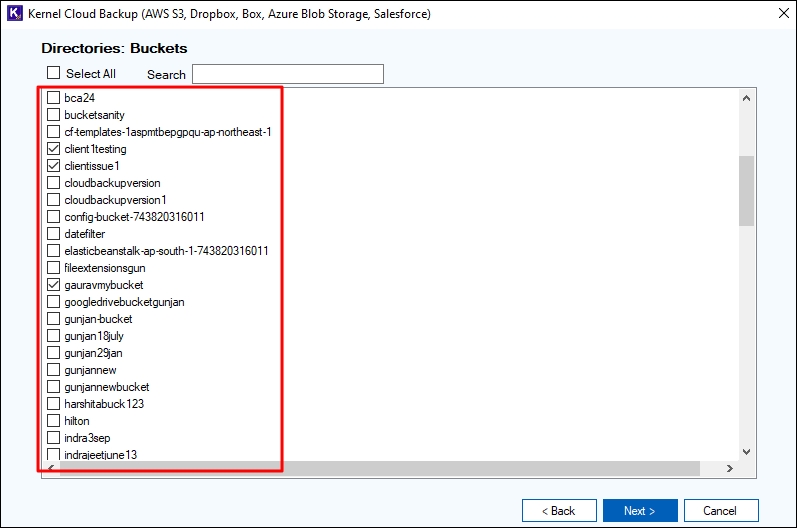
Step 6: You will now see all the Buckets available in the Amazon S3 account on the screen. Select the buckets you want to backup. Click Next to continue.
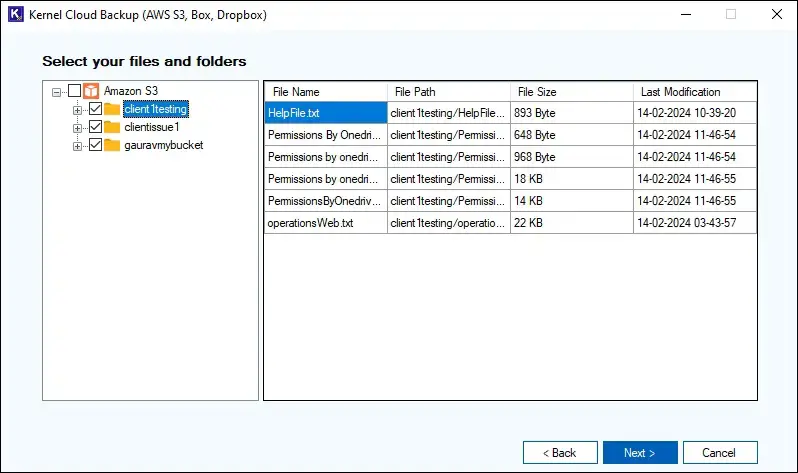
Step 7: You’ll now see the data stored within the AWS S3 buckets according to their original hierarchy. Expand the bucket and subfolders to preview the items stored within them on the right pane. Then click Next.
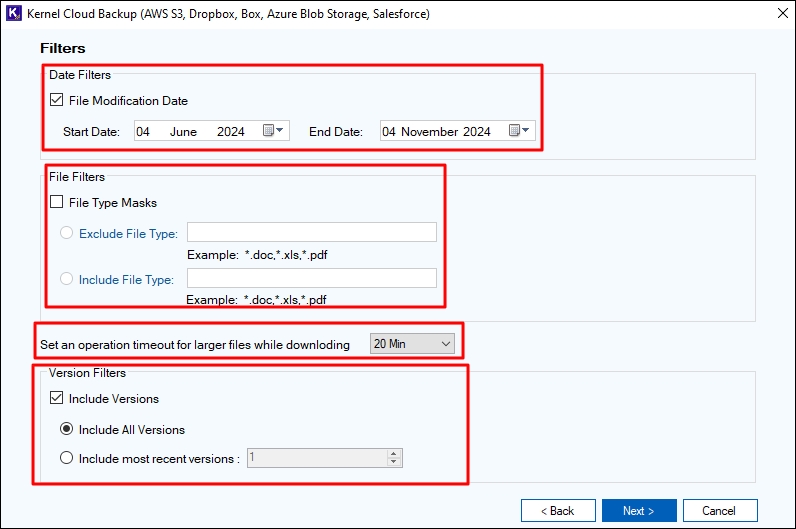
Step 8: Apply the filters from the available range to ensure only the selective data is downloaded in the backup. After setting filters click Next and proceed further.
The filters provided in the tool include:
- Date filters: Provide the file modification date range to backup latest data or extract Amazon S3 data for a specific date range.
- File filters: Select to provide File Type Masks, i.e., you can mention certain file extensions like .doc, .pdf, .pst, etc., to include or exclude in the data backup.
- Set an operation timeout for larger files while downloading to avoid consuming unnecessary time.
- Version filters: Allows you the flexibility to Include All Versions or Include most recent versions (as mentioned count).
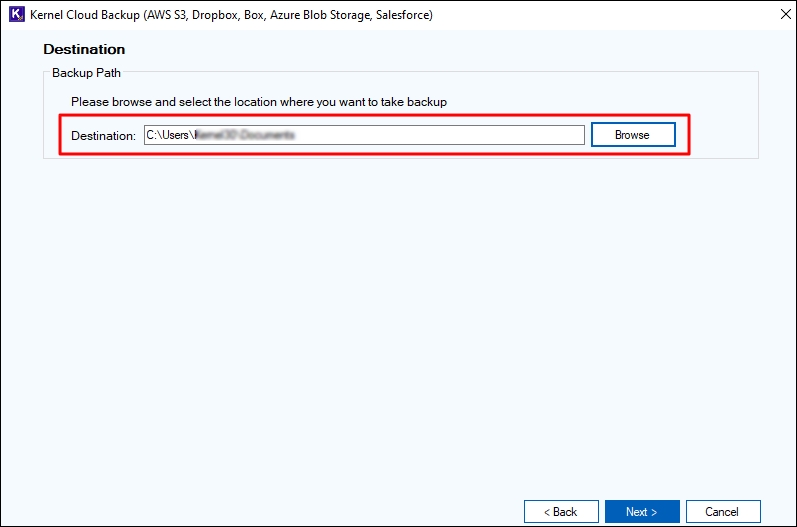
Step 9: Provide the destination path from your system to save the backup file by clicking on Browse button. Then, click Next.
Step 10: Choose Immediate to initiate the backup or select Schedule to run the process later, according to your convenience.
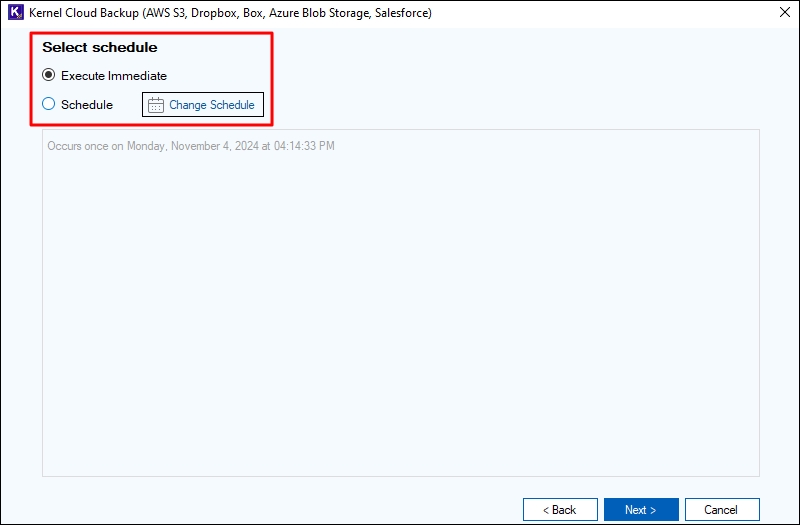
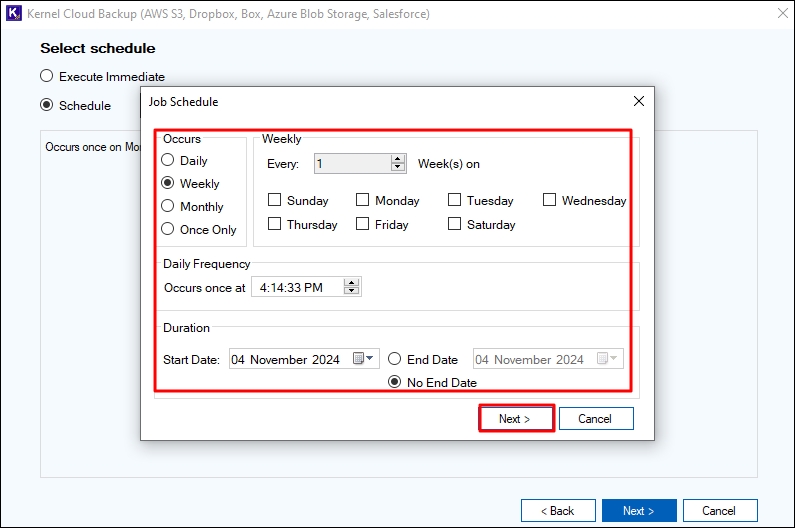
Step 11: If you choose to Schedule the backup, you will get multiple options to specify the day and time for backup.
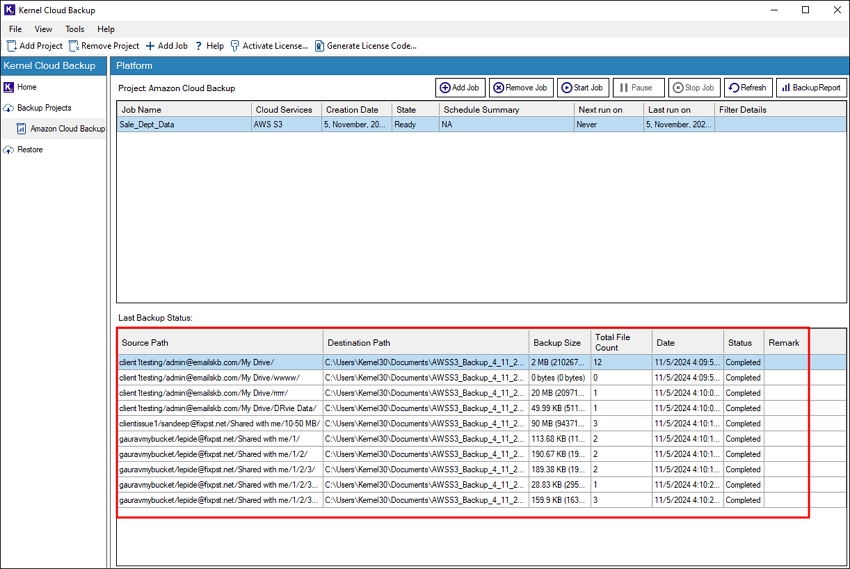
Step 12: You can view the real-time progress of the data backup in the right pane of the window by clicking on Project Name you created below the Backup Projects (in the left pane).
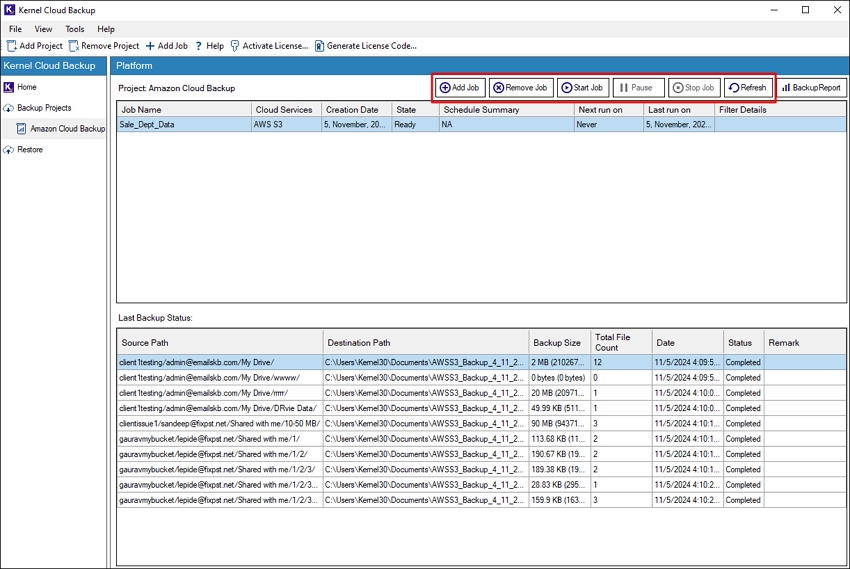
Step 13: The tool features multiple operations regarding a job. These are:
- Add Job: Add a new job to the list of jobs running and completed.
- Remove Job: Remove any selected job that is completed from the list.
- Start Job: Start and add any completed job again to the queue.
- Pause: Click to pause a job currently in a Running state.
- Stop Job: Stop any running job.
- Refresh: Click to get the most recent status of the backup process.
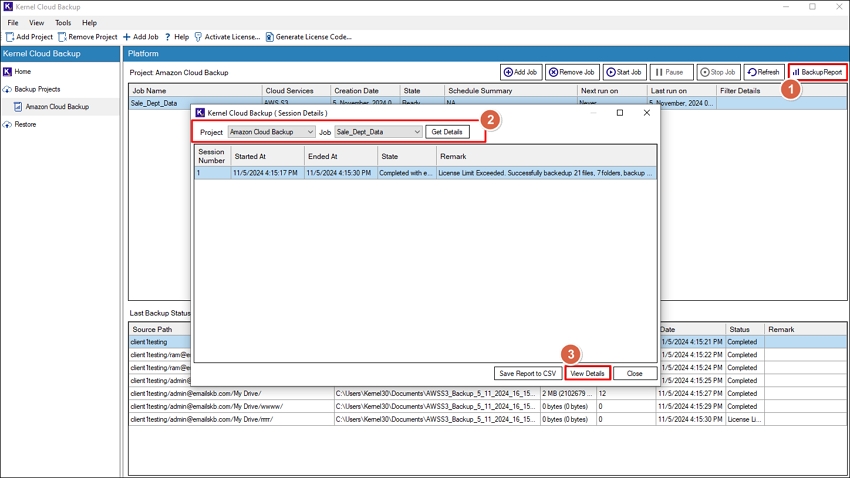
Step 14: You can view a detailed report of the backup process with the following steps:
- Click the button Backup Report at the top right corner of the tool.
- Specify the Project & Job, click Get Details to load the report.
- Click on View Details to view complete information about the AWS backup.
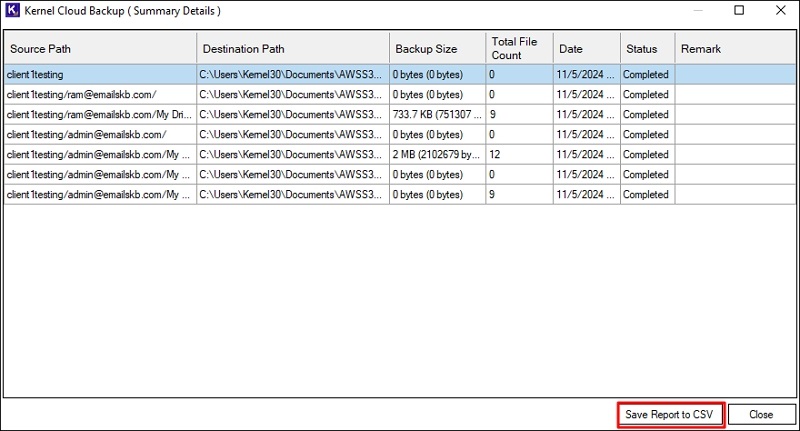
Step 15: The report includes information such as Source Path, Destination Path, Backup Size, Total File Count, Date, Status, and Remark. To save the report click on Save Report to CSV and specify a location to save the CSV file.