How to repair a corrupt Exchange database?
Aftab Alam
 |
Updated On - March 21, 2024
|
Updated On - March 21, 2024
Read time 8 minutes
Microsoft’s Exchange Server has revolutionized professional email communication for businesses, making it more convenient and efficient both internally and externally, regardless of the company’s size.
Microsoft has introduced several features in Exchange to make the messages completely secure. But still, many threats are roaming around to damage the database. These threats make the Exchange database corrupt and inaccessible. Some serious causes of Exchange database corruption are:
The latest version of Exchange Server has upgraded the security features to safeguard the user mailboxes. Here are some prominent features:
Windows Server Core Support: Using Exchange Server on Windows covers a lesser surface area. It reduces the chances of external attacks.
Block external access to Exchange admin center (EAC) and the Exchange Management Shell: There is a Client Access Rule to block the external usage of the Exchange Admin Center and Exchange Management Shell.
TLS 1.2 is the only version that’s enabled by default: For the betterment of client and server connections, the default encryption will be TLS 1.2 only. The older algorithms like DES, 3DES, RC2, RC4, and MD5 will remain disabled.
In the Exchange Server 2003, 2007, 2010, 2013, 2016, and 2019, run the following steps to check for corruption in your Exchange database and mailboxes.
If the result shows you a Clean Shutdown state, your database is free from errors or corruption. However, if you find Dirty shutdown state, there is corruption and inconsistency in your EDB files and recovery is crucial.
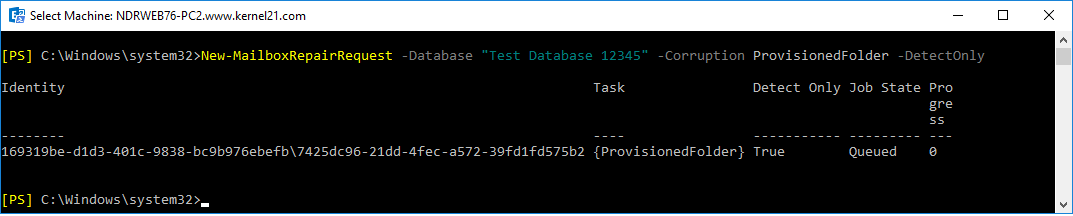
Run the given PowerShell command using Exchange Management Shell to find if there’s corruption in the mailbox of Exchange 2013, 2016, and 2019.
The command will help you find either out of the four corruption types: AggregateCounts, FolderView, ProvisionedFolder, and SearchFolder.
Eseutil helps in repairing the database only if the mailbox database is dismounted. However, the given PowerShell cmdlet helps repair individual and multiple mailboxes without dismounting the online database.
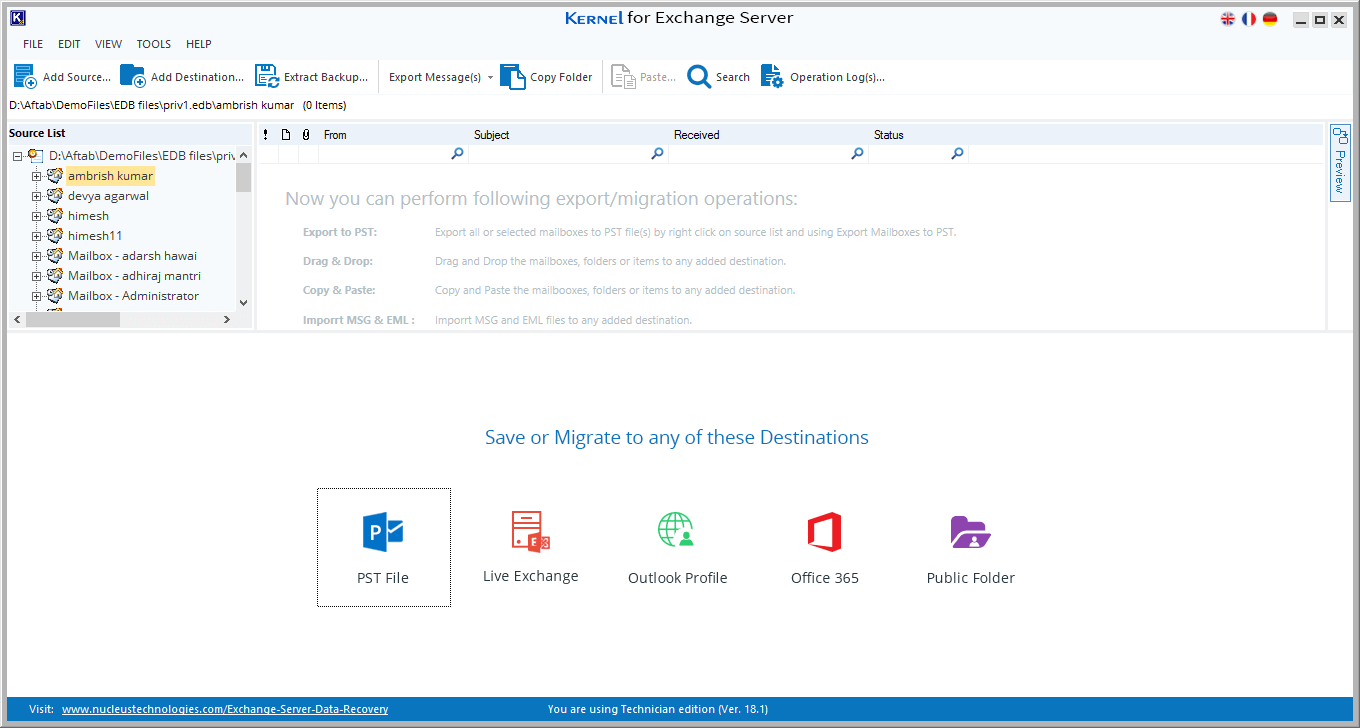
Let’s discuss the two methods to recover the lost data from a corrupt Exchange database and convert EDB file to PST
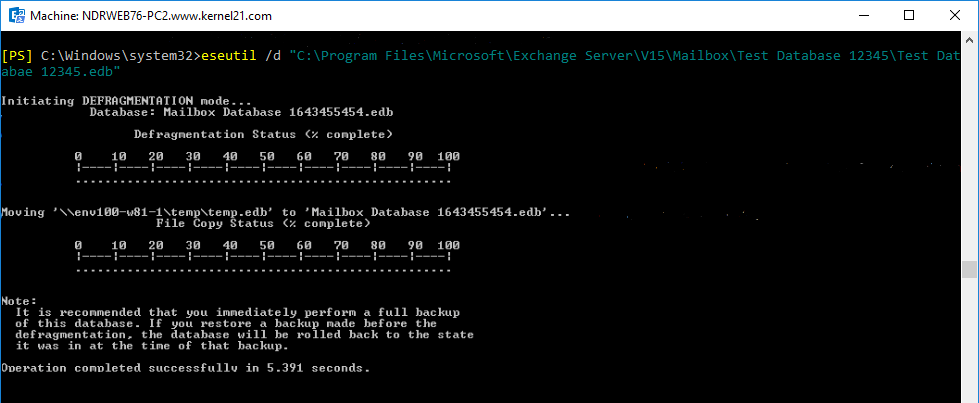
Eseutil is an inbuilt tool, serving various essential functions such as repairing corrupted Exchange databases, defragmenting them, verifying database integrity, and optimizing storage by reducing database size.
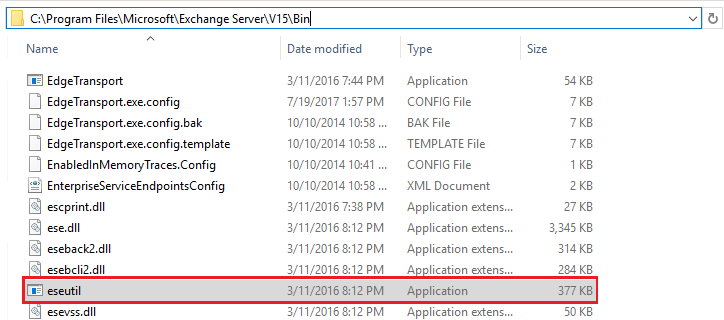
The default location of the tool in Exchange 2013/2016 is:
C:\Program Files\Microsoft\Exchange Server\V15\Bin
The Eseutil tool offers extensive functionality, allowing you to perform various actions using a range of switches:


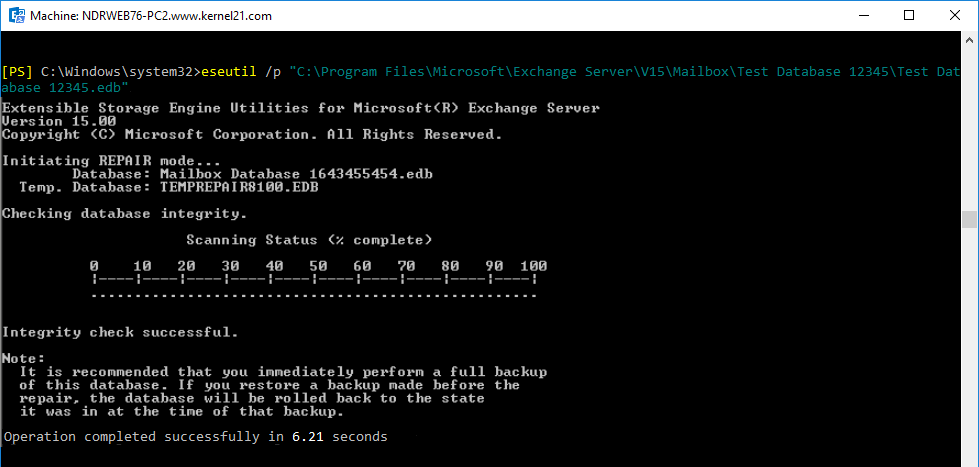
You can execute this command multiple times to eliminate all issues in the Exchange database.
Users who are new to the Microsoft Exchange Server environment might not have technical knowledge and expertise to understand how to operate the utility. To avoid the complexity, users can proceed with the automated method of Exchange database repair which doesn’t require you to dismount the database providing a hassle-free manner of doing it.
When the Exchange database is severely damaged and cannot be repaired using Exchange’s built-in EseUtil utility, you can rely on specialized third party tool.
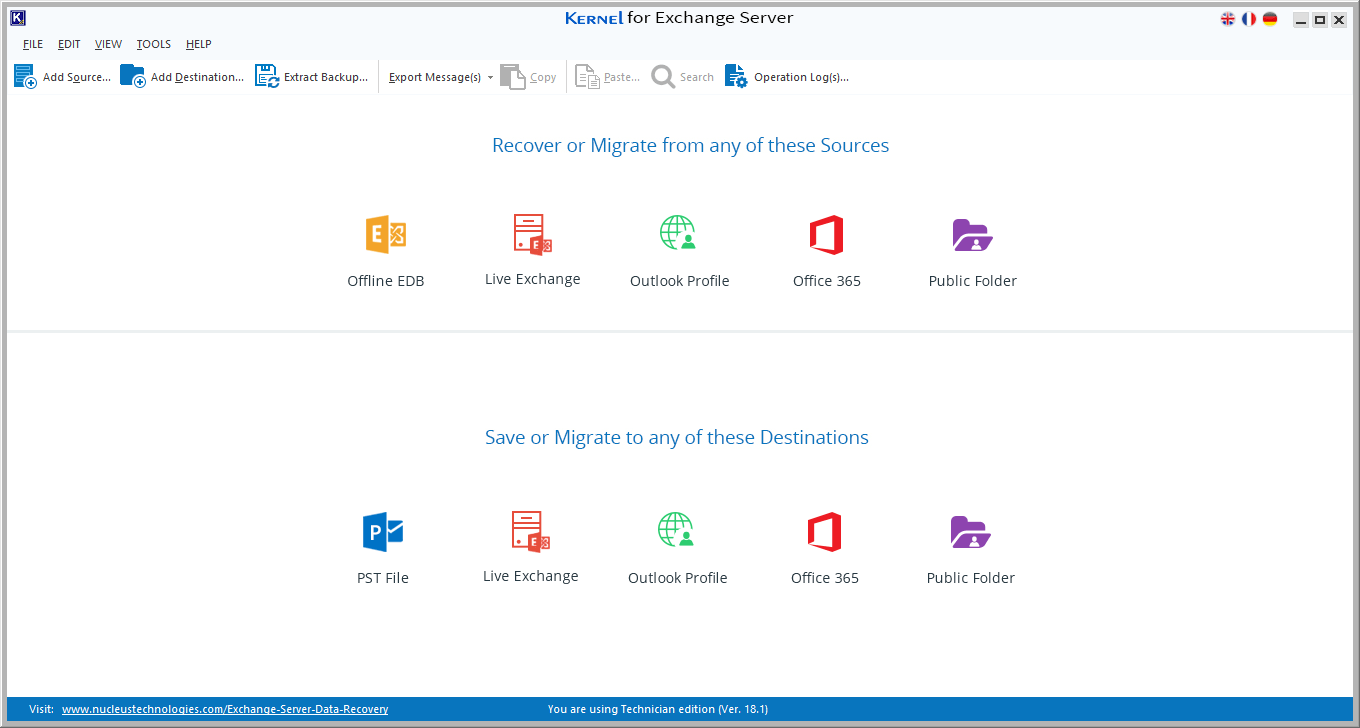
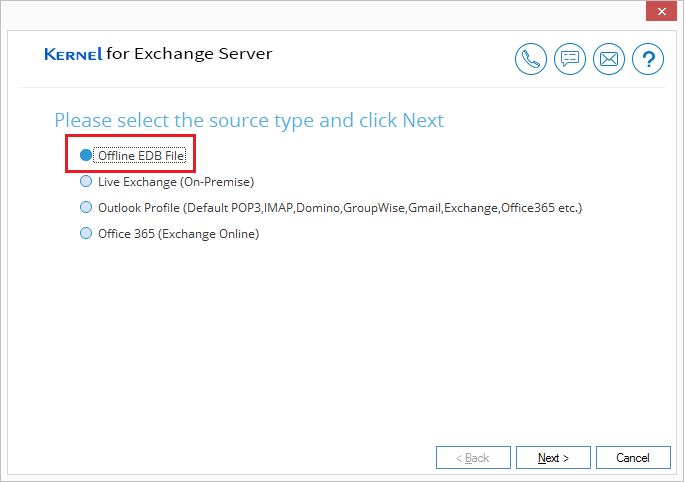
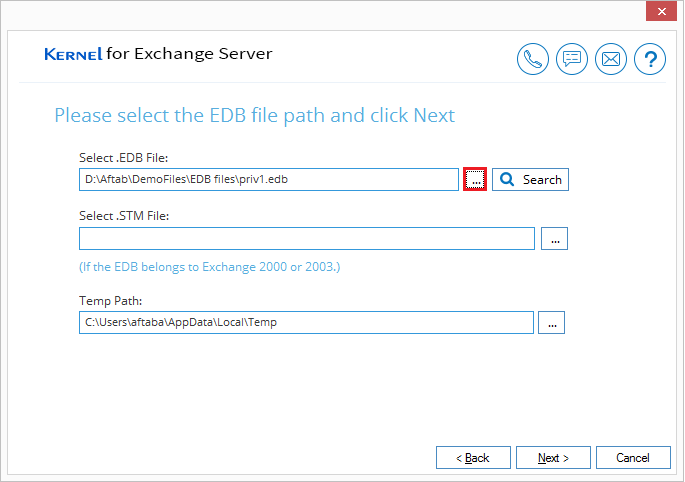
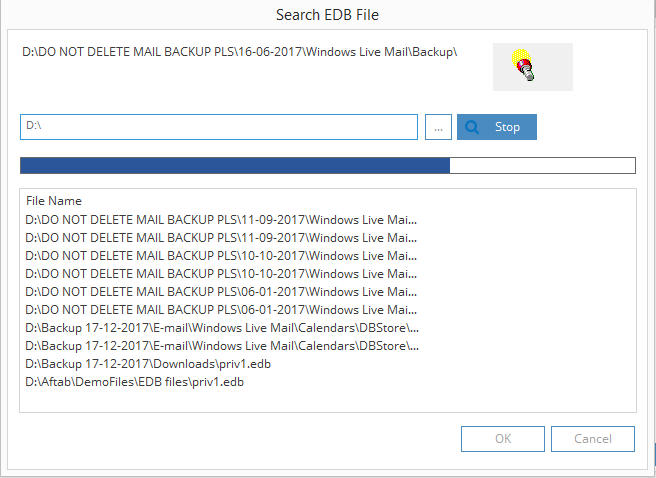
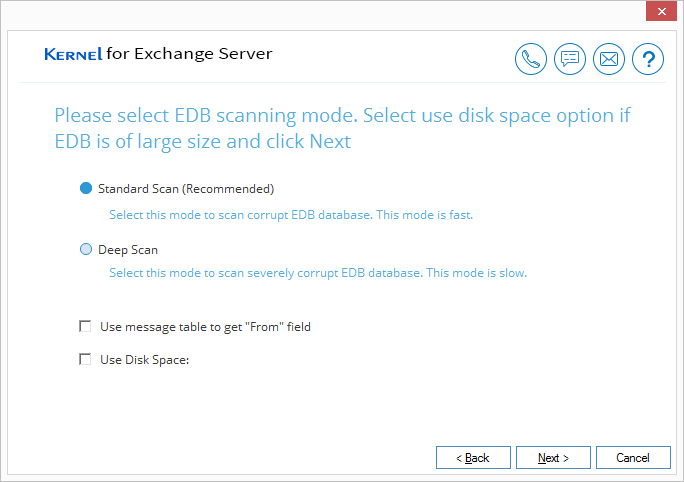
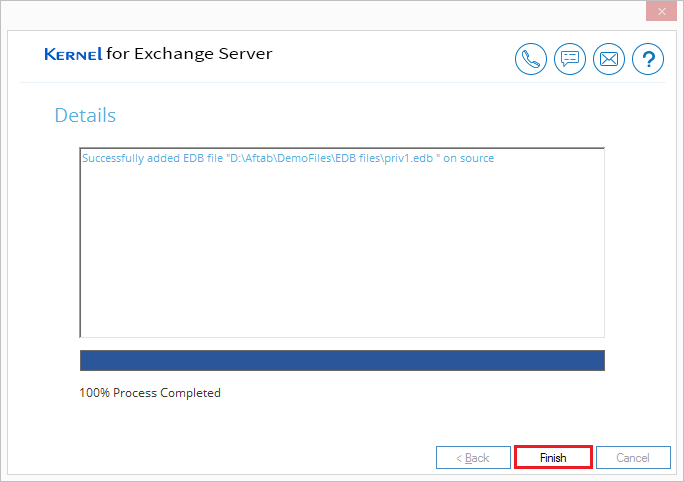
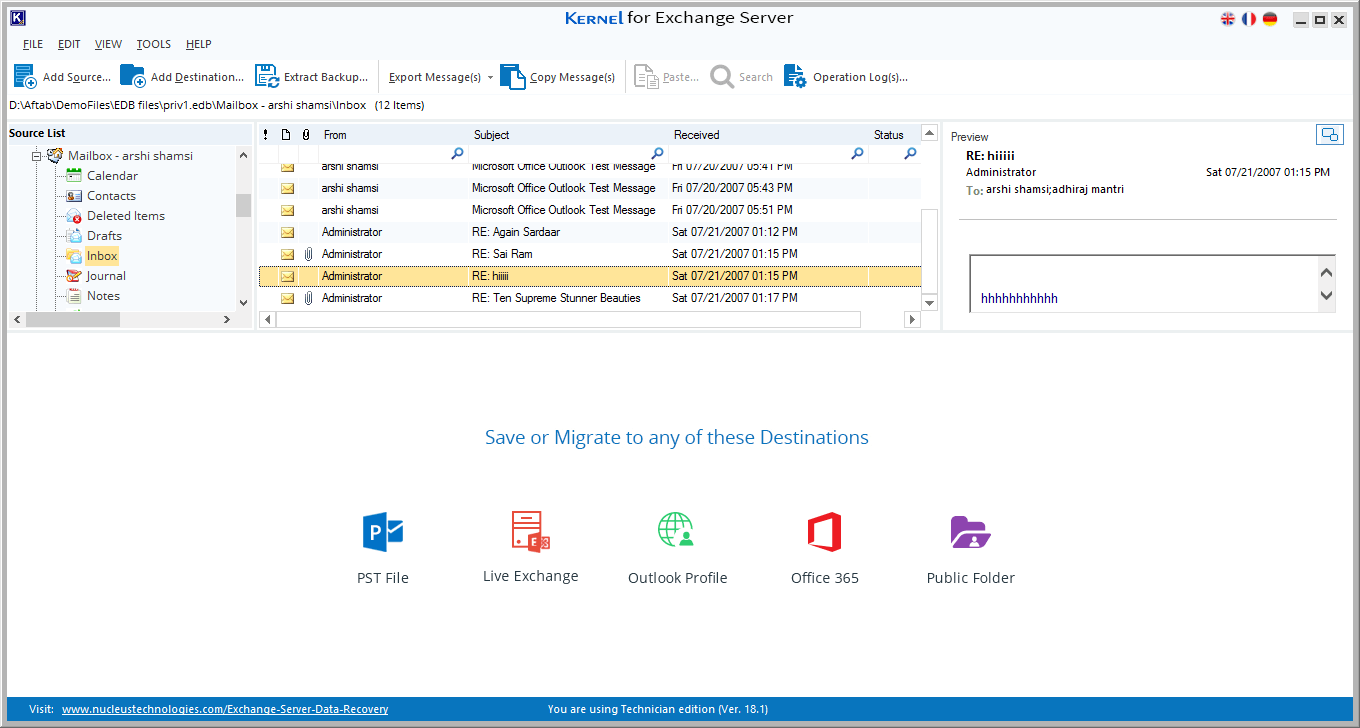
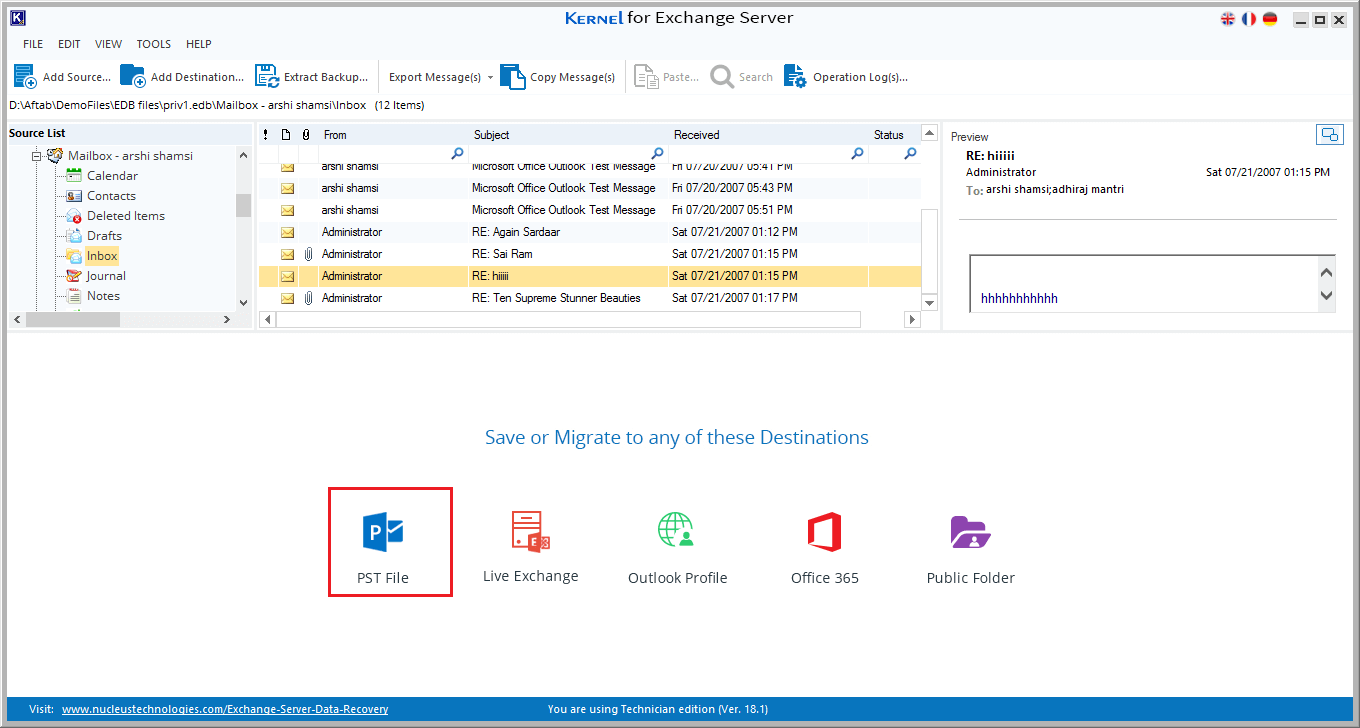
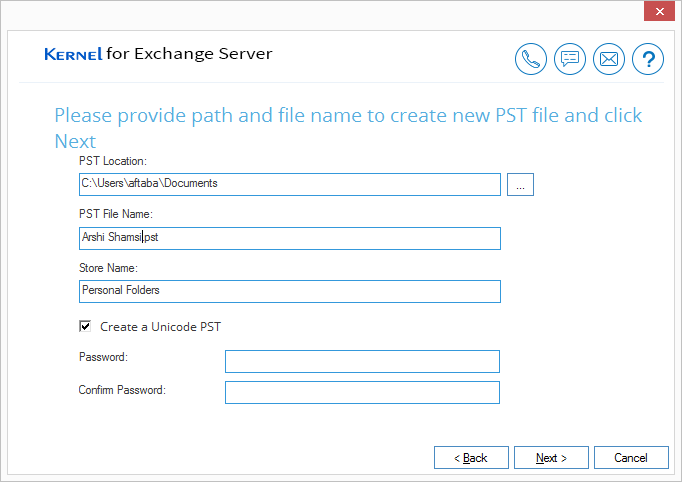
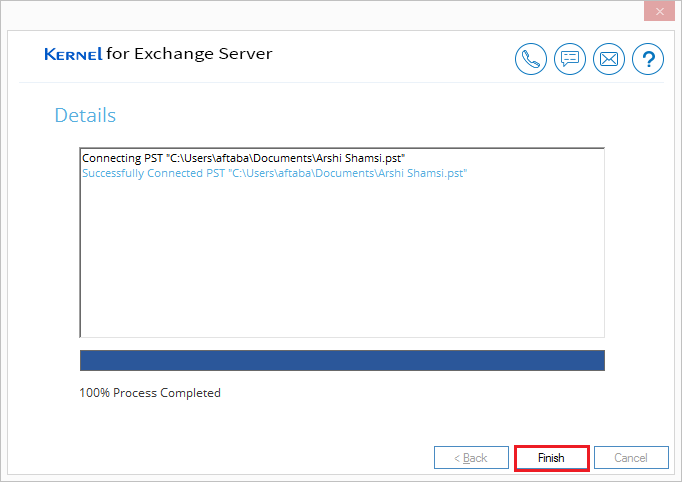
Kernel for Exchange Server can fully recover a corrupt Exchange database by retrieving the mailboxes (even the deleted ones). It has a simple interface and completes the recovery process in the minimum steps possible. Here is the step-by-step guide for Exchange database recovery:


When there is a corruption in Exchange database, administrators have two primary options for recovery: Microsoft’s EseUtil and Kernel for EDB to PST software. While use ESEUTIL is helpful for soft and hard recovery, it may alter data integrity. In contrast, our EDB to PST Converter maintains data integrity and streamlines the recovery process, making it a more efficient solution, particularly for complex or severely damaged databases. The software is also vital for restoring email flow, ensuring productivity, and preventing data loss in Exchange environments.